[DIY] A Collection of Handmade Moving Toy Craft Ideas

These days, the DIY sections at 100-yen shops and home improvement stores are incredibly well stocked! In the past, you had to walk all over the store to gather items, but now you can get everything in no time.
That just shows how popular the hobby of making things at home has become.
In this article, I’ve rounded up craft ideas on the theme of “moving toys”! I’ve focused on projects that even small children can easily try.
Be sure to read to the end!
- [Let’s Make and Play!] Handmade Toy Ideas You Can Create Yourself
- It's fun to spin! A collection of DIY toy ideas
- [For Elementary School Kids] Handmade Toy Craft Ideas
- Made with toilet paper rolls! Exciting and fun easy handmade toys
- Moving! Spinning! Flying! Fun handmade toys made with rubber bands
- Handmade toys with cardboard! DIY game ideas that will captivate kids
- Irresistible! A collection of motor-craft ideas that will captivate adults
- Kids and adults alike will be captivated! A collection of DIY marble run ideas
- [Indoor Activities] A Collection of Craft Ideas Recommended for Elementary School Students
- [Let’s Make and Play!] Handmade Ideas for a Target Shooting Game
- Let's make toys with paper cups! Simple and fun handmade toys
- Made of paper! A fun collection of DIY toy ideas you can play with
- Make It with Pipe Cleaners! A Collection of Simple, Fun, and Playable Toy Ideas
[DIY] Handmade Moving Toy Craft Ideas (21–30)
A train running on rails
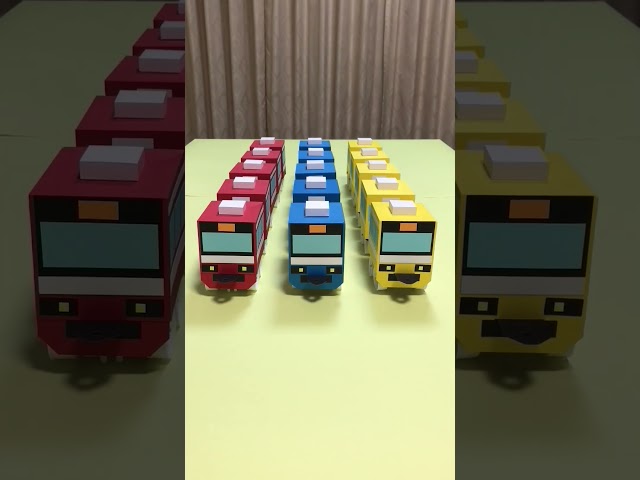
You can make a train that runs on rails using things like plastic bottle caps, milk cartons, dry-cell batteries, and a motor.
If you’re a railway enthusiast, adding clever touches to the body will make it feel more authentic and even more exciting.
You can transmit the motor’s power to the wheels with a rubber band, so it’s good to remember that mechanism.
If you make a line down the center of the rails with thick paper or similar material, the wheels won’t be able to cross over it, so the train will stay on the track.
It’s a lot of fun, so definitely give it a try.
Marble run made from cardboard
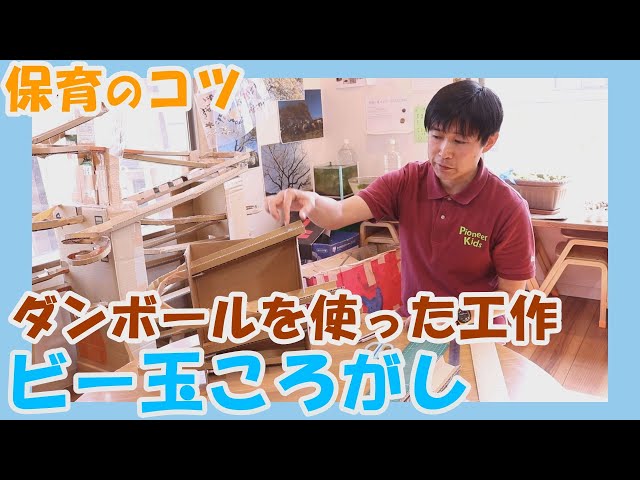
Let’s try making a cool marble run using cardboard.
Prepare a rectangular piece of cardboard that isn’t too thick, and cut off one section on the large face and one section on the narrowest side.
Then, using the pieces you removed and other bits of cardboard, build the pathways for the marble to roll along and attach them to the base cardboard.
Instead of connecting every path all the way through, it’s also fun to leave gaps here and there so the marble drops down to the next level and continues.
Be sure to set up the goal area so the marble stops securely and doesn’t roll out after reaching the finish.
Running Robot

An exciting craft! Let me share an idea for a running robot.
Some of you might want to do a craft project but can’t think of a good idea, right? This time, let’s make a running robot that uses a windshield wiper mechanism.
You’ll need a rectangular plastic bottle, bamboo skewers, straws, thick paper, cardboard, plastic bottle caps, rubber bands, and so on.
It’s a great idea that lets you learn how a wiper mechanism works through crafting! Give it a try!
autonomous self-driving robot car

Make and play! Here are some ideas for an autonomous robot car.
Many of you have probably played by moving toy vehicles like cars or trains by hand.
This time, let’s try building a robot car that moves on its own.
In the video, they use tools and kits.
The completed self-driving robot car runs along a course drawn with a black pen on paper.
When using tools, be sure to work together with a teacher or guardian.
Give it a try!
Race-to-the-top climbing game
Let’s make and play with construction paper! Here’s an idea for a “Race to the Top” game.
You’ll need construction paper, scissors, animal illustrations, glue, stickers, and tape.
First, cut the construction paper and tape the pieces together vertically.
Fold the paper to make creases, then fold the tip into a triangle and cut it off.
Attach the animal illustrations to the cut pieces, assemble them onto the construction paper, and you’re done! When you move the construction paper from side to side, the animal pictures climb upward.
Now, who can reach the goal the fastest? Give it a try!
paper pinwheel

It spins amazingly well when it catches the wind! Let me share an idea for a paper pinwheel.
You’ll need a decoration ring, a bamboo skewer, tape, a pencil, and scissors.
A decoration ring is a strip of paper; you can make it by cutting origami or other paper into long strips about 2 cm wide.
The steps are simple and easy to understand, so it’s a great craft for kids.
Since there’s a step where you cut the bamboo skewer, be sure to proceed with safety in mind.
pull chain

The movement of the rings is mesmerizing! Let me introduce a pull-chain idea.
All you need are a spring holder and colorful rings.
You can easily get the materials at 100-yen shops, so it’s a highly recommended idea.
There are no complicated rules or mechanisms—just pull the spring holder to play! It’s fun to watch the colorful rings spiral down as the pulled spring holder spins.
If you attach a card ring, you can hook it in various places and play with it too!