Are you assuming that audio recorded at live houses can’t be used?
If you are engaged in musical activitiesLive house performanceYou might do so as well.
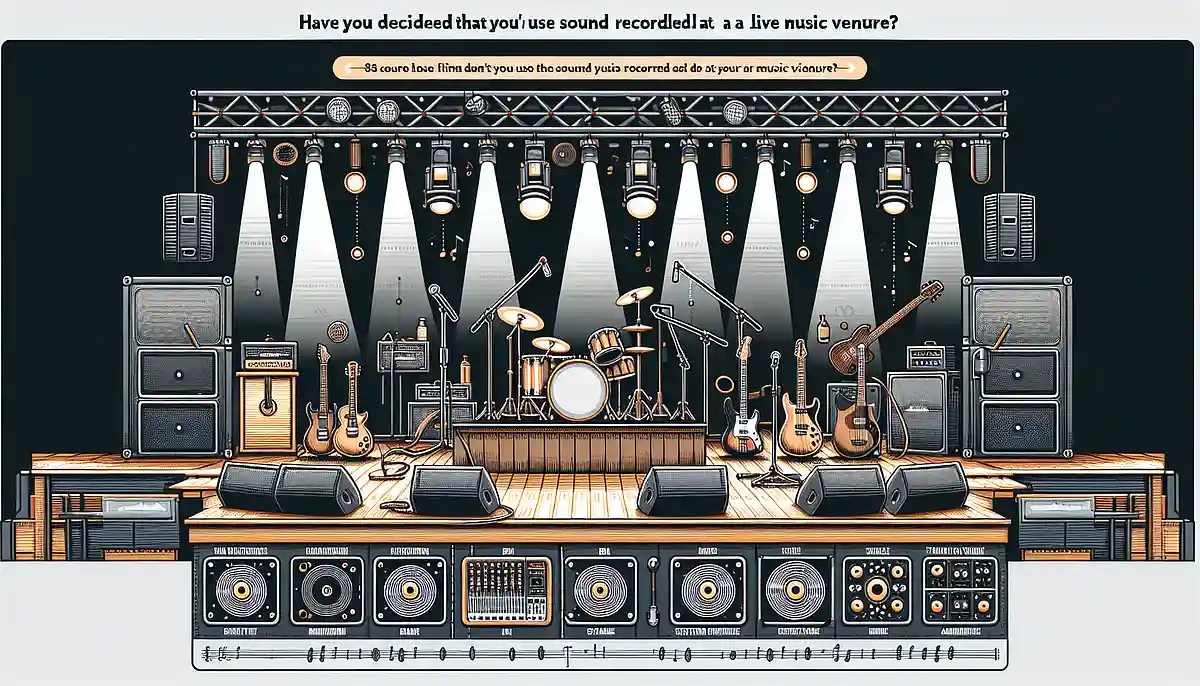
Among the equipment rental options you can request for a performance, there is a service that will record your stage performance on media such as video or CD.
They often end up using them only as a minimal tool to check their own performance and playing mistakes.
Even if you don’t throw it away once you’re done, in most cases it just ends up tucked away in a drawer or closet.
such; like that; that kind ofIf you can make audio recorded at a live house sound good enough that you’re not embarrassed to let others hear it, a variety of potential uses will emerge.
You could upload it to YouTube, use it as an audio track for auditions, and if the performance turns out well, you might even be able to sell it at a low price.
Here, I’ll introduce a method for creating such a hybrid sound source.
Characteristics of live house audio recordings that end up shelved
- Lacks impact and feels hollow
- Poor instrumental balance and lack of presence
- It doesn’t feel good, and for some reason it feels cheaper and gives me a sense of discomfort.
I have no desire to play sounds that are unpleasant to listen to over and over again.
The more confident a band is in its sound, the less it ever wants anyone to hear a subtly cheesy, caricatured recording—over their dead body (lol).
A fatal problem for rock bands whose appeal lies especially in their heavy sound and sound pressure.
When publishing on YouTube, I could compromise if it’s a vocal-centered “acoustic solo” performance, but in the case of a band, the music itself gets ruined.
With the digitization of PA consoles, it has become possible to record without being affected by the PA balance at the venue.
It’s been mixed with things like air recordings, and compared to before, the sound has improved.
However, it is difficult to fundamentally resolve the shortcomings of line recordings that compromise the sense of atmosphere.
The mainstream for band videos posted on YouTube is air-recorded (lip-synced/performance-mimed).
Bands that actively post videos on YouTube have recentlyAir recording using a video recorder for musicThere are many cases where it is due to [that/this].
Compared to line-in recording, it feels less unnatural and is convenient for streaming with a certain level of quality.
However, there are times when the vocals become a bit hard to hear or the recording position is poor and it ends up clearly picking up noise from the air conditioning. To break away from an amateurish sound, you need professional-level, meticulous setup.
Direct line recording has a high potential to fundamentally improve it into a more 'usable audio source.'
The “line recording” commonly used at live houses loses the sense of space and sound pressure, which leads to a distinctive “weak” or underwhelming quality.
If you address that weakness, there’s a high chance it will be reborn as a cool hybrid sound source with less noise—something you can’t get from air recording.
- atmosphere
- sense of sound pressure
The key is to flesh these out nicely.
In practice, we aim for a balance where the boosted bass and drums deliver high sound pressure, and the vocals—the centerpiece of the track—sound pleasing.
How to produce a nice-sounding live recording in a DAW
If it’s a band that plays original songs, the members might use Pro Tools orCubase、LogicYou probably own a DAW such as (these).
Let's import the line-recorded audio into your DAW and try hybrid sound processing.
If you can skillfully use dynamics effects during recording—compressors, limiters, and maximizers—you can achieve a nice, well-finished result.
The general criterion is that various parameters can be intentionally adjusted.
It requires delicate setup, so even people who have been in bands for a long time but have only ever used instrument effects pedals, or those who produce music using only DAW presets, may find it somewhat intimidating.
Some people quickly conclude, “Just slap on a compressor and go for a scooped sound,” but there’s a world of difference compared to a carefully crafted tone using the detailed methods below.
If the source audio is clean without any weird noise, I roughly process it by inserting the following plugins.
Pre-processing noise reduction techniques using audio repair toolsIf there is more, I will do it thoroughly.
Because the noise gets further emphasized by the compressor or maximizer.
Effect routing and key points for each effect setting
(Example routine)EQ → Compressor → Reverb → Multiband Compressor (→ Enhancer *Stereo Imager) → Exciter → EQ → Maximizer
EQ
Centered on the cutCorrect the frequency bands where each part’s instruments sitand then finely adjust the balance of the sound image.
Live recordings tend to carry a lot of extra noise in the very low frequency range, so it's a good idea to apply a light low-cut (around 30 Hz) in advance.
complete
Overall, we’ll tame the peaks to enhance a sense of cohesion.
For rock music, sometimes it’s better to compress quite a bit here, but as a general rule it’s best not to overdo it. Use an attack of 20 ms or more and a release around 100 ms to tame the vocal and big peak transients.
I also recommend actively adding color with vintage-style plugins.
Reverb
The line recording already captures the reverb itself, but the sense of space often gets lost, so adding just a touch here can greatly enhance the realism.
We’ll blend it in at about 4–15%.
Depending on your sound design, it may be better to change where you insert it.
If there’s video, a club-style setup that assumes the size of the venue works well, but if you want a more professional finish, a hall-type setup is indeed easier for creating the right atmosphere.
Multiband compressor
You can apply compression to three or four separate bands, but here we’ll focus less on squashing the signal and more on adjusting the intensity of each band.
If you want to emphasize the thumping bass and kick drum in a live setting, it’ll sound better to boost the low-mid range here rather than forcing it with heavy EQ processing.
Balancing it with how the vocals sound, boosting the low-mid range by about 2–5 dB creates a nice vibe.
When the vocal balance is too prominent, lower the threshold in the upper-mid frequencies and use stronger compression to tame it.
If you keep applying only boosts overall, the sound will flood out, so the key is to run it through a head-stage EQ and focus on cuts.
Enhancer (Stereo Imager)
Adjust enhancers and similar tools to blend the overall sound image.
If you’re using a stereo imager that can control the stereo image, it’s easier to achieve a cohesive mix by keeping the bass and kick drum frequencies tight and centered, while slightly widening elements like vocal reverb and guitars (the mid-to-high frequencies).
Exciter
If there are instruments that lack presence, add some coloration in that frequency range using an exciter (or other saturation).
There are plugins that let you adjust the center and sides separately, so focus your edits on the points where the instruments are positioned.
If the vocal doesn’t cut through well, you can dramatically improve it by simply adding a subtle touch of color to the voice components in the center image (mid to upper-mid frequencies).
EQ
Let's shape the sound with EQ right before inserting the maximizer.
It’s fine if it already sounds good without adjustment, but at this stage we’ll make the final fine-tuning to tame any overly unruly elements in the sound image or to slightly emphasize the parts that need it.
Set a relatively high Q in the 85–110 Hz range where the kick drum and bass overlap, and sweep to find the spot to cut that instantly upgrades the bottom end. About -0.2 to -0.4 dB.
Maximizer
Use a maximizer for the final loudness adjustment.
The adjustable parameters differ for each plugin, so there’s no one-size-fits-all setting.
Because preprocessing the incoming sound image is important, work on it in tandem with the EQ adjustments inserted just before it.
The key is not to overdo it in a flashy way.
Broadly (speaking)An audio processing stage called masteringIt’s close to that.
Compared to properly recorded studio material, live recordings have unruly imaging and noise, and they start from a state with no pre-processing at all. Therefore, rather than making fine adjustments, the approach is to proceed with bold processing.
Transform line recordings captured at a live house (2016) into a punchy sound
Summary
It may be inferior to the latest multi-recorded live audio, but it can be processed into a much more listenable sound.
There’s no need to put in the kind of effort required for mastering each track individually.
By processing the audio from a live-recorded video, you can create a pseudo live album.
Quality that can also be used as YouTube content ideas and as simple distribution audio sources.
Much easier to listen to than an audience recording, and you can feel the unique essence of a live house venue.
The more songs you upload to YouTube,SEO effectcan be expected.
It’s not easy for a live band to produce a large number of best-quality tracks (official recordings), considering economic factors and scheduling.
How about thinking of a way to make the most of the live performance and use it efficiently?