[Childcare] Playful craft ideas to enjoy with 5-year-olds


I want to enjoy crafts with a five-year-old, but they get bored with flat, two-dimensional projects…
Does that sound familiar?
Here are some craft ideas perfect for five-year-olds, whose thinking skills and ability to work on tasks are really blossoming—plus, they double as toys you can play with.
Enjoy the crafting process, and then try playing with the toys you made, both indoors and outdoors.
It’s also fine to lend and borrow toys with friends.
Kids tend to cherish toys they made themselves, so they’ll likely play with them carefully.
Teachers, why not make and play together too?
- Recommended for 5-year-olds! Simple DIY toy ideas
- [Nursery/Kindergarten] Crafts you can play with after making them
- [May] A collection of craft ideas to try with 5-year-olds
- [For toddlers] Simple but amazing craft ideas — including toys they can play with
- [Age 5] Exciting and fun! A special feature on ideas for at-home play
- [For 5-Year-Olds] Recommended Indoor Play! A Collection of Exciting Games
- [Childcare] Recommended for toddlers! Toy ideas you can make and play with
- [5-Year-Olds] Creative Project Ideas to Try in June! Let's Broaden Their Range of Expression
- Age 4: Simple and Fun! Handmade Toy Ideas
- Recommended for 5-year-olds’ September crafts! A collection of ideas to enjoy autumn
- For 5-Year-Olds: Let’s Make It! A Collection of Craft Ideas to Feel the Spring
- Turn a cardboard tube into an educational toy! A handmade toy your kids will love
- [For 5-year-olds] Crafts to try in July! Ideas that capture the season
[Childcare] Playful Craft Ideas to Enjoy with 5-Year-Olds (71–80)
Candy Magnet

Let’s make something with plastic bottle caps! Here’s an idea for candy magnets.
How about turning materials you’d normally throw away into cute candy magnets? You’ll need two plastic bottle caps, double-sided tape, masking tape, magnets, fabric scraps, and embroidery thread.
By using leftover fabric from home or school, you can create something with even more sentimental value.
Give it a try with the kids!
Simple chopstick gun

This is a very simple chopstick rubber-band gun you can make with just two pairs of disposable chopsticks.
Clamp the tip of one chopstick set with the tip of the other and secure them with a rubber band.
At this point, use both chopsticks un-split, just as they are.
That’s actually all there is to the assembly! Then hook a rubber band onto the tip to set it, and slowly tilt the clamped chopstick diagonally like a trigger—the rubber band will launch.
Since you don’t need scissors, a cutter, glue, or anything else, it’s perfect for a craft project with small children.
Give it a try!
straw airplane

Let me introduce a straw airplane.
Prepare a straw, a shorter sheet of construction paper, a longer sheet of construction paper, and cellophane tape, and let’s make it.
Roll up each of the short and long pieces of construction paper and tape them into rings.
Attach a strip of tape horizontally to one end of the straw, then stick the smaller paper ring to that end; do the same on the other end with the larger paper ring to complete it.
When flying and playing, make sure no one is around and use a wide, open space.
It could also be fun to race by launching multiple airplanes against each other.
Sliding puzzle
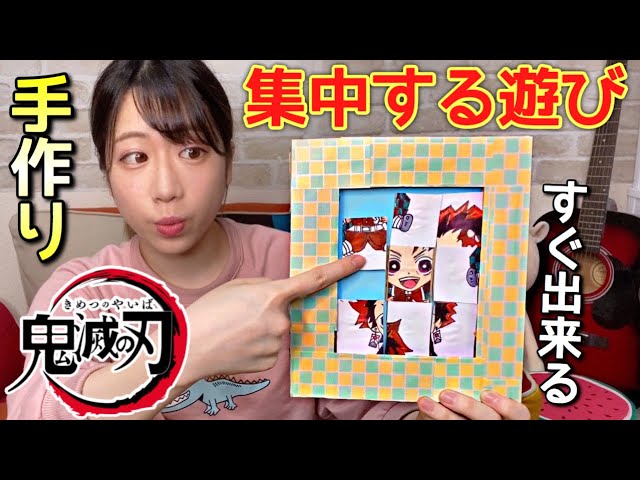
Why not try making a sliding puzzle by hand? It’s a toy that makes use of a five-year-old’s thinking skills and imagination, and because it’s handmade, you can create the puzzle with a motif that interests them.
First, prepare three flat pieces of cardboard of the same size.
Set one aside as the base, then draw a frame on the other two and cut out the centers.
Stack the frames you made and glue them together.
For the puzzle section, cut it just slightly smaller so it fits easily, and draw the puzzle piece lines on the back.
After attaching the picture to the front, cut along the lines of the pieces on the back.
Finally, fit the pieces into the frame and remove one piece—done!
Decorating tambourines is fun

Here are some fun ideas for decorating tambourines.
You’ll need two paper plates, straws, scissors, tape, a pen, and masking tape.
Put the cut pieces of straw between the paper plates, press them together, and seal the edges with tape and masking tape—that’s it! Use pens in your favorite colors to draw expressions on the tambourine.
It’s also fun to give the front and back different expressions, like a smiling face on one side and a sleeping face on the other.
The simple method makes it easy for kids to follow, which is part of its charm!
Snap Frog

A common piece of scrap material you’ll find in most households is a milk carton.
A snap frog made from a milk carton is really fun.
Remove the bottom of the milk carton, cut it into a ring 7 cm wide, make a 5 mm slit, and hook a rubber band into the slit—that’s all you need for the basic mechanism.
Draw and stick on the frog’s eyes, and it’s done.
You can enjoy lots of variations by keeping the basic mechanism the same and just changing what you stick on top, so try getting creative.
It might be fun to try other animals, too.
Marble Drop

Why not try making a marble drop inspired by Anpanman? The base will be a plastic bottle.
First, cut it into three equal sections, then insert a piece of thick paper between the sections and reassemble them.
Punch marble-drop holes in the thick paper and decorate it to evoke Anpanman.
You could also make the thick paper look like Anpanman’s or Baikinman’s face.
Once you add the marbles, it’s complete.
Its cute appearance and the sound of the marbles dropping will captivate children.