For Seniors: Simple and Lovely Crafts – A Collection of Take-Home Project Ideas for Day Service


If you can take home the pieces made at day service centers and other senior facilities, you can display or use them at home, adding a little extra enjoyment to everyday life.
Many older adults also enjoy focusing on the act of making things.
So this time, we’ve gathered ideas for projects you can take home.
We’ve included practical items you can use at home, like small organizers and photo frames, as well as pieces you can simply display and enjoy!
The materials are easy to prepare, and we also make use of recyclables like empty jars.
Crafting involves using your fingertips, which can stimulate the brain and help prevent cognitive decline, while also providing a sense of accomplishment and fulfillment from creating something.
Please have fun making these projects!
- [For Seniors] Simple Handicrafts Recommended for Finger Exercise
- [For Seniors] Introducing Fun Crafts Made with Plastic Bottle Caps
- [For Seniors] Practical Crafts to Make in Day-Service Recreation: Idea Roundup
- [For Seniors] Recommended for day services! Simple and cute small craft ideas
- [For Seniors] Crafts to Enjoy with Yakult Containers: Ideas for Ornaments and Toys
- [For Seniors] Perfect for winter events! Easy craft ideas
- [For Seniors] Small craft ideas: for yourself and as gifts!
- [For Senior Daycare Centers] Ideas for Summer Take-Home Crafts
- [Day Service] Handmade Autumn Crafts: Take-Home Project Ideas
- [For Seniors] Easy and Fun! Tsumami Zaiku Craft Ideas
- Simple, Recommended Autumn Crafts for Seniors
- [Day Service] Spring Take-Home Crafts: Ideas to Warmly Brighten Your Room
- [For Seniors] Have Fun Making Things Based on Today’s Mood! Today’s Recommended Craft
For Seniors: Simple and Lovely Crafts — Day Service Take-Home Project Ideas (111–120)
Paper Cactus

Cacti are popular as houseplants.
Just having one in your room can make you feel warm and relaxed, don’t you think? So here’s a cactus you can make out of paper! Since it’s made of paper, there’s no risk of getting hurt when you touch it, and it requires no maintenance, making it great for seniors living alone.
Cut a toilet paper roll short, then cover it with your favorite origami or construction paper to make a flowerpot.
Next, cut colored construction paper into cactus shapes and fold them—make several pieces.
Glue them together to give it a three-dimensional look that resembles a real cactus! Finally, set it in the flowerpot and you’re done.
Adding a cactus flower or two would make it even cuter.
100-yen shop DIY Christmas wreath

When you go to the 100-yen shop, you’re sometimes surprised to find they even sell things like this.
They offer all kinds of products, and craft and DIY supplies are well stocked too.
You can make a lovely wreath using only 100-yen items, so why not give it a try? Attach cotton bolls and pinecones to a wreath base with a hot glue gun.
A hot glue gun dries faster than wood glue.
However, it gets very hot, so please be careful when used by older adults.
A Christmas with a wreath they made themselves is likely to give older adults a real sense of satisfaction.
Christmas tree made with ribbons

This is a handmade tree idea that’s completed simply by sticking teardrop-shaped ribbon pieces onto a cone base made from thick paper.
To make the teardrop-shaped parts, cut ribbon to a suitable length and glue the two ends together.
When attaching the ribbon to the base, face the rounded end downward and stick them in a straight line.
If it’s hard to keep them straight, draw guide lines on the base beforehand to help with placement.
Once all the ribbons are attached, decorate the top with a star to finish! Adding small beads for extra sparkle would also look cute.
An owl spreading its large, leaf-like wings
https://www.tiktok.com/@simiscraft/video/7420758048664227104Let’s try making an owl using pinecones, acorn caps, leaves, googly-eye stickers, felt, and construction paper.
Glue an acorn cap to the pinecone base with the inside of the cap facing forward.
Attach small googly-eye stickers inside the cap.
Cut feet and a beak from felt or construction paper and glue them to the base.
To evoke outstretched wings, attach leaves on both sides—and it’s done.
The owl’s look will change depending on the color and shape of the wings, so find leaves you like and give it a try.
A trivet woven from toilet paper rolls
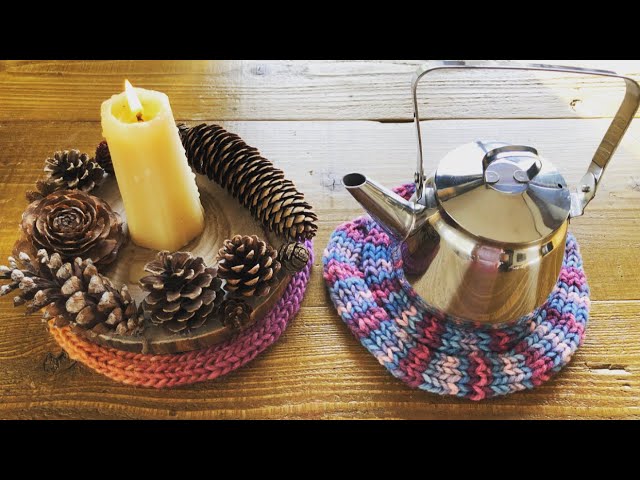
A simple-to-make trivet woven using toilet paper rolls has a warm, original feel.
Prepare the materials: disposable chopsticks, toilet paper rolls, cellophane tape, yarn, and a needle.
First, make the base for weaving the trivet using the toilet paper rolls.
Cut the chopsticks in half and tape them vertically around the toilet paper roll, spacing them evenly.
Once that’s ready, string the yarn in an alternating pattern to form the base.
Next, gently loop the yarn over the chopsticks so it sits on top; the key is to drape the yarn lightly and loosely.
Hook the yarn onto the needle and weave around in circles until it forms the shape of a trivet, and you’re done.
Using colorful yarn will give you a bright, cheerful trivet.
Simple summer craft: goldfish wind chime

The summer-perfect craft “Goldfish Wind Chime” is a cool, refreshing activity that even seniors can enjoy.
Cut out the bottom of a round cheese box to make a frame, attach a card case from a 100-yen shop to the inside, and add clear stones or small artificial flowers to create a goldfish-bowl-like, translucent finish.
Adding goldfish decorative stickers instantly brings a summery vibe.
With many steps that use the hands and fingers, the fingertip stimulation can activate the brain and may help prevent cognitive decline.
It’s a highly seasonal piece, perfect for indoor summer recreation.
uchiwa (Japanese hand fan)

The uchiwa fan, a hallmark of summer, is actually convenient to use year-round when it comes to creating a breeze.
As long as you have the frame, it’s a simple craft—just attach the paper.
It’s fun to customize, too: you can draw on the paper surface or experiment with different paper materials.
Designing motifs associated with summer is the classic approach for uchiwa, but incorporating themes from other seasons to create a different feel could be enjoyable as well.
If you adhere the paper snugly to the frame, it’s practical; if you add three-dimensional decorations that extend beyond the edges, it could also serve as a charming interior accent for your room.