For Seniors: Simple and Lovely Crafts – A Collection of Take-Home Project Ideas for Day Service


If you can take home the pieces made at day service centers and other senior facilities, you can display or use them at home, adding a little extra enjoyment to everyday life.
Many older adults also enjoy focusing on the act of making things.
So this time, we’ve gathered ideas for projects you can take home.
We’ve included practical items you can use at home, like small organizers and photo frames, as well as pieces you can simply display and enjoy!
The materials are easy to prepare, and we also make use of recyclables like empty jars.
Crafting involves using your fingertips, which can stimulate the brain and help prevent cognitive decline, while also providing a sense of accomplishment and fulfillment from creating something.
Please have fun making these projects!
- [For Seniors] Simple Handicrafts Recommended for Finger Exercise
- [For Seniors] Introducing Fun Crafts Made with Plastic Bottle Caps
- [For Seniors] Practical Crafts to Make in Day-Service Recreation: Idea Roundup
- [For Seniors] Recommended for day services! Simple and cute small craft ideas
- [For Seniors] Crafts to Enjoy with Yakult Containers: Ideas for Ornaments and Toys
- [For Seniors] Perfect for winter events! Easy craft ideas
- [For Seniors] Small craft ideas: for yourself and as gifts!
- [For Senior Daycare Centers] Ideas for Summer Take-Home Crafts
- [Day Service] Handmade Autumn Crafts: Take-Home Project Ideas
- [For Seniors] Easy and Fun! Tsumami Zaiku Craft Ideas
- Simple, Recommended Autumn Crafts for Seniors
- [Day Service] Spring Take-Home Crafts: Ideas to Warmly Brighten Your Room
- [For Seniors] Have Fun Making Things Based on Today’s Mood! Today’s Recommended Craft
[For Seniors] Simple and Lovely Crafts: Day-Service Take-Home Project Ideas (301–310)
Hydrangea wreath

Let’s express the beautifully blended colors of hydrangeas using tissue paper! Here’s a hydrangea wreath idea.
When you think of hydrangeas, you picture that distinctive round shape made up of many small blossoms, right? This time, we’ll make tiny flowers with tissue paper and arrange them into a wreath.
You’ll need a foam wreath form, tissue paper, cardstock, scissors, glue, toothpicks, and rhinestone stickers.
Use the toothpicks to help insert the tissue paper hydrangea flowers into the foam.
For the finishing touch, stick rhinestone stickers in the center of each flower to create an elegant look!
sachet

Sachets are perfect gifts for seniors, offering both a pleasant scent and the comforting feel of fabric.
Fold the top and bottom edges of the fabric 1 cm to the wrong side and sew.
Trim the seam allowance to about 5 mm, turn it right side out, and press with an iron to shape.
Place a fabric scrap infused with essential oil in the center, then add more fabric around it to create a soft, fluffy finish.
Attach the handle to the edge at the end, and it’s complete.
They’re versatile—you can place them in a closet or by your pillow to enjoy the fragrance, or carry them in a bag.
Choosing scents like lavender or citrus to suit the recipient’s taste makes the gift even more thoughtful.
Gentle in appearance and filled with care, it’s a uniquely heartfelt handmade present.
Flower memo stand made with origami

Let’s gather the materials at a 100-yen shop and give it a try! Here’s an idea for making an origami flower memo stand.
A memo stand is an item that holds papers or cards with notes written on them, right? It’s practical because you can display messages or things you tend to forget.
What you’ll need: origami paper, wood glue, a needle bottle, tweezers, scissors, a wooden clip, and wire.
If you make the flowers with your favorite colors of origami paper, or colors that match the recipient’s image, your feelings are sure to come across.
Origami Album

Let’s give a wonderful gift made with photos and messages.
Here are some origami album ideas.
In the past, albums were typically made by filing developed photos from a photo shop.
These days, it’s easy to print photos taken on a smartphone at home or at convenience stores.
Try making an origami album using your favorite photos taken with the person you’re giving the gift to, or photos filled with memories.
It’s also great that you can freely add more pages.
Origami Photo Frame

A wonderful idea for stylishly displaying photos! Here’s an idea for an origami photo frame.
Even if you want to make a photo frame by hand, many people might think, “It seems difficult,” or “Gathering materials is a hassle.” This time, let’s make and gift a simple, stylish photo frame using origami paper and cardstock.
All you need are craft origami paper, cardstock, scissors, and a photo.
The steps are simple and easy to follow, so give it a try!
Super Easy Aroma Sachet

Let’s give the gift of a handmade sachet.
Here are some simple aroma sachet ideas.
An aroma sachet is a scented pouch that you can place in closets, drawers, or around your room to enjoy a soft, subtle fragrance.
How about making an original aroma sachet with materials you can buy at a 100-yen shop and giving it as a present? All you need are a paper envelope or drawstring pouch in a design you like, cotton, and essential oil.
The steps are simple and easy to follow, so give it a try!
Stylish confetti name tags you can get at the 100-yen shop!
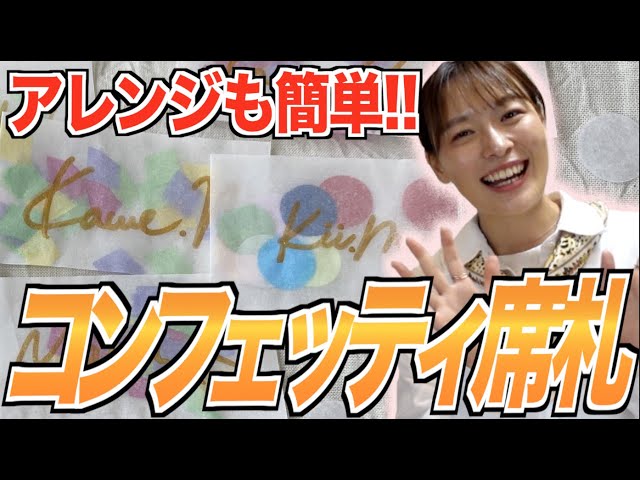
Let’s make stylish name tags using colorful confetti, the kind often used at weddings! Create a pouch-style tag from translucent materials like tracing paper or parchment/oven paper.
Because it’s see-through, it’s easy to trace names or any designs you want to add—another great perk.
Make firm creases, apply glue, and form a pouch; then fill it with confetti and seal the top to finish.
Adding glitter makes it look even prettier, and the shake-shake texture is fun too.