Handmade celebration card ideas. How to make a message card.

There are many occasions when you might send a card to someone special, such as a birthday present or a message card for an anniversary.
By making a handmade card, you can often convey your gratitude and encouragement even more sincerely.
In this article, we’ve compiled ideas for DIY celebration cards.
We’ll introduce a wide range of concepts, from decorating parts of a card to complete designs and frames.
Use this as a reference when creating celebration cards tailored to themes like graduations, birthdays, or anniversaries with your partner.
- You can make it with construction paper! Handmade birthday card ideas
- [For Kids] Collection of Handmade Message Card Ideas
- A collection of handmade bouquet ideas that convey feelings of gratitude and celebration
- Cute! Handmade Birthday Card Ideas [Birthday]
- [Birthday] Handmade decoration ideas using construction paper
- [For Elementary School Students] A Collection of Simple Handmade Gift Ideas
- Recommended for graduation from preschool! A collection of cute handmade farewell card ideas
- A collection of handmade card ideas for Mother’s Day: heartfelt ideas that convey your feelings
- Handmade celebration card ideas. How to make a message card.
- Kiju and Hyakuju: Celebrate a 100th Birthday! Handmade Shikishi Ideas That Will Delight
- Kids will love it! Easy origami ideas—great as gifts too!
- [Respect for the Aged Day] Heartfelt! Handmade Message Card Ideas to Share Your Feelings
- Gifts with your grandchild’s photos! Easy DIY ideas
Handmade celebration card ideas. How to make message cards (21–30)
A letter-shaped message card with lots of interactive features

How about giving a message card packed with fun mechanisms that make it a joy to open? Create and stick on your favorite shapes—like presents or cakes.
Let the cake candles stretch and shrink, have a card pop out from inside a gift, or make the number of presents increase… Try adding all sorts of interactive elements as you finish it up.
Write messages on each part, decorate with photos or drawings, and it’s complete! Customize the mechanisms and part designs to suit your grandpa’s or grandma’s tastes.
Cosmos Bouquet Message Card

Cosmos are cute pink flowers that reach their peak in autumn.
A message card arranged like a bouquet of cosmos is perfect for Respect for the Aged Day! First, cut pink-toned construction paper into long, narrow strips, then cut each strip into thirds.
These will become the petals, so snip one end of each piece into a jagged edge.
Combine four pieces to make one flower.
Glue a small yellow circle of construction paper in the center to complete the cosmos.
Next, cut a large semicircle from construction paper to form the card base and fold it into thirds.
Attach the cosmos to the middle panel and to the outer panel that will show when folded.
Finish by adding a ribbon cut from construction paper.
Add a message and give it as a gift!
Japanese-pattern card

How about expressing your gratitude with a stylish card featuring traditional Japanese patterns? In addition to construction paper and washi-patterned origami paper, masking tape is also a nice touch.
Decide on your preferred card size—business card size, postcard size, or anything you like—and cut the construction paper accordingly.
Then decorate the base by attaching washi-patterned origami paper and masking tape.
It’s a good idea to refer to items with traditional Japanese designs for guidance on color schemes.
Combine different patterns and colors without making it too flashy, and be sure to leave enough space for your message.
Writing your words of thanks in a font with a traditional Japanese feel is also recommended!
Thank You Message Card
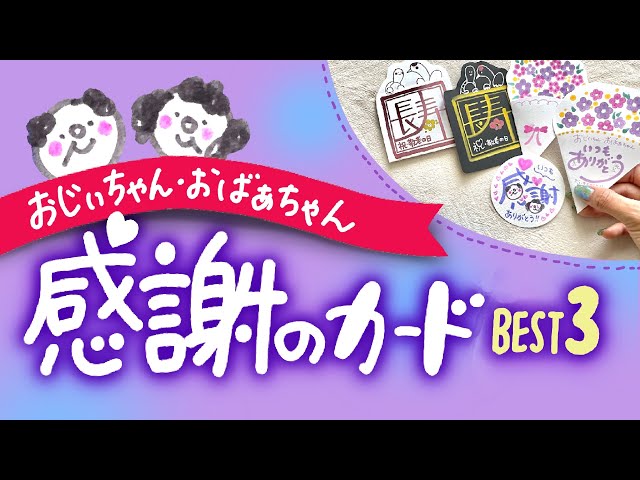
Here’s an introduction to cards that let you express your gratitude to Grandpa and Grandma to the fullest.
Try using a variety of card styles: round ones, chic square ones, and even bouquet-shaped ones.
Use pens in your favorite colors and decorations like stickers to write your thanks and wishes for their continued good health.
It’s also a good idea to incorporate stylish lettering that’s a bit different from your usual handwriting.
If you’re making a bouquet-shaped card, cut the construction paper into that shape ahead of time and draw lots of flowers.
A heartfelt original design is sure to make them happy!
A pop-up card with origami flowers

Let’s make a dynamic and vibrant flower pop-up card with origami! Prepare three sheets of origami paper in your favorite colors.
Fold each one into a long, narrow triangle shape, round off the tip with scissors, and unfold.
After unfolding, cut off a portion from one of them, then glue the cut edges together to close the gap.
Glue this piece together with the other two to complete one flower.
Make seven sets of these.
Glue all of them together to form a large flower.
Add some leaves during the process.
Finally, attach everything to a cardstock base, and you’re done! You’ll have a card with a striking large flower—perfect for a gift.
A pop-up bouquet of gentian flowers and an owl-themed message card
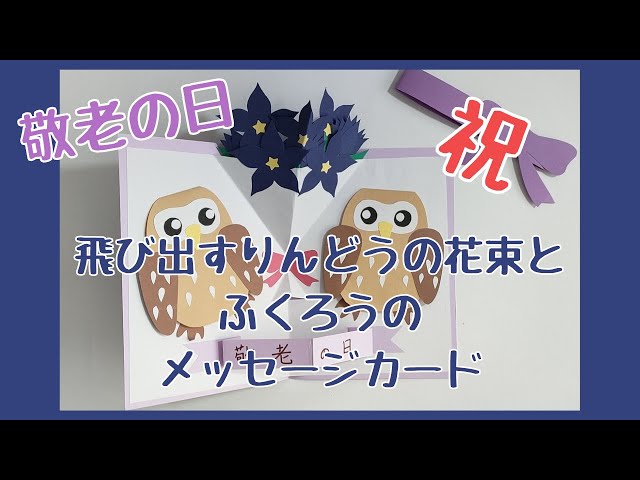
How about a card featuring gentian flowers, which bloom around September when Respect for the Aged Day is celebrated, and a pop-up owl? First, cut gentian flower shapes out of navy construction paper.
Stick a star shape made with a craft punch in the center of each flower, and combine it with sepals and other parts to complete the gentian.
Fold the base sheet of construction paper in half, then make triangular creases near the top.
Attach the gentian flowers on both sides of the paper at the crease.
Next, for the owl, cut out parts from brown and white construction paper, glue them together, and attach the owl to the base.
Make sure the owl can flip up so you can write a message on the back.
Add decorations like ribbons, and it’s done!
Pop-up card

Let’s make a pop-up card using photos of your grandpa and grandma! Prepare a square sheet of construction paper, fold it twice into a square and crease, then open and fold it twice into a triangle and crease.
Place the paper like a diamond.
Paste square photos at the top and bottom sections, and two triangular-cut photos each on the left and right sections.
Prepare a rectangular sheet of construction paper big enough to hold the square-folded piece, and glue it on.
Write the recipient’s name on what becomes the front cover after folding, and you’re done! It’s also great to add not only photos but your grandchild’s drawings, too.
In conclusion
We’ve introduced card ideas that can be used in a variety of situations—from chic and stylish to cute designs. For occasions like school graduations, job transfers, or a partner’s birthday, giving a handmade card is a lovely way to express your genuine feelings. If you plan and leave space in advance for the message, you can place the text and illustrations in a well-balanced way. Give it a try and make a heartfelt, handmade celebratory card.