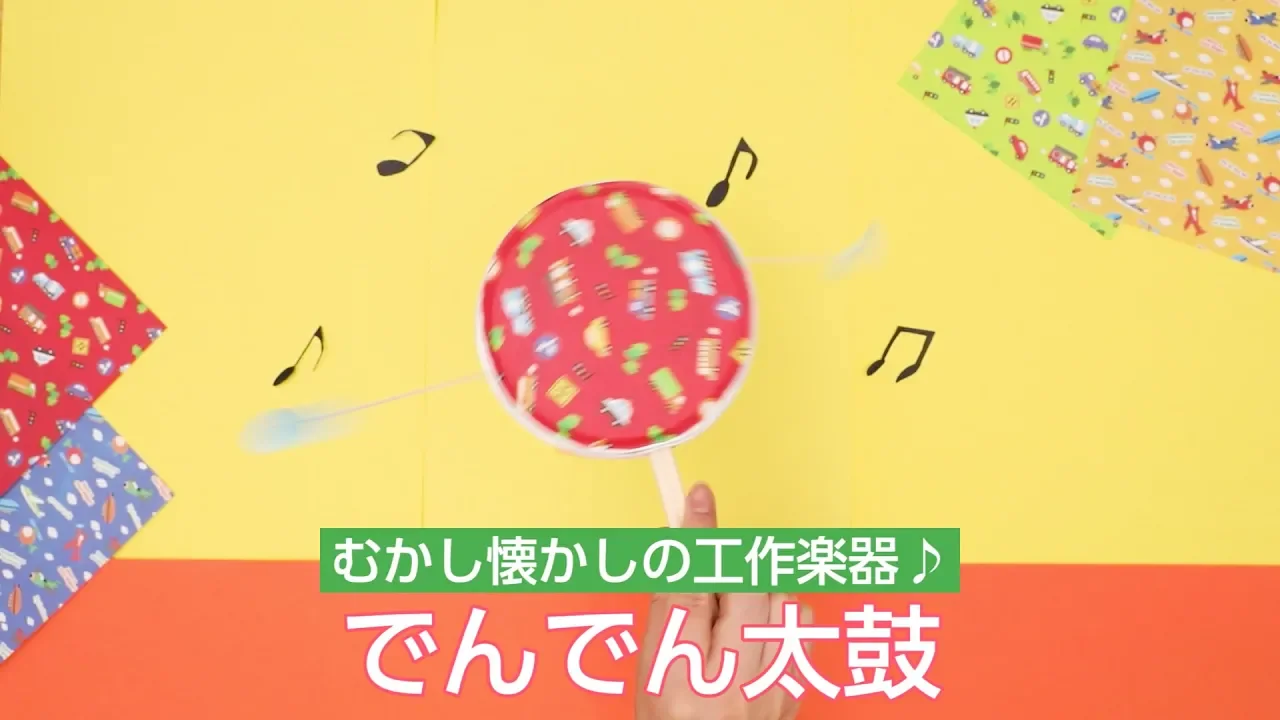
DIY ideas for a den-den daiko (Japanese pellet drum). Let’s make and play with this nostalgic toy!

The den-den daiko, long known as a children’s toy.
It’s a small hand drum with a handle that makes sound when the beads on strings strike the drum.
Simple, yet one of the kids’ favorites.
In fact, this den-den daiko is surprisingly easy to make by hand! This article introduces DIY ideas for making your own den-den daiko.
The ideas mainly use recycled materials like empty boxes, milk cartons, and tape cores, making them perfect for children’s crafts.
Give it a try and have fun making and playing!
Handmade ideas for den-den daiko (pellet drum). Let’s make and play with this nostalgic toy! (1–10)
[Cheese Box] Nostalgic Old-Fashioned Den-den Daiko (Hand Drum)
![[Cheese Box] Nostalgic Old-Fashioned Den-den Daiko (Hand Drum)](https://i.ytimg.com/vi/gyNg-UBXQJk/sddefault.jpg)
Here’s an introduction to making a den-den daiko using a six-piece cheese box.
Decorate the outside with origami paper or construction paper, and make two holes on the left and right sides.
Thread a button onto a piece of twine and tie it, then pass the other end through one of the holes you made and secure it.
Put on the lid, close the box, and tape it shut, then make a hole at the bottom for a chopstick.
Insert the chopstick into the hole and tape it in place to finish.
This one has the classic, traditional look of a den-den daiko.
It’s easy to hold and play with, so it’s recommended for young children.
You can also wrap the chopstick with washi tape to make it colorful!
PET bottle cap: small den-den daiko (hand drum)
https://www.instagram.com/p/Cuj2YGAJ-TK/How about making a small den-den daiko drum that even a baby can hold? The materials are plastic bottle caps, a straw, cotton twine, and beads.
First, tie the cotton twine near the top of the straw that will be the handle.
Sandwich the twine between two plastic bottle caps above that point, and secure the caps with tape or glue.
Finally, cut the twine to an appropriate length and attach the beads, and you’re done! It’s fine as is, but if you decorate the caps and straw with washi tape or colored tape, it will be more colorful and likely to attract a baby’s attention even more.
Milk Carton Denden Daiko (Japanese hand drum)
https://www.instagram.com/p/CrAOqZFrKA4/Let’s make a very simple den-den daiko (Japanese pellet drum)! As preparation, please wash an empty milk carton thoroughly and let it dry.
First, cut the carton about three centimeters up from the bottom.
When you cut, leave one side uncut.
Punch holes in the top and bottom of the carton, insert a pair of chopsticks to serve as the handle, and secure them.
Next, punch holes on the left and right sides, thread yarn tied to paper clips through the holes, and tape the ends on the inside.
Once that’s done, trim the side you left uncut to a suitable length, close it to form a neat box, and tape it shut—that’s it! It’s so easy that even kids can give it a try!
Den-den daiko made from a tape core

When you finish using a roll of tape, you’re left with the cardboard core, right? How about turning that core into a toy for kids? First, make four holes in the core—one each at the top, bottom, left, and right.
Insert a pair of chopsticks through the top and bottom holes to create a handle, and thread string with beads through the left and right holes, securing them in place.
Finally, stick a circular piece of paper onto the side of the core, and you’re done! It’s a den-den daiko, a traditional Japanese pellet drum.
When you twirl the handle back and forth, the beads strike the paper and make a sound.
It’s a simple toy, but a classic that kids love!
[Disposable] chopstick den-den daiko (hand drum)
![[Disposable] chopstick den-den daiko (hand drum)](https://i.ytimg.com/vi/YsHnhxlPGo8/sddefault.jpg)
This is a den-den daiko (Japanese pellet drum) made using disposable chopsticks.
You’ll also make the frame by gluing chopsticks together.
Of course, the handle is a chopstick too! Once the frame is ready, cut a piece of clear tablecloth to the same size and attach it.
Next, take a chopstick cut short, wrap twine (tako-ito) around it and wind it into a ball, then leave a little extra twine and cut it.
Make two of these, tie them to the left and right sides of the frame you just made, and you’re done! It takes a bit of time since you’ll cut chopsticks to equal lengths to assemble the frame and wait for the glue to dry, but it’s perfect for a summer vacation craft.
Give it a try!
[Cardboard] Tanuki Den-den Drum
![[Cardboard] Tanuki Den-den Drum](https://i.ytimg.com/vi/KCcKR7hTUQY/sddefault.jpg)
This is a tanuki pellet drum made from cardboard.
Cut the cardboard into the shape of a tanuki and attach facial parts made from construction paper.
Draw the eyes and mouth with a pen, then make holes on the left and right sides of the tanuki’s body.
Thread twine through the holes and tie it, then tape an acorn to the other end.
Your tanuki pellet drum is complete! If you don’t have acorns, try using buttons or small balls instead.
This idea can work for lots of other animals besides tanuki, too.
[Cardboard] Girl’s Den-den Daiko (Hand Drum)
![[Cardboard] Girl's Den-den Daiko (Hand Drum)](https://i.ytimg.com/vi/sBoJt7Wzano/sddefault.jpg)
Recommended for girls! Here’s how to make a den-den daiko (Japanese pellet drum) with braids where the drum strings are.
Cut out a round piece from cardboard for the face and make holes on the left and right with an awl or similar tool.
Thread yarn through the holes and tie knots so it won’t come out; also tie a knot at the midpoint.
Next, thread beads on and tie again so they don’t slip off.
Insert a bamboo skewer as the handle into the gap in the cardboard, and once you draw the girl’s face, it’s complete.
You can also make bangs with yarn, and if you attach white drawing paper to the cardboard, you can even add makeup—sounds fun!