Fun for kids and adults alike! A collection of DIY beanbag (otedama) ideas

Beanbag play is suitable for infants and toddlers once they can sit up.
Even if they can’t throw yet, simply repeating the motion of letting the beanbag drop is fun.
This time, we’ll share ideas for handmade beanbags that adults can craft to enjoy playing with children, as well as simple handmade beanbags kids can make themselves using origami or balls.
It’s a wonderfully engaging toy—sing while tossing, or balance it on different parts of the body.
By all means, try playing together with handmade beanbags tailored to your child’s age.
Fun for kids and adults! A collection of handmade beanbag ideas (1–10)
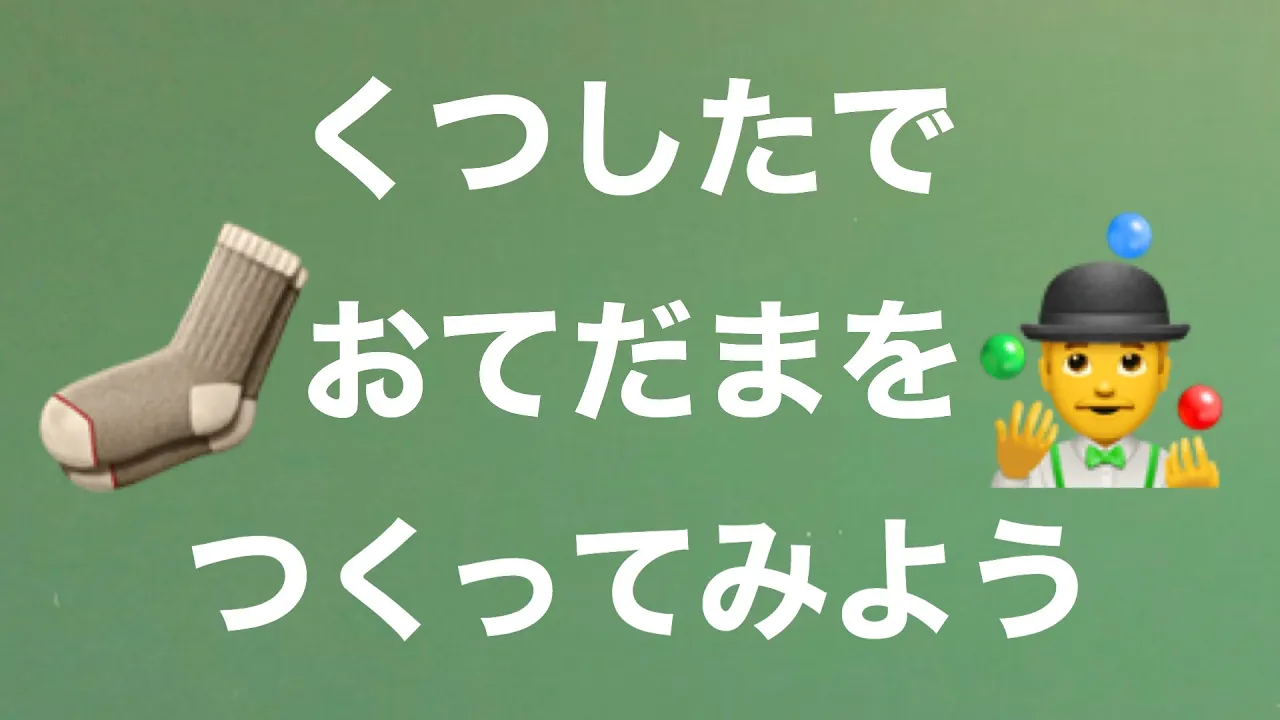
Beanbags you can make with socks

You can make them with socks! Here’s how to make handmade beanbags without using a needle or thread.
What you’ll need: socks, rubber bands, and dried beans such as adzuki beans, corn, soybeans, or coffee beans.
First, turn the sock inside out.
Put the beans into the inside-out sock.
Gather the beans toward the toe.
Next, tie off the opening with a rubber band.
Finally, turn the sock right side out and you’re done! Make two and try playing with them.
Socks with animal faces are super cute, so they’re highly recommended.
Beanbags made from plastic bottle caps

No needle or thread needed! Here’s how to make beanbags using plastic bottle caps.
What you’ll need: two plastic bottle caps, rice, and vinyl (electrical) tape.
First, fill one of the caps with rice.
Place the other cap on top to close it, then secure the caps together with vinyl tape—that’s it! Make a second one so you can have more fun.
It’s also recommended to decorate the caps with drawings using permanent markers, or with washi tape and stickers.
Juggling with balls
https://www.tiktok.com/@yoshida.daidogei/video/6948662906284215553Enjoy making your own beanbags with balls! Here’s how to make colorful ball beanbags.
You’ll need ball pit balls, sand, and vinyl tape.
First, make about a 1 cm slit along the seam of the ball.
Next, pour sand into the ball through the slit.
Once it’s filled to a comfortable weight, seal the slit with vinyl tape—and you’re done! We recommend wrapping the tape around twice.
It’s also fun to decorate the balls by drawing with oil-based colored markers or adding stickers.
A beanbag that makes acorn collecting fun

Let’s make beanbags using acorns collected with the kids! You will need acorns, a 10 cm × 20 cm piece of fabric in a pattern you like, and a needle and thread.
First, place the fabric with the wrong side facing up, and fold it in half with the long side toward you.
Do a running stitch; after folding it in half, sew the edges together and tie off the thread.
Put the acorns in from the open side, then do a running stitch 1 cm down from the top of the bag.
Fold the edge inward, pull the thread to close the opening, and tie it tight.
Finally, stitch a cross on top and tie a knot to finish.
Enjoy collecting acorns with the kids and making these together!
Tadpole beanbags you can make and play with

I’ll show you how to make a very cute tadpole beanbag! You will need: a 12 cm × 22 cm piece of black fabric, a 5 cm × 16 cm piece of fabric for the tail, pellets, a needle and thread, and felt eyes.
First, place the tail fabric right sides together, align the edges, and sew.
Turn it right side out to finish the tail.
Next, make the body.
With right sides together, fold the short edges to meet; starting 1 cm in from the left side, insert the tail and sew it in together.
On one end of the tube, do a running stitch.
Add the pellets, then close the opening securely and stitch it on the inside.
Finally, sew on the eyes, and you’re done!
Beanbags you can make with kids

Great for practicing needlework! Here’s how to make a beanbag that even kids can sew.
You’ll need a piece of fabric you like, 10 cm by 16 cm, 45 grams of dried azuki beans, and a needle and thread.
First, place the fabric horizontally and fold it in half.
Sew along the open edge.
Start with a backstitch: insert the needle again at the starting point and stitch the same spot twice.
Next, do a running stitch, alternating from front to back in order.
Once it forms a tube, sew one end closed and turn it right side out.
Fill it with the beans, then sew the other end closed while tucking the fabric edge inward—and you’re done!
Beanbag balloon made with origami

When you think of beanbags (otedama), many people imagine sewing, but you can also play with origami balloons like beanbags.
Prepare two sheets of origami paper.
First, take one sheet, fold it in half into a square twice, open it up, then squash-fold it into a triangle.
Do the same on the other side.
With the open side facing you, fold up the left and right corners toward the center.
Then fold those raised left and right corners inward, fold only the top layer of the upper corner down, and tuck it into the pocket.
Repeat the same steps on the other side.
Blow air into the hole to inflate it, and you’re done! Make one more just like it and try playing with them.