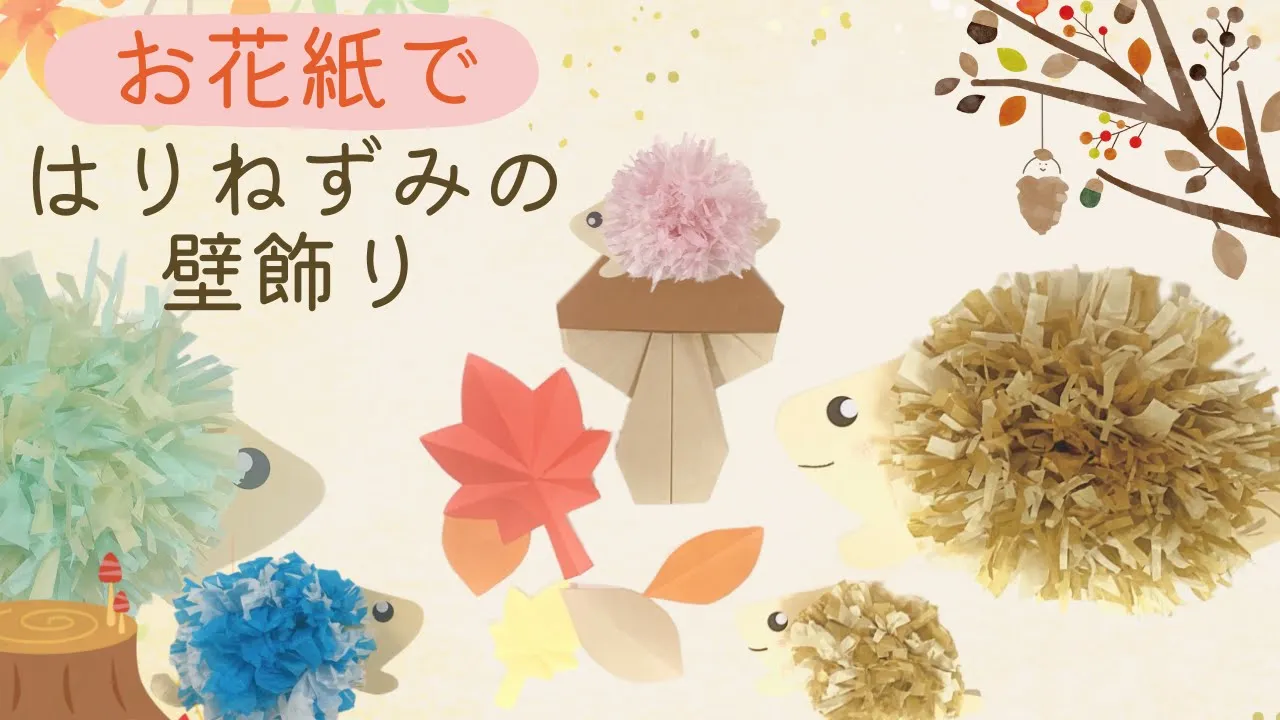
Hedgehog crafts for daycare and kindergarten! A collection of ideas to enjoy autumn in childcare


Speaking of autumn, hedgehogs are also popular with children.
In fact, you can represent a hedgehog’s quills using fallen leaves, acorns, yarn, or origami paper! Here, we’ll share hedgehog craft ideas that children ages 1 to 5 can enjoy at daycare or kindergarten, tailored to each age group.
Beyond their cute appearance, choosing, sticking, and arranging different materials helps develop fine motor skills.
Enjoy the feeling of autumn nature with the children as you make prickly little hedgehogs together.
You’re sure to meet a variety of wonderfully unique hedgehogs! Because the children’s creations are treated as works of art, we use the term “production” (制作) in the text.
Hedgehog crafts for daycare and kindergarten! A collection of ideas to enjoy autumn in childcare (1–10)
[Age 5] Fluffy Tissue-Paper Hedgehog
![[Age 5] Fluffy Tissue-Paper Hedgehog](https://i.ytimg.com/vi/eZ0RJMzLPIE/sddefault.jpg)
Here’s a craft idea for making a hedgehog using tissue paper.
First, take two colors of tissue paper and stack four sheets of each color alternately, then accordion-fold them.
Once folded, tie them together at the center.
Please have an adult handle the steps up to this point.
Next, layer 2–3 folds of the accordion together and make three slits.
After you’ve made slits on all the top and bottom accordion layers, gently separate the tissue paper one sheet at a time to create an arch.
This will be the hedgehog’s spines, so attach it to the hedgehog body you’ve cut out from construction paper.
If the spines feel too long, trim and neaten them with scissors.
Because you’re using tissue paper, the spines are fluffy and look very cute.
[Age 2] Hedgehog made with toothbrush art
https://www.instagram.com/p/Cyf381kJ9yv/Let’s try making a cute hedgehog wearing a beret.
We’ll use toothbrush art to create the quills.
After sticking a hedgehog cutout made from construction paper onto a backing sheet, place small amounts of paint along the line from the head to the back.
Hold a toothbrush and brush the paint outward to form the quills.
For two-year-olds, this can be difficult to do alone, so an adult should help guide the toothbrush.
Put on the beret made from construction paper, and decorate the area around it with maple leaves to finish.
You can make the leaves with origami paper, stamps, or any method you like.
Using real leaves would be lovely, too!
[Age 3] Hedgehog made with fallen leaves and paper plates
https://www.instagram.com/p/ChpEyyGp4R7/Let’s try making a hedgehog craft using the brightly colored fallen leaves you find outside.
It’s super easy! Cut a paper plate in half and use it as the hedgehog’s body.
Glue the leaves onto the spiky part, then add round stickers for the eyes and nose—and you’re done! Autumn leaves come in many colors like red, yellow, and brown, so your hedgehog will turn out wonderfully colorful.
It’s also a great idea to show children what a hedgehog looks like and start the fun with a leaf-hunting activity.
[Age 4] Hedgehog with fork stamps
https://www.instagram.com/p/CwpSL5wNjG_/Enjoy an autumn craft with fork stamping! First, cut construction paper into the shape of a hedgehog.
If the child is old enough to use scissors well, let them try from this step.
Glue the hedgehog onto a backing sheet and draw its face.
Then dip a fork in paint and stamp to create the hedgehog’s quills.
It’s easier to get clean stamps if you use the paint as is, so give it a try.
Preparing a few autumn-like colors such as red, orange, and brown will make it more vibrant.
Finish by gluing fallen leaves or acorns in the empty spaces on the backing sheet to give it an autumn feel.
[Age 5] Colorful hedgehog with origami and glue
https://www.instagram.com/p/CwNMmiCJmzE/Let’s make a hedgehog using colorful origami paper and a paper plate.
First, cut the paper plate in half and paint it brown.
You can also use a pre-made brown paper plate.
Cut the origami paper into eight strips, then glue the ends together to form teardrop shapes.
Attach one teardrop to the cut edge of the plate to make the hedgehog’s face, aligning the shape with the curve, then glue the rest of the teardrops onto the open area as the hedgehog’s spines.
Stick the origami pieces in rows, working from the outside inward.
Once all the origami is attached, you’re done! Try using your favorite colors and patterns of origami paper.
[Age 3] Colorful Hedgehog with Vegetable Stamps
![[Age 3] Colorful Hedgehog with Vegetable Stamps](https://i.ytimg.com/vi/SCg1AJTJqA8/sddefault.jpg)
While enjoying stamping with vegetables, let’s try making a hedgehog! First, prepare stamps made from items like sweet potatoes, and use various paints to stamp onto white paper.
Once the paint dries, cut out each stamped shape.
Glue a hedgehog body—cut from a different sheet of construction paper—onto a backing sheet, then attach the cut-out stamps to look like spines.
Draw the face and stick on a round-cut nose to finish.
In the empty spaces on the backing, try drawing an autumn scene.
[Age 4] Swirly Yarn Hedgehog
![[Age 4] Swirly Yarn Hedgehog](https://i.ytimg.com/vi/gqxMkvqpJEU/sddefault.jpg)
Here’s a fall-perfect hedgehog craft idea using yarn.
First, cut out the hedgehog’s body and a base for the spines from construction paper.
Tape the end of the yarn to the back of the base and wrap the yarn around and around it.
Keep wrapping so the yarn covers the whole base.
Once wrapped, attach it to the paper body you cut out and draw the face.
Finally, add a black round sticker for the nose to finish.
Prepare the spine base and yarn in various colors and let the kids choose.
It also makes a great wall decoration.