Basic fingerings for piano beginners

“Because the fingers on the right and left hands are reversed!”
For that reason, many people find it difficult to play the piano with both hands.
The human body isn’t just like that in the hands; the feet, ears, and eyes are also arranged as mirror images left and right.
When you place your hands, the right thumb is on the far left, and the left thumb is on the far right.
This time, I’ll talk about the basics of fingerings.
finger number
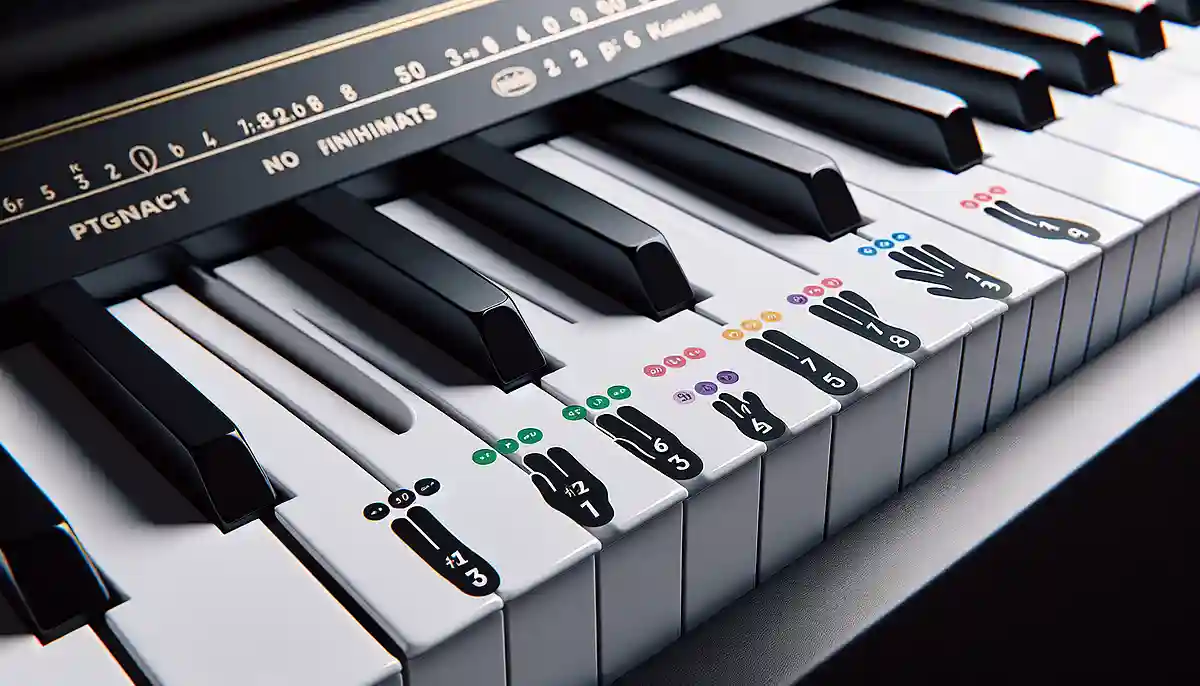
Each finger has an assigned number: thumb 1, index finger 2, middle finger 3, ring finger 4, little finger 5.
The numbers written on the sheet music refer to fingerings, indicating “if you use this finger, you’ll generally be able to play it well.”
Of course, since everyone’s hand size and finger length are different, that fingering isn’t necessarily the best for everyone, but it can serve as a useful reference.
Now, since the right hand and left hand are mirror images, if you move the fingers of both hands the same way—1, 2, 3, 4, 5—they end up going in opposite directions, as shown in the diagram.
Even when practicing the piano with both hands, it's easy to move the right and left hands as 1-2-3-4-5,
When I try to play the same notes (for example, Do-Re-Mi-Fa-So),
The right hand goes 1-2-3-4-5, and the left hand goes 5-4-3-2-1.
If the right hand is 1-3-2-4-5, then the left hand is 5-3-4-2-1.
If you want to play the same melody with both hands,
Let's practice moving both hands by thinking not about using the same finger, but about going in the same direction.
touch typing
Playing without looking at your hands, with your hands remembering the width of the keyboard rather than looking at the keys, is called touch-typing (blind touch).
It may look difficult for beginners, but once you master it, you can apply it to many different pieces, and if you can read sheet music, you can immediately play songs you haven’t memorized just by looking at the score.
First, place one finger on a single key and practice while being mindful of the width of the keys; you should naturally come to memorize the width.
Using the black keys can sometimes change the width, but what you need to be even more mindful of is the bottom of the keybed.
The piano produces sound when you touch the bottom of the key’s travel, and the height at which this happens differs between the black and white keys.
If you focus on the bottom part and play with the image of landing on the bottom, it will go well.
Position change
Once you've mastered touch typing, it's time to work on position shifts.
If you can only play in the position where you first placed your fingers, your repertoire will never expand.
One of the joys of the piano is that you can freely use the full range from low to high notes,
Master position shifts and move freely across the keyboard.
Moving
First, practice “moving house,” which means shifting your whole arm along the keyboard. Use your wrist so it feels like your arm is taking your fingers to a different spot.
Reference video “Moving”
to spread; to expand; to unfold; to open; to widen
Next is “spreading.” This means that instead of using fingers 1 and 2 to play adjacent notes like Do–Re or Re–Mi, you spread the same fingers 1 and 2 to play Do–Mi or Do–Fa, and Re–Fa or Re–Sol.
We will practice spreading to the right (higher notes) and to the left (lower notes) using various fingers.
Reference video: “Hirogeru”
to thread/pass (through/under); to put on/cover (over)
Third, “to pass something through/under” or “to put something over (cover).”
This is also called crossing fingers, and it’s a method of moving to various places using the 1 finger.
When you look at a human hand, only the thumb is set at a different angle from the other fingers, which makes it possible to grasp objects.
When threading it through, pass the index finger (finger 1) under the other fingers and move that index finger to the opposite side of those fingers.
When covering, move so that the other fingers overlap on top of the index finger.
If threading it through, use the order ① → ② → ③; if covering it, use the order ③ → ② → ①.
Reference video: “Kuguraseru” (threading/passing through)
Reference video: “Kabuseru”
Play in combination
In practice, you’ll be combining these position shifts as you play, but at first, if you think about which shifts to use and make a note of them on the score so you can practice with intention, I think you’ll naturally internalize them over time.
Master position shifts and challenge yourself with the songs you want to play.