[For Elementary School Kids] Handmade Toy Craft Ideas

There are plenty of opportunities to make handmade toys, like indoor play items or independent research projects.
Some of you might be thinking, “Isn’t there a toy I can make with things I already have at home?”
In this article, we’ve compiled a bunch of handmade toy ideas for elementary school children.
These are not only fun to make, but also fun to play with once they’re finished.
It’s also great to incorporate your favorite characters or designs when making them.
Be sure to check out these handmade toy ideas that you can enjoy with family and friends.
- Simple yet amazing crafts: craft ideas that elementary school students will want to make
- Handmade games: DIY craft ideas you can make and play
- Paper cup crafts that elementary school kids will love! A collection of fun project ideas
- [Indoor Activities] A Collection of Craft Ideas Recommended for Elementary School Students
- [Let’s Make and Play!] Handmade Toy Ideas You Can Create Yourself
- DIY science projects that elementary school boys will love: ideas you can make with everyday materials
- Made of paper! A fun collection of DIY toy ideas you can play with
- Let's make toys with paper cups! Simple and fun handmade toys
- Let's make toys with straws! Easy and fun DIY toys
- For summer vacation homework! Simple and amazing crafts for elementary school students that you’ll want to make after seeing them
- Make It with Pipe Cleaners! A Collection of Simple, Fun, and Playable Toy Ideas
- Fun for Kids! A Collection of DIY Musical Instrument Ideas Using Everyday Materials
- [For Kids] Today’s Handmade Craft Ideas
[For Elementary School Students] Handmade Toy Craft Ideas (71–80)
Marble Rolling Tower

How about a stylish marble run, a Marble Rolling Tower, made from toilet paper cores and colored construction paper? First, stack three toilet paper cores vertically to make one long tube.
Next, let’s create the tracks where the marbles will roll using colored construction paper.
Prepare a rectangular sheet of colored paper, cut it lengthwise in half, then fold the half sheet in half two times.
Unfold the second fold, and along the crease you just made, cut a series of deep, fine slits from one edge to the other.
Once that’s done, fold it into a long, thin triangle to form the track.
Finally, attach the track diagonally to the tube like a slide, and glue a piece of cardboard to the very bottom of the tube as a base—done! Try making it with different colors of paper.
Extending Sword

Here’s how to make an extendable sword using a plastic wrap core and paper.
First, cut the core and use construction paper or similar to make the handle.
Next, make the blade with calendar paper.
Cut the paper so it’s as long as possible.
Roll it tightly so it fits inside the plastic wrap core.
Apply cellophane tape to the paper and adjust it so it matches the inside of the core, then stick it in place.
Once it’s the right size, you’re done! You can twist to extend and retract it for play.
Be careful not to pull it out too far.
Let’s make a bow and arrow

Here’s how to make a bow and arrow from a plastic wrap core! First, poke a hole in the center of the core, then make four vertical cuts along the tube.
Bend the cut middle sections inward on both sides.
Next, use rubber bands and twine to make the bow.
Hook a rubber band onto the indented part of the bow to finish it.
Make the arrows using a bamboo skewer and paper.
Since bamboo skewers are light, be sure to wrap them with paper.
Once your arrows are ready, set up a target and try it out.
You might be surprised at how far they fly.
Make sure small children are careful.
Marble run with a milk carton and paper plates
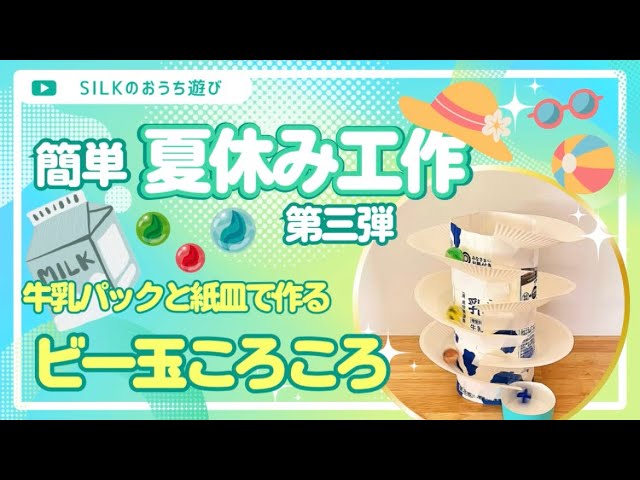
Let’s make a spiral marble run using a milk carton and paper plates! First, cut off the spout and the bottom of the milk carton and turn it into a cylinder by removing the corners.
Next, cut out the center of a paper plate to make a donut shape, snip one spot to open it up, then make several cuts from the center hole outward.
Wrap these around the milk carton to form slide-like ramps.
It’s a good idea to roll a marble from time to time as you build to check that it rolls properly.
Finally, cut off the bottom third of a paper cup, attach it under the end of the slide, and use it as the catcher—then you’re done!
Marble coaster made from drawing paper and milk cartons
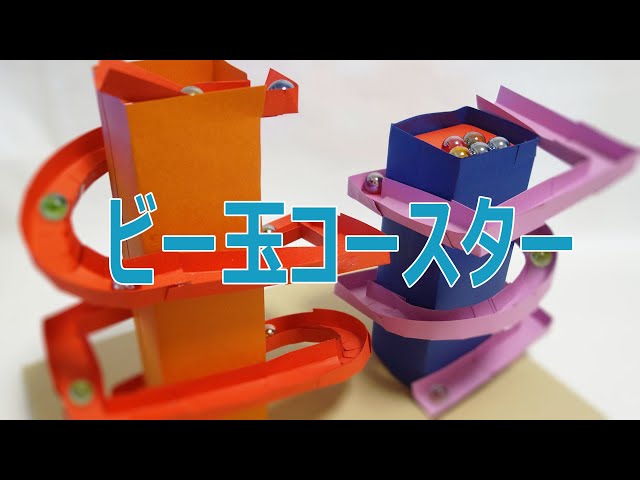
Let’s try making a complex marble run using a milk carton and construction paper! First, close the opening of the milk carton to make a complete cube, then wrap it with construction paper in any color you like.
Next, use construction paper to craft detailed tracks in various shapes.
Make different kinds of paths—curves, sharp angles, and zigzags.
Once the tracks are ready, attach them to the milk-carton cube however you like, and you’re done.
There are no rules for how to build the tracks, so create an original and fun course full of personality!
A climbing ladybug!

Here’s how to make a ladybug toy you can play with using magnets.
First, decorate a half-sphere of Styrofoam to look like a ladybug using pens or any materials you like.
Attach a magnet to the back of the ladybug with double-sided tape.
Next, flatten a toilet paper tube and cut it in half.
Use double-sided tape to fix the cut piece around a wooden stick to form a ring, then attach a magnet so it attracts the ladybug’s magnet.
Make a “tree” using a plastic wrap (cling film) tube, and insert the stick inside the tube.
When you move the stick up and down, the ladybug will move too! It’s also fun to make other bugs or your favorite characters instead of a ladybug, so give it a try!
A climbing ladybug!
Here’s how to make a ladybug toy you can play with using magnets.
First, decorate a half-sphere of Styrofoam to look like a ladybug using pens or any materials you like.
Attach a magnet to the back of the ladybug with double-sided tape.
Next, flatten a toilet paper tube and cut it in half.
Use double-sided tape to fix the cut piece around a wooden stick to form a ring, then attach a magnet so it attracts the ladybug’s magnet.
Make a “tree” using a plastic wrap (cling film) tube, and insert the stick inside the tube.
When you move the stick up and down, the ladybug will move too! It’s also fun to make other bugs or your favorite characters instead of a ladybug, so give it a try!