![[Easy] Origami of fruits that are in season in autumn. Designs and decorations also introduced!](https://media.ragnet.co.jp/img/1200__png__https://www.studiorag.com/files/2025/05/accb33fe31b86a8238038d81f5ad1cbf.webp)

Autumn, often called the season of hearty appetites, is when a wide variety of fruits come into season.
In addition to classics like peaches and pears, there are many other fruits that are especially delicious at this time of year.
In this article, we’ve put together origami crafting ideas that are perfect for the autumn season.
We’ll highlight fall fruits and also introduce simple origami designs and decorations of autumn fruits that you can make easily.
It’s also a great time to gather seasonal treats and take photogenic pictures.
Why not try autumn-themed origami—fun to make and fun to display?
- Easy to make! A collection of origami grape craft ideas
- [Childcare] Simple fall origami ideas
- October origami kids will love! Easy ideas from Halloween to autumn flavors
- Easy origami acorn folding method
- [Autumn] Easy Origami Ideas for November
- Enjoy the sights of autumn using just scissors! A collection of easy paper-cutting ideas
- [Origami] Have fun with kids! A collection of easy snowman origami ideas
- Simple: A roundup of origami ideas perfect for Christmas
- Preschool: Autumn-Themed Craft Ideas Recommended for November
- Irresistibly fun to make! Simple mushroom origami ideas you can enjoy with kids
- [For Kids] Let's Fold! Today's Origami Idea Collection
- [Kids] Let’s Make Origami! A Collection of Easy Goldfish Folding Methods
- [Childcare] For 5-year-olds! Autumn craft ideas
Autumn fruits (1–10)
When you think of fruits that represent autumn, what comes to mind? It’s the season when many fruits are at their best, so there are plenty you might picture.
Here, we’re introducing easy origami themed around autumn fruits, which may also help deepen your knowledge about them.
Check out a wide range of ideas—from designs that depict realistic fruits to deformed, cute origami with expressive faces.
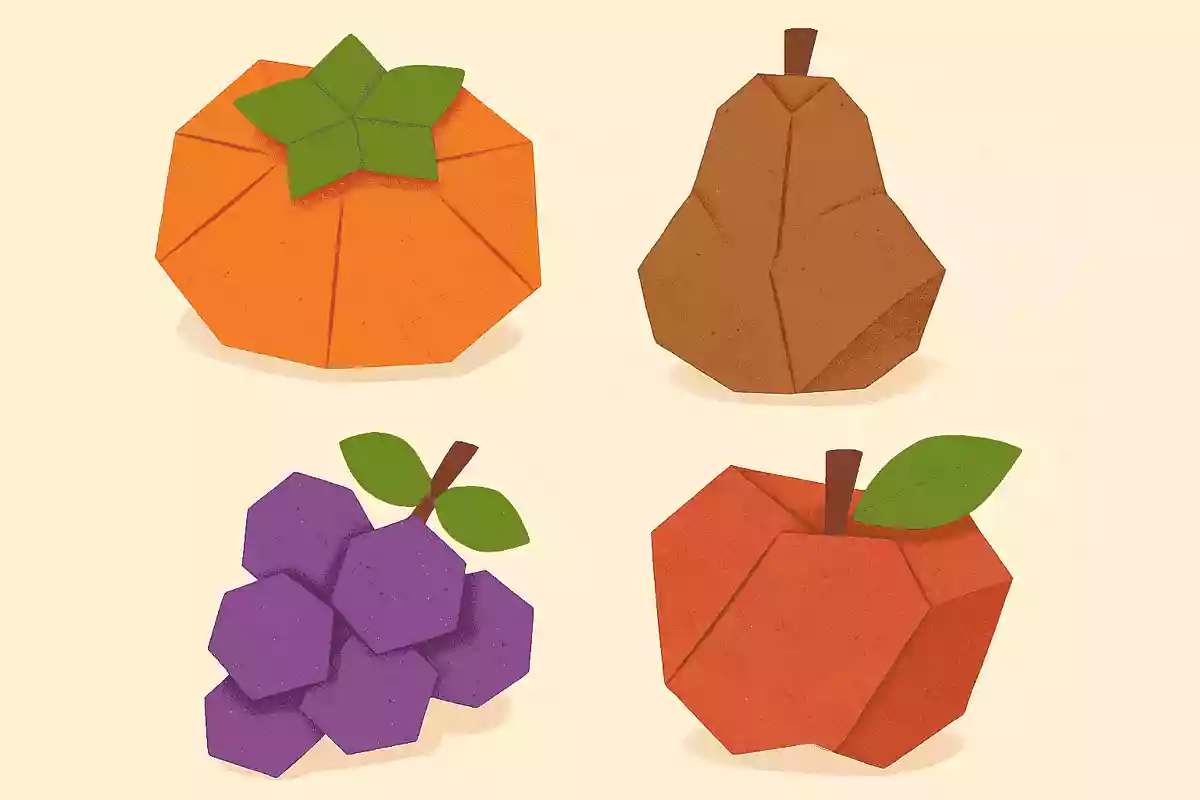
Apple

You can easily make an autumn apple with origami.
First, fold the paper twice to create a cross-shaped crease.
Unfold it, then fold the two bottom corners in to meet the center.
Next, fold the top edge down so it meets the horizontal center crease.
Fold the two top corners inward to meet the vertical center crease, then fold the new left and right corners in to align with the corners you just folded to the center.
Finally, fold the bottom point up so it sits between the vertical center crease and the bottom edge—your apple is complete.
Add a stem or leaf if you like and enjoy!
peach

It reminds me of the peach from the folk tale Momotaro.
This is an origami idea that expresses both a peach and its leaves using a single sheet.
Basically, it’s simple—just fold along the lines—so there’s no need to make lots of creases in advance or open and squash folds midway.
That makes it easy for children to make.
Use origami paper that’s pink on the front and green on the back, and fold with the pink side facing out.
Since it’s easy, everyone can fold it together and use it as a wall decoration or a little accent for craft projects.
fig

Let me show you how to fold a fig, which is also said to be good for beauty.
First, make an X-shaped crease on the origami and unfold it.
Match the top corner to the bottom corner to make a triangle.
Next, fold the bottom corner of the top layer to the center, then fold again, aligning the new crease with the crease above it.
Rotate the paper to flip top and bottom.
Fold the left and right corners into triangles, aligning them with the differently colored sections.
Open it, then fold again, matching the corners to the creases you just made.
Take the second set of creases you made and fold both the left and right sides toward the central crease.
Fold the bottom corner up toward the center.
Slightly fold in the bottom corners on both sides toward the inside, then flip the origami top and bottom once more.
Fold the bottom corner up so that it sits about 1 cm below the center.
Make a stem from a separate piece of origami and attach it vertically along the center line, then fold the slanted lower side edges inward to match the stem.
There are quite a few steps, but none of them are difficult—so please give it a try!
kiwi

When it comes to fall fruits, many people think of apples and grapes.
But in fact, kiwis are also a fruit that see higher harvests from autumn through winter.
So, why not try making a kiwi out of origami? The finished kiwi is super cute.
There are quite a few steps where you create crease lines, and since you fold along those creases, accuracy is important.
If you’re making it with children, prepare the paper by adding the creases beforehand and give it to them.
As long as the creases are set, there aren’t any difficult steps afterward, so definitely give this adorable origami kiwi a try!
persimmon

How about expressing persimmons—an iconic taste of autumn—using orange and green origami paper? By making the rounded fruit and the leafy calyx separately and then combining them, you can easily create a persimmon shape.
If you make them with your children, you can enjoy the activity while feeling the arrival of autumn.
The finished pieces can also be used as wall decorations, perfect for celebrating the fall harvest.
Working together as a family will surely create wonderful memories.
Why not create a cozy, autumn-inspired space with persimmon origami?
grapes

Let’s try expressing one of autumn’s signature fruits—grapes—through origami.
Recreating vitamin-packed grapes together with your child is a very enjoyable process.
Using colorful paper, fold each grape one by one with care.
The finished grapes are perfect for an autumn wall display and would be great for seasonal decorations made by nursery and kindergarten teachers.
At home, parents and children can also spend time together enjoying the feeling of autumn’s fruits.
It’s also a great idea to gather other autumn treats and take photogenic pictures.
Why not try autumn-themed origami that’s fun to make and fun to display?
mandarin orange

Many people think of mandarins as a winter fruit, don’t they? But in fact, there’s also a variety called “goku-wase” that’s harvested in autumn.
So let me introduce a mandarin as an autumn origami project.
After making an X-shaped crease on the origami paper, fold it into a triangle, then fold the left and right corners toward the center.
Lift only the top layer of the upper corner and fold it down to meet the bottom.
Next, fold it back toward the center.
Flip the origami top to bottom, then fold the bottom corner up to meet the small central triangle’s tip.
Fold it back down just a little.
Flip the origami top to bottom again, and tuck the lower left and right corners inward.
Turn the paper over, fold the top corner toward you, and it’s complete! If you color the last folded part green and add some patterns, it will look even more like a mandarin.