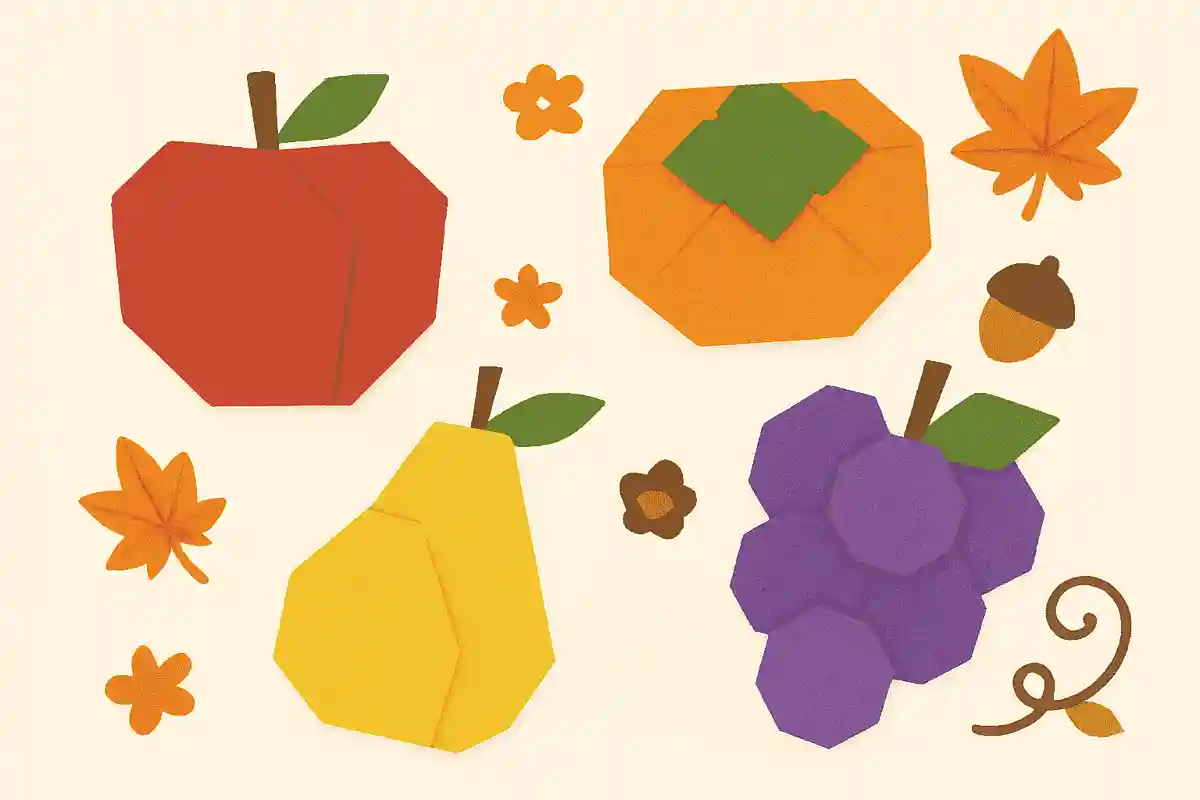
[Easy] Origami of fruits that are in season in autumn. Designs and decorations also introduced!

Autumn, often called the season of hearty appetites, is when a wide variety of fruits come into season.
In addition to classics like peaches and pears, there are many other fruits that are especially delicious at this time of year.
In this article, we’ve put together origami crafting ideas that are perfect for the autumn season.
We’ll highlight fall fruits and also introduce simple origami designs and decorations of autumn fruits that you can make easily.
It’s also a great time to gather seasonal treats and take photogenic pictures.
Why not try autumn-themed origami—fun to make and fun to display?
- Easy to make! A collection of origami grape craft ideas
- [Childcare] Simple fall origami ideas
- October origami kids will love! Easy ideas from Halloween to autumn flavors
- Easy origami acorn folding method
- [Autumn] Easy Origami Ideas for November
- Enjoy the sights of autumn using just scissors! A collection of easy paper-cutting ideas
- [Origami] Have fun with kids! A collection of easy snowman origami ideas
- Simple: A roundup of origami ideas perfect for Christmas
- Preschool: Autumn-Themed Craft Ideas Recommended for November
- Irresistibly fun to make! Simple mushroom origami ideas you can enjoy with kids
- [For Kids] Let's Fold! Today's Origami Idea Collection
- [Kids] Let’s Make Origami! A Collection of Easy Goldfish Folding Methods
- [Childcare] For 5-year-olds! Autumn craft ideas
Autumn fruits (1–10)
chestnut

Would you like to try making an origami chestnut, a classic taste of autumn? Roll brown or yellow origami paper to form the shape of a chestnut.
Use your fingertips to refine the shape, taking your time to finish it neatly.
The completed chestnuts are perfect for wall or ceiling decorations.
Combine them with fallen leaves and pinecones to create a space full of autumn atmosphere.
If you make them with children, you can enjoy the activity while feeling the change of seasons.
How about bringing autumn’s warmth into your classroom or room with origami chestnuts?
pear

I’ll introduce an origami idea for an autumn fruit: the pear.
First, fold the paper in half, then fold it in half again.
Open the top layer to the right as if unfolding it, and make a slightly diagonal crease down the middle.
Once that’s done, turn it over and fold all four corners inward.
Turn it over again.
Tuck the bottom protruding part inside.
That completes the body of the pear.
For the stem, use a piece of paper that’s one quarter the size of the paper used for the body.
Fold it several times to make a stick shape, then attach it to the body.
Your pear is complete!
lemon

Let’s make a lemon out of origami that tastes great with autumn’s seasonal Pacific saury.
First, fold the origami paper in half twice to make a cross-shaped crease.
Next, do a “zabuton fold” by folding all four corners in to meet at the center.
Then, take the two corners that lie on the same diagonal and fold each one at about the halfway point between the corner and the center; fold the remaining two corners slightly inward.
Your lemon is complete! You can draw the lemon’s texture with a black pen, and if you’re making it for kids, drawing a puckered sour face will look cute too.
Design & Decoration (11–20)
Some origami pieces can be completed with a single sheet, but there are also cases where you use multiple sheets to create designs and decorations.
Here, I’ll introduce origami crafting ideas featuring autumn fruits.
Try using them in various settings, such as wall displays in your room or door decorations.
Design & Decoration (1–10)
Kuriboh
When autumn comes, many people find themselves craving chestnuts, don’t they? Candied chestnuts are also a classic snack for kids.
Here, we’ll introduce an origami project for Kuribō, a cute chestnut character.
You’ll make it in three parts—head, body, and apron—so prepare two sheets of origami paper of the same size, plus one sheet divided into nine equal pieces.
The overall difficulty is suitable for children, but the body part includes some fine folds, so younger kids may need adult assistance.
Once it’s finished, draw the eyes and mouth to give it a cute look.
Grape decoration

How about trying an origami challenge to make grape decorations that capture the flavors of autumn? Create rounded grape berries with colorful paper and add green leaves for a look that’s almost like the real thing.
Hang them on the wall to bring a rich, seasonal atmosphere to your space.
Making them with your children can be a great chance to learn about fall fruits.
As you enjoy the delicate, hands-on work, you’ll also nurture creativity.
Why not brighten up your room with origami ideas perfect for autumn?
Peach Hanging Ornament
Here’s an idea for a peach hanging decoration that will give your room a cute vibe.
The peaches are made with origami.
It’s very easy, so please give it a try.
First, make a “zabuton fold” by folding all four corners of the origami paper toward the center.
Next, fold three of the corners slightly inward.
Now you’ve got the peach shape.
Next are the leaves.
Use a smaller sheet of origami paper than the one you used for the peach.
Fold the paper into a triangle, then fold the base and the left side along the crease.
Without unfolding, overlap and fold the remaining side along the crease as well.
Make two of these, and attach them to the peach while checking the balance—that’s it! Make several and thread them on twine or the like, and hang them in your room.
3D apple
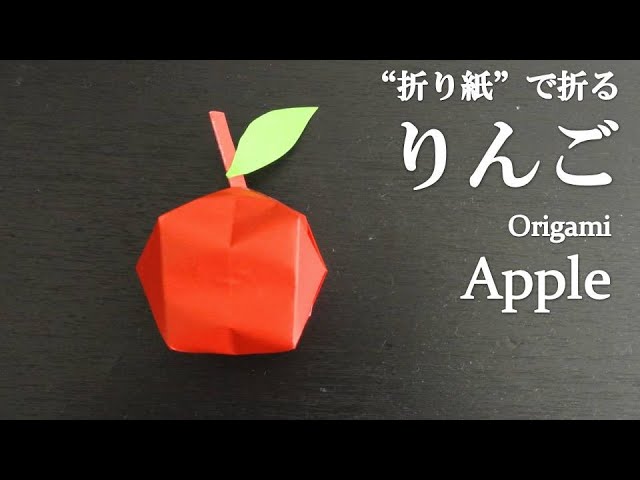
Let me introduce a cute, three-dimensional apple made with origami.
This idea uses the classic “paper balloon” model.
The paper balloon itself is easy enough that even children can fold it, so look up the steps and give it a try.
Since we’re making an apple, use red origami paper.
Once you’ve made the paper balloon, cut another piece of origami into a small strip, fold it several times to make it long and thin, and insert it into the opening where you inflate the balloon.
Then just add a leaf cut out with scissors, and you’re done! It’s very cute, so why not arrange a few in a basket and place it by your entryway?