![[Easy] DIY Water Bottle Cover: How to Make a Stylish, Portable Case](https://i.ytimg.com/vi/Kd99Mor7HqE/sddefault.jpg)

Convenient and stylish water bottle covers for carrying your bottle.
Because we take our bottles almost every day to places like kindergarten, daycare, school, or work, why not try making a handmade cover using your favorite materials and patterns?
In this article, we introduce easy methods for making your own water bottle cover.
We’ve picked out recommended designs such as a round-bottom type that fits the bottle’s shape perfectly, an adjustable drawstring type that’s easy to use, and a luxe leather-craft type.
Give them a try!
- Stylish plastic bottle crafts. Packed with surprising ideas!
- Let's make a handmade smartphone case! A collection of simple and cute ideas
- [Crafts] Cute! Handmade Drawstring Pouch Idea Collection
- How to make fabric straps: a roundup of handmade ideas
- Let's handmake an eco bag: a collection of convenient and cute ideas
- [Easy] Practical craft ideas. Great for beginners too!
- Handmade school backpack cover ideas: original and easy to recognize!
- DIY mask case ideas: introducing designs and how to make them.
- Plastic bottles transformed! A collection of simple yet amazing craft ideas
- Let's make a handmade tissue case: a collection of stylish and easy ideas
- [Handmade] Ideas for diaper pouches and wipes cases
- Recommended for lower elementary school students! A collection of plastic bottle craft ideas made with everyday materials.
- Handmade tote bag ideas: from how to make them to design
[Easy] DIY Water Bottle Cover: How to Make a Stylish and Portable Case (1–10)
cylindrical water bottle cover
Let me show you how to make a cylindrical water bottle cover with a stylish leather handle.
First, cut the outer fabric and the lining from your preferred materials.
You’ll need two types of pieces for each: rectangular pieces for the body (side) and circular pieces for the bottom.
For the outer fabric, I’m using two different fabrics for the side as a design feature.
Using a single fabric is fine, but if you want more visual interest, I recommend using the same color-blocking pattern.
After sewing the outer pieces together, leave an opening for turning, then sew the lining as well.
Place the lining over the outer piece, insert the leather handle, and sew them together.
Turn the fabric right side out, attach spring snaps to the handle and the body, and you’re done!
Insulated water bottle cover

A quilted, lined water bottle cover is a great item that protects your bottle from impact with just the right thickness.
If you cut your fabric according to a pattern made to match your bottle’s shape, you’ll get a perfectly sized cover.
Plus, the round bottom helps it fit the bottle even better.
For kids, it’s recommended to add a D-ring and thread a strap through it so they can carry it over the shoulder.
Once you’ve made the pattern, you can easily mass-produce covers in different fabrics, so give it a try!
Insulated hot/cold bottle cover with thermal sheet

Insulated and heat-retaining bottles are the norm, but many people choose lightweight plastic bottles for kids.
Some may even use drink bottles from 100-yen shops as substitutes.
For those people, we recommend this bottle cover with an insulated, heat-retaining lining.
The opening is like a drawstring bag, which makes it super cute.
If you’re comfortable using a sewing machine, there shouldn’t be any difficult steps, so give it a try!
Urethane water bottle cover
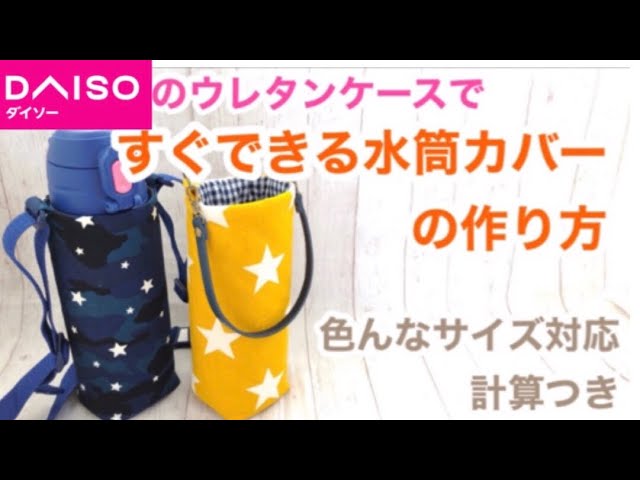
It’s great that urethane material is non-slip and keeps the cover from coming off easily.
In this idea, we use an A4 urethane cushion case sold at 100-yen shops.
First, cut the outer fabric to the water bottle’s diameter + 3.5 cm by the bottle’s height (excluding the spout) + the base radius + 3 cm.
Cut the cushion case to the same size.
Sew a tag with a D-ring onto the outer fabric so you can attach a shoulder strap, then sew it together with the cushion case, leaving an opening for turning.
Create a gusset that is the bottle’s diameter minus 1 cm, thread a shoulder strap through the D-ring, and you’re done! It’s easy, so give it a try.
reversible water bottle cover

This is a cover that can hold not only water bottles but also tumblers.
Since it’s reversible, you can switch the pattern to match your mood, and it even has a pocket so you can store your smartphone! To make it, cut out the outer fabric and lining, and start by making the pocket.
Sew it to the side and bottom pieces, then sew the lining made in the same way.
Turn the fabric right side out through the opening, attach the handle, and you’re done! It’s a particularly recommended idea for stylish women.
crocheted water bottle cover

Recommended for those who love knitting! Here’s a crochet idea for a water bottle cover.
This design has an opening that looks like flower petals—so cute.
Start by crocheting a circular base, then work your way up the sides.
Once you’ve finished, thread an elastic cord slightly below the opening and tie it in a bow to complete it.
The elastic helps keep the cover from slipping off the bottle.
Choose yarn to match your bottle’s color, and you can also add patterns using different stitches!
quilted water bottle cover

Let’s make a water bottle cover with quilted fabric! First, measure the diameter of the bottom of the bottle and create a pattern that is 0.5 cm larger.
Next, cut the side piece from the quilted fabric.
Set the height to your preference based on the bottle you’ll use.
For the width, calculate the length as the bottom pattern’s diameter × 3.14.
Cut it to this size plus a 1 cm seam allowance.
Use the pattern to cut out the bottom fabric as well.
Once cut, sew these two pieces together into a tube, then attach a D-ring and hook-and-loop fastener so the opening can open wide.
Finally, thread bag tape through an adjustable slider and attach it to the D-ring to finish!