[Autumn] Easy Origami Ideas for November

Origami has long been cherished in Japan as a traditional pastime.
Beyond developing dexterity, it nurtures imagination and concentration and gives children a sense of accomplishment—making it an essential activity for supporting their growth.
Many teachers may be looking to actively incorporate origami into their classrooms.
So this time, we’re introducing origami ideas perfect for autumn crafts in November.
We’ve gathered ideas featuring motifs that capture the essence of fall—natural objects, foods, animals, and more.
Most can be made with a few simple steps, so children will surely enjoy working on them.
We hope you find these ideas helpful!
- Preschool: Autumn-Themed Craft Ideas Recommended for November
- For 5-Year-Olds: Enjoy Autumn! Easy Origami Ideas
- Simple Origami Ideas to Enjoy in Autumn (For 4-Year-Olds)
- A collection of fall origami ideas recommended for 2-year-olds! Make them easily and enjoy autumn!
- [Preschool] Recommended for 3-year-olds! Easy-to-make fall origami craft ideas
- [Childcare] Simple fall origami ideas
- Ideas you can use for autumn wall decorations
- [Childcare] November wall decorations and autumn craft ideas
- [For 4-Year-Olds] Recommended in November! Autumn-Themed Craft Activities
- Irresistibly fun to make! Simple mushroom origami ideas you can enjoy with kids
- October origami kids will love! Easy ideas from Halloween to autumn flavors
- [Crafts for 3-Year-Olds] A Collection of Fun Ideas for Autumn! Let's Incorporate Seasonal Motifs
- [October] Craft ideas for fall you can use in childcare
[Autumn] For November! Easy-to-make origami ideas (41–50)
Cute Shichi-Go-San origami

Actually, this idea separates the body and the long sleeves, then layers them to look like a single kimono.
First, for the long-sleeve part: fold the origami paper into a triangle twice to make creases, then unfold it and fold the top and bottom corners to the center.
Next, fold the left and right sides as well, but this time align them about 1 cm short of the center.
Fold the left and right corners back outward, flip the paper over, and fold the left and right corners slightly inward.
Flip it over again, then fold the top and bottom corners of the parts you just folded back about 1 mm inward.
Fold the paper in half along the crease, then fold both sides inward so the arms look overlapped, and that part is done.
For the body: fold the paper into a triangle with the top and bottom corners slightly offset.
Flip the paper over and fold the left and right sides so they overlap at the center.
The white area created by the offset becomes the haneri (half-collar).
Tuck the protruding bottom corner to the back, and slide it between the sleeves you made earlier.
Cute parent and child owls

First, fold the paper up to the crane’s basic form.
Take the two open tips (the side that isn’t closed) and fold them toward the center edge to make crease lines.
Next, using those creases, perform an inside reverse fold on both open tips so they align with the center crease.
Fold the closed bottom corner up on both the front and back.
Then fold the bottom corner upward and squash it open like a balloon fold.
Turn it over, and fold the lower tip up along the edge.
Fold the top tip down.
Finally, fold up a little bit to create an owl’s head that slightly sticks out.
Add cute decorations, and you’re done!
Cute! How to fold an origami Totoro

Totoro, a hugely popular Studio Ghibli character, can be made using gray and light peach origami paper, plus two white and two black round stickers.
First, fold the gray paper into a triangle and unfold it, then fold both side edges toward the center crease.
Fold the corners to round out Totoro’s shape.
Next, open out the two edges you folded first to create Totoro’s arms.
Trim a little off the tip of the longest pointed part, and use that piece to make ears and attach them.
Then shape the light peach paper into Totoro’s belly and combine it with the gray paper.
Finally, add Totoro’s eyes with the round stickers, and draw the nose and belly markings with a pen to finish.
Origami fall leaves using scissors
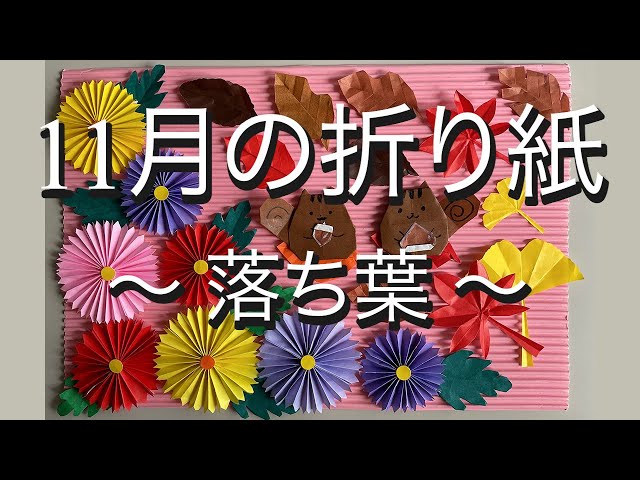
This origami also helps kids practice using scissors! With the colored side facing up, fold the paper into a triangle, then fold up the bottom edge just a little so that the sides line up with the edges.
Keep folding it up like an accordion all the way to the top.
Open the fold you just made once, then, imagining the center vein of a fallen leaf along the closed edge, fold it narrowly on a diagonal.
Next, slightly fold the two corner tips to resemble a fallen leaf.
After shaping it, use scissors to cut small “bug-eaten” holes and details.
Since this requires a bit of fine scissor work, make sure an adult is always there to help.
How to fold realistic autumn leaves

Let’s make a realistic maple leaf using a single sheet of origami.
Fold the paper into a triangle twice, squash the pocketed section into a square, then add creases and squash it into a diamond.
Up to this point, it’s the same process as making a crane.
With the side where the corners are not split at the top, fold down the top layer on the front, then flip the paper top-to-bottom and turn it over.
Crease the two-pronged corner, open it up, and squash this part into a small diamond.
Make a cut in the bottom corner to split it into two prongs as well, squash it into a diamond the same way, then fold the tips to create small leaves.
Turn the paper over, fold the left and right corners of the remaining section inward, and make a step fold on the bottom corner.
Finally, fold the left and right corners once more, and you’re done.
You can make the whole body! Squirrel origami

Let’s make a cute animal squirrel with origami.
First, fold the paper diagonally to make a crease.
With the white side facing up, fold the left and right corners in to meet at the center.
Open it once the creases are made, then fold again along those creases in the same way.
Fold the paper in half along the horizontal center line so that the white side is on the outside.
Next, take the top layer of the top corner and fold it down to match the height of the upper corners of the triangles on the left and right.
Fold the remaining top corner to the back.
Fold the left and right sides at positions about 1 cm outside the vertical center line, then fold the left, right, and bottom corners to align with the slightly visible triangular corners.
Now the squirrel’s face is complete.
We also introduce how to make the body, so please try making it too!
Perfect for walls, too! Chrysanthemum origami

Here’s an idea for making a chrysanthemum using an accordion fold.
Prepare two sheets of origami paper: 15 cm for the flower and 7.5 cm for the leaves.
First, accordion-fold the paper for the flower.
Once folded, take both pieces, align the ends, and fold each in half.
Trim off the two corners at the ends to shape the petal tips.
Open the paper once, apply glue along the center line on both sides, then fold it back in half.
Also glue the inner edges of the folds to form a fan shape.
Glue the two pieces together while spreading them into a circle, and place a round sticker in the center to complete the flower.
Make leaves from green origami paper and attach them to the back of the flower.