Let's make toys with paper cups! Simple and fun handmade toys

Let me introduce some handmade toys using paper cups!
If “store-bought toys get boring quickly” or you “want to do crafting play with your child,” try making toys with easy-to-find paper cups.
We’ve gathered ideas that children of preschool and kindergarten age are sure to love, so have fun!
Paper cups, which we usually use for drinking, can move or even become musical instruments! They’ll surely make kids’ eyes sparkle with interest.
- Paper cup crafts that elementary school kids will love! A collection of fun project ideas
- Let's play with paper cups! Crafts and indoor play
- A simple yet amazing craft using paper cups! An idea that’s also great for independent research projects.
- [Craft] How to Make a Paper Cup Rocket: Ideas to Make It Fly Far
- It's fun to spin! A collection of DIY toy ideas
- A roundup of recreational activities and games using paper cups
- Let's make toys with milk cartons! Easy and fun DIY crafts!
- Handmade games: DIY craft ideas you can make and play
- [Nursery/Kindergarten] Crafts you can play with after making them
- Fun and easy toy ideas made from empty Yakult bottles
- [For Kids] Today’s Handmade Craft Ideas
- [Make with Kids] Handmade Outdoor Play Toy Special
- Fun crafts using straws
Let’s make toys with paper cups! Simple and fun handmade toys (41–50)
Handmade maracas
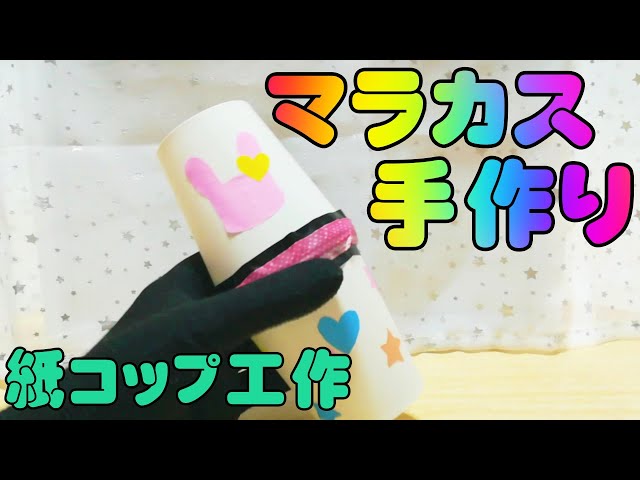
This craft is inspired by maracas made with paper cups that produce a cheerful rattling sound when lightly shaken.
The steps are simple: put beads or finely cut pieces of straw into a paper cup, then cover it with another paper cup as a lid.
What you put inside is important—consider how different fillings change the sound as you make it.
Decorating the outside is also a key point; aim for fun decorations that match the light, lively sound of the maracas.
How to make a paper-cup kendama

This is a paper-cup kendama made with a paper cup and plastic bottle caps.
First, poke a hole in the center of the bottom of the paper cup and thread a 60 cm piece of yarn through it.
Be careful not to hurt yourself when making the hole.
Tie a knot at the end of the yarn so it won’t slip out, and secure it to the outside bottom with cloth tape.
Tie a knot in the other end of the yarn as well, place it between two plastic bottle caps facing each other, and fasten them together with cloth tape.
That’s all it takes to complete the main body! After that, customize it with stickers or markers in any design you like.
It’s great because even kids who struggle with a real kendama can have fun and play together!
paper cup trumpet

This is a craft using a paper cup that can produce a trumpet-like sound when you pull the string sharply.
First, make a hole in the bottom of the paper cup, thread a string through it, and secure it with a short, folded toothpick so the string doesn’t slip out.
Then, when you pull the string vigorously, the impact on the string is transmitted to the paper cup, creating a trumpet-like sound.
You can pull the string with your hand, but using chopsticks is also recommended—try it out and see how the sound changes.
Since just building the mechanism can look simple, it’s also important to add your own decorations to the paper cup.
Paper cup fireworks

Fireworks burst out of a paper cup! How about enjoying a bright, summery craft? First, prepare some copy paper and draw any patterns you like.
Crayons or pens with vivid colors are recommended.
Next, cut the paper in half, accordion-fold each piece, then fold them in half again.
Make a hole in the center of the bottom of a paper cup and insert a chopstick.
Finally, attach the accordion-folded pieces to both sides of the chopstick, and fix their ends to both sides of the cup to finish.
You’ll love the satisfying pop as the fireworks open! It’s easy to make, so give it a try.
The mechanism of sound! Paper cup crow

How about using a paper cup to mimic the sound of a crow? It’s very easy to make! First, poke a hole in the bottom of a paper cup with a toothpick.
Next, thread a piece of string through the cup.
Finally, tie a toothpick to the end of the string inside the cup so it won’t slip out—that’s it! If you pinch and move the string sticking out from the bottom while gripping it with a piece of wet kitchen paper, it will produce a sound just like a crow’s call! The volume and pitch change depending on how you move and shake your fingers, so try out different techniques and see what kinds of sounds you can make.
Cute paper cup finger puppets
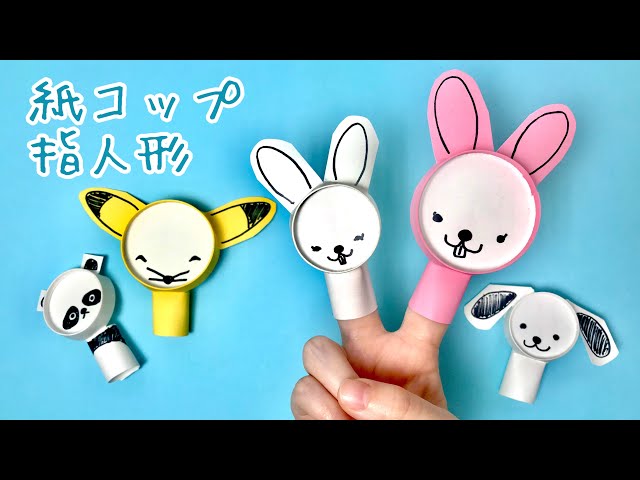
Here’s an idea for making finger puppets using paper cups.
The example shown here is a dog finger puppet, but with a little creativity you can make all kinds of animals.
Once you have a paper cup, cut four vertical slits along the side and remove the excess parts while shaping the dog’s ears and the rings that go around your fingers.
The bottom of the cup will be the face, so draw any expression you like with a pen.
Paper cups come in various colors, so using different colors might expand your range of expression.
Well-spinning paper cup top
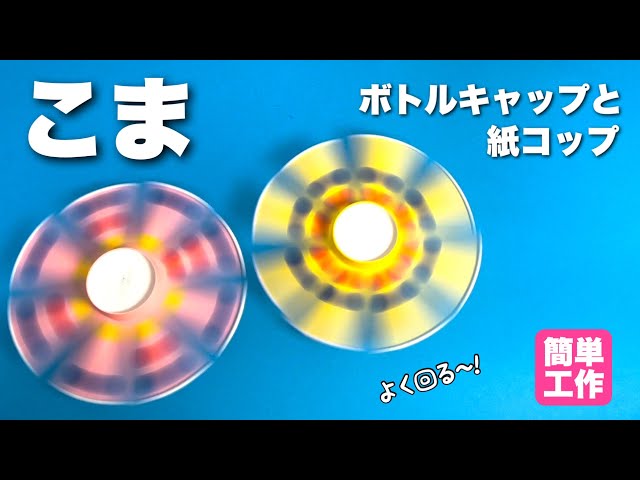
This is a spinning top made with a paper cup that spins well and is fun to watch because of its colorful look.
All you need are a paper cup and two plastic bottle caps.
First, cut slits into the paper cup and spread them out like propeller blades, then attach an axle made by combining the two caps.
That’s enough to complete the basic shape, but it’s recommended to decorate the “propellers” with an eye toward how it will look while spinning.
The impression changes depending on whether you spread the propellers before decorating or decorate first and then cut the slits, so try out various patterns.