
Spinning tops are a classic item enjoyed as a New Year’s game.
They’ve traditionally been played with because you can enjoy watching the top whirl around by pulling a string or twirling a stick, and they’re popular with children, too.
In this article, we’ve put together a roundup of handmade spinning top ideas that let you enjoy both making and playing.
Many can be made with simple materials you have at home, like milk cartons and flyers, so they’re easy to try.
Give it a go and create your own original tops with any illustrations or patterns you like.
- It's fun to spin! A collection of DIY toy ideas
- Handmade spinning tops with everyday materials! Easy ideas you can enjoy for New Year’s too
- Handmade ideas to create and play the traditional Japanese game “Daruma Otoshi”!
- Moving! Spinning! Flying! Fun handmade toys made with rubber bands
- Let's make a handmade hagoita! Fun ideas using milk cartons and cardboard
- Fun for elementary school kids! A collection of craft ideas using plastic bottle caps!
- [Let’s Make and Play!] Handmade Toy Ideas You Can Create Yourself
- New Year’s card ideas to make with children: simple designs using stickers and stamps
- Let's Make and Play! A Collection of Homemade Kendama Ideas
- [Handmade] A collection of stylish DIY koinobori (carp streamer) ideas
- DIY ideas for a den-den daiko (Japanese pellet drum). Let’s make and play with this nostalgic toy!
- Handmade Anpanman toy ideas
- [Handmade] A collection of bamboo-copter ideas using various materials
A collection of homemade spinning top ideas: How to make tops for preschool activities and play (1–10)
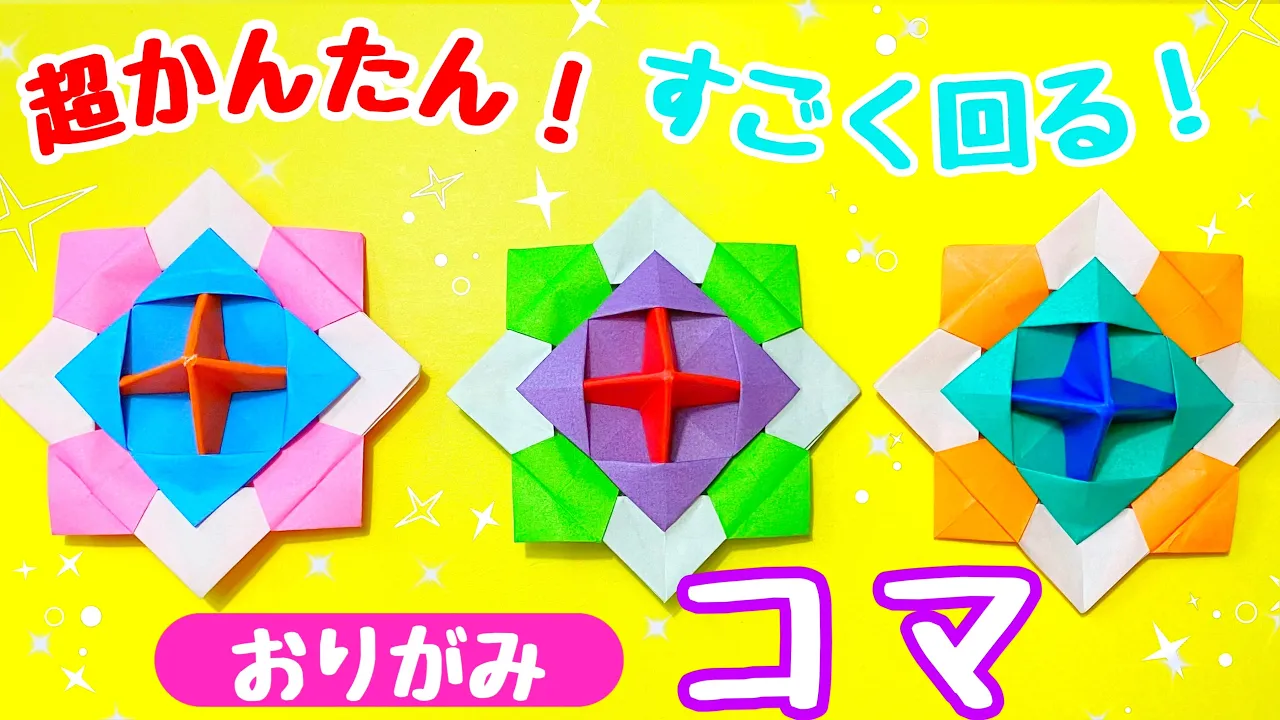
How to fold a spinning top that twirls!NEW!

Here’s an idea for a colorful, well-spinning top made with three sheets of origami paper.
You’ll make the outer body, the inner body, and the handle.
The outer part follows the same steps as the “deceiver boat” up to a point.
After making one boat shape on both the top and bottom, open up those corners and squash them to change the shape from a square to a diamond.
Fold the four corners that lie between the diamond’s points outward, then fold the diamond’s points inward.
For the inner part, do the “cushion fold” three times, flipping the paper over after each fold.
For the handle, do the cushion fold three times without flipping, then make a mountain fold along the diagonal.
Finally, press all four edges tightly inward, and it’s done.
Combine the parts to complete a single spinning top.
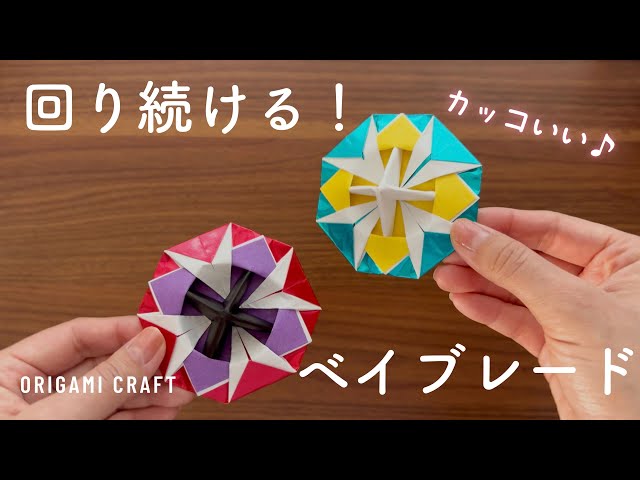
Cool! Origami BeybladeNEW!

The swirl-like design looks cool! Let’s make a Beyblade out of origami.
Using three sheets of origami paper, we’ll make the outer and inner decorations of the body, plus the handle.
You can make the inner part and the handle with a cushion fold (zabuton-ori).
For the outer part, first fold all four edges inward, then open up the overlapped corners and collapse them into triangles.
From there, fold the corners toward the center, and fold the triangular sections gathered at the center back outward.
Next, fold the outer edges so they become rounded, then open the triangular sections, fold them in half, and sharpen the tips.
Combine the three parts and you’re done!
cardboard

If you want to easily make a spinning top using materials you have at home, how about one made from cardboard? Just cut the cardboard into long, narrow strips, apply glue, roll it up tightly from one end, and insert a toothpick into the center—super simple to make! You can finish it by coloring the cardboard or decorating it with masking tape, which would look great.
Also, making lots of them to race, or competing in games like battling tops, could be a fun way for parents and children or friends to get excited together.
Spins well! A top like a BeybladeNEW!
A Beyblade that you can easily spin just by pulling a ripcord is appealing not only for how it works but also for its cool design.
When you finish making this origami Beyblade, it will also have a cool pattern.
You’ll make three parts: the outer body, the inner body, and the handle.
The design section is created by folding the outer body.
First, fold the left and right edges of the origami to meet at the center, then fold the top and bottom edges the same way.
Next, open the top and bottom pockets into boat shapes, and then open the left and right sides of the boats into squares.
From there, keep flipping the paper over while making creases to change it into a diamond shape and form the pattern.
The inner part and the handle can be made with the “zabuton” (cushion) fold, so if you like, try making it and have fun playing with it.
Easy-to-play! How to fold a spinning topNEW!

Here’s an easy and cool way to fold a spinning top.
Please prepare three sheets of origami paper.
First, fold the paper in half into a square twice.
Open it and fold it into a triangle twice.
Open it, fold it like a boat, then squash it into a square.
Using the center as the axis, fold up the edges of each of the four squares.
Open the folded sections and squash-fold them.
Use the remaining two sheets to fold the center and the top’s axle.
Align the center and the axle, and you’re done! If you make them in various sizes, they also make great decorations, so I recommend it.
How to fold a flower-like spinning topNEW!

Here’s how to fold a flower-like spinning top from a single sheet.
Double-sided origami paper is recommended.
First, fold into a triangle twice and a square twice, then open it up.
Follow the lines to make a “zabuton” base.
With the open side as the axis, fold up the edges on both sides.
Open the folded sections and squash-fold them.
After folding the bottom downward, fold the top edge downwards.
Keep folding so the lower and upper parts overlap, and finally twist the axis part with a flower-like image in mind to finish! It’s easy for kids to make, too.
Super easy! How to fold a spinning topNEW!

Here’s an easy way to fold a spinning top that even small children can make.
First, fold it into a triangle twice and open it back up.
Once open, fold all four corners toward the center.
Fold each of the four edges slightly inward.
Using the creases you made, fold the center corners outward.
Fold the triangular parts inward.
Finally, make firm creases so that the square lines become the top’s axis.
If it spins well, you’re done! The folding method is simple, so if it doesn’t spin well, try sharpening the creases or making small adjustments.
How to fold customizable game piecesNEW!

This simple-design top consists of three parts: the upper and lower bodies, and the handle.
For the top part, fold the origami sheet into a square twice to make creases, then unfold it and fold all the edges clockwise starting from the right edge.
After folding the top edge last, tuck the right section underneath the first edge you folded.
Then flip the paper over and do one cushion fold to finish.
The bottom part can be made using just the basic cushion fold.
For the handle, make one cushion fold, then add fine creases and fold it so the corners stand up, forming a pinwheel shape.
After stacking and assembling the parts, insert any shape you like between the upper and lower parts to customize it to your taste!
How to fold a spinning top that also works as a push popNEW!

Five ideas for spinning tops you can make from a single sheet of origami paper are introduced.
The first is the base folding method that serves as the foundation for all the tops.
After performing a double “zabuton” fold, make creases by folding each of the four edges up to align with the edge of the top triangle.
Using those creases, stand the edges up and press in the center so the piece can spin like a top.
The other tops have the same overall shape, but by varying the folding method, they create different patterns inside the top.
These have no handle and spin when you give the rim a strong push, so even small children can enjoy them.
How to fold the panels of a traditional workNEW!

This is how to fold a spinning top you can make just by punching a hole in the center of a traditional “menko” piece and inserting a toothpick.
First, place the origami paper with the white side facing up and fold it in half.
Fold the left and right edges so they meet the top and bottom edges.
Crease it into a square by aligning the corners with each other.
Make a second identical piece.
Place the second piece on top of the first, crossing them, and tuck the corners into the gaps to complete the menko.
Make a small hole in the center of the menko with an awl or gimlet, and finally insert a toothpick to finish!