Recommended for 5-year-olds! Simple DIY toy ideas

Five-year-olds become more dexterous and better at using tools, so you’ll start to see them trying to express the images they imagine through their own creations.
We want them to build up lots of experiences while enjoying the fun of making things on their own.
So this time, we’re introducing handmade toy ideas that will further expand the world of making for five-year-olds.
From toys with unique movements, to ones that invite deep, focused play, to those that encourage interaction with friends—we’ve gathered plenty of handmade toy ideas that kids will love.
Incorporate each child’s free ideas and creativity, make adjustments as you go, and try making and playing a lot together with friends and teachers.
- [Childcare] Playful craft ideas to enjoy with 5-year-olds
- Age 4: Simple and Fun! Handmade Toy Ideas
- [Age 5] Exciting and fun! A special feature on ideas for at-home play
- [May] A collection of craft ideas to try with 5-year-olds
- [Childcare] Recommended for toddlers! Toy ideas you can make and play with
- [Nursery/Kindergarten] Crafts you can play with after making them
- Let's make toys with paper cups! Simple and fun handmade toys
- For 5-Year-Olds: Let’s Make It! A Collection of Craft Ideas to Feel the Spring
- For older kindergarteners: Let’s make it! A collection of recommended origami ideas for February
- Ideas for indoor activities, games, and group play that 5-year-olds enjoy
- [For 5-Year-Olds] Recommended Indoor Play! A Collection of Exciting Games
- [For toddlers] Simple but amazing craft ideas — including toys they can play with
- August Craft Ideas for 5-Year-Olds
Recommended for 5-year-olds! Simple DIY toy ideas (11–20)
A cute horse made from a plastic bottle

Great for kids’ crafts too! It’s a colorful project finished by repurposing materials that would normally be thrown away.
You’ll need two plastic bottles, a toilet paper roll, tissues, three sheets of colored paper, a pen, scissors, tape, and a thin stick.
In the video, 500 ml bottles are used, but changing the size gives it a different look and makes it more fun.
It’s also a good idea to make it together with a parent or teacher, tailored to the child’s age!
Ponpoko Animals
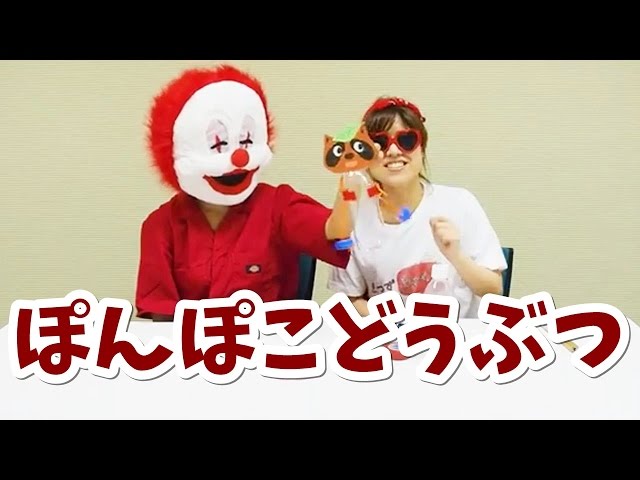
Ponpoko Animals is a craft project that’s fun because it makes sounds.
There are many steps a five-year-old can do on their own, so making it together as a group will be lively and exciting.
First, as prep work, the teacher should make holes in plastic bottle caps and thread strings through them.
Have the children start from the step of tying knots at the ends of the strings.
After making two, attach them to the plastic bottle body so they line up where the hands would be.
Using vinyl tape works well.
Next, stick a face made from construction paper onto the bottle.
If the children make the faces themselves, the result will be even more original.
When you shake the bottle, the caps hit the body and make a rattling sound—your cute little toy is complete!
The candy box transforms! A moving horse

Let’s make a horse using a box of your favorite snacks! Since the package will become the pattern, pick a box with a design you like.
First, cut the box into three rings of equal width.
Place one ring horizontally, and to its left, place another ring vertically.
Staple the touching edges to create the horse’s body and neck.
Take the remaining ring, turn it horizontally, align its left end with the others, and attach it along the underside of the body.
Flatten the part that sticks out on the left so it juts out, and staple it.
Then, cut the head, legs, ears, and tail from the leftover box pieces and glue them on.
If you hold the part sticking out on the left side of the body and pull the tail on the opposite side, the neck will move.
3D horse made of Perler beads

Iron beads are a handmade toy you can even find at 100-yen shops.
You arrange small pipe-shaped pieces on a pegboard and fuse them with the heat of an iron to enjoy all kinds of designs.
Basically, you make flat designs, but like this horse idea, you can combine flat pieces to create three-dimensional results too.
Iron beads are sold in a wide variety of colors, so try making a horse in your favorite shades.
Add a horn and it might even become a unicorn!
Jump Flower

Have you ever made a handmade toy using a paper cup? Here, I’d like to share an idea kids can play with together and love: the “Jumping Flower.” It’s very simple to make—just cut slits into a paper cup and fold them toward the center.
It’s easy to play with, too: press the cup down from the top, and it pops up with a fun springy bounce! Since it looks like a flower, making it in various colors also makes it nice for display.
Try making it together during parent-child time and let your children’s smiles blossom!
Unbreakable soap bubble

Let me introduce unbreakable soap bubbles.
Prepare wire, ring-shaped magnets, round stickers, prism tape, and a hole punch, then let’s get started.
Attach four strips of prism tape to the magnet so they form a dome, making sure not to cover the hole of the ring magnet.
On the side opposite the magnet, stick on a round sticker to secure it, then punch a hole in the center with the hole punch.
Using shorter pieces of prism tape, make another dome in the same way and add a round sticker as before.
Make one more of the same piece.
Curl the tip of the wire and thread the three pieces onto it from smallest to largest.
Finally, thread the one with the magnet so the magnet ends up on top, and you’re done! It will spin around like a soap bubble.
Recommended for 5-year-olds! Simple DIY toy ideas (21–30)
Slinky

It’s fun to make and play with! Here are some ideas for a slinky.
A slinky is typically a springy toy made of metal or plastic with a unique spiral shape.
When you hold it and tilt it, it’s captivating to watch it descend down stairs or a slope.
This time, let’s make a slinky with origami! You’ll need quarter-sized sheets of origami paper, cardstock, and glue or double-sided tape.
Since you’ll be repeatedly folding the same parts and need to follow the steps carefully, it’s a project that encourages focused, attentive crafting.