[Childcare] Make it in April! Recommended easy origami folds


In April, when the new school year begins, children at daycare and kindergarten start life in a new environment, and some may feel nervous or even cry.
So this time, we’re sharing origami ideas perfect for April that will bring smiles to their faces.
There are plenty of motifs that capture the warmth of spring—flowers and insects, of course, as well as fruits and animals associated with Easter! Find something you’d love to make with the children and give it a try.
If you display their creations on the wall, you can enjoy spring indoors, too! Surrounded by a springtime atmosphere, we hope you can start a wonderful year with warm, cheerful feelings.
- [Childcare] Simple origami ideas for kids, perfect for spring
- [Origami] Easy spring-themed origami ideas to enjoy with 4-year-olds
- [For Age 3] Let’s make it in April! A collection of craft ideas to feel spring events and nature
- [For preschoolers] A collection of origami ideas to enjoy February, including Setsubun and Valentine’s Day
- Simple origami for kids: cute, playable origami ideas
- Recommended for preschoolers! A collection of origami ideas perfect for April
- Origami perfect for April! A collection of ideas recommended for preschoolers (around age 4–5)
- Origami ideas perfect for April that will captivate older kindergarteners!
- [For 4–5 year olds] A collection of recommended origami ideas for March—featuring seasonal events and natural motifs
- [April] Cute spring-themed classroom wall decoration ideas for early childhood education
- [Origami] Simple Origami Ideas to Feel the Spring with 3-Year-Olds
- [Origami] Simple Origami Folding Ideas to Savor Spring with 5-Year-Olds
- [Childcare] Let’s make things with various materials! A collection of recommended craft ideas for April
[Childcare] Let's make it in April! Recommended easy origami folding methods (21–30)
How to fold a cute butterfly in springNEW!

Perfect for the spring season! First, turn the origami paper over and fold it using the Kannon fold.
Fold the open edge in half.
Open it, then fold it in half again along the crease you just made.
Fold it into a triangle, then open it.
On one side, use the boat fold, then fold it down to the back.
Shape the protruding corners with a butterfly in mind, and finish by making a valley fold down the center.
Adding antennae or drawing patterns makes it even cuter.
Be sure to come up with your favorite decorations!
How to fold a spring flower: violetNEW!

Violets that bloom with cool purple flowers in vibrant spring.
Prepare one sheet each of green origami in the regular size, purple origami at one quarter of that size, and yellow origami at one quarter of the purple.
First, crease both the purple and yellow papers with diagonal “X” folds.
Then, glue the yellow paper to the center of the purple paper, aligning the creases.
Fold both along their creases into a square using a squash-fold style, then open the whole piece slightly while keeping a small fold at the center.
Create a small gap in the center to shape petal-like forms, and the violet flower is complete! For the green paper, add both diagonal and cross (plus-sign) creases, form a long, narrow diamond, and fold it so it spreads in three directions to create the stem and leaves.
Combine the parts to finish your violet.
Cherry blossom message cardNEW!

Why not add a congratulatory message like “Congratulations” or “Nice to meet you” for the new friends joining the class and give it as a gift? Start by folding the origami in half into a triangle twice, then fold it into a shape like a slender flower bouquet.
Next, cut it into a shape inspired by cherry blossom petals and open it once.
You’ll finish it so it can open and close, so create the necessary creases for that.
It’s complete when you align it so that the cherry blossom shape formed in the center becomes the closure.
Write your message in the area that opens at this part.
Fun to make! How to fold a cherry blossom boxNEW!

Here’s how to fold a cherry blossom box that’s perfect for holding small items.
Its plump, cute shape is sure to delight older kindergarteners.
Cut pink origami paper into quarters with scissors to make triangles, creating four small pieces, then use red origami paper to make the base of the box.
The process is similar to making a flower medal, so it should be easy for children to fold.
Once the base is done, combine it with the four pieces you made earlier.
Fold each center section outward and tuck it into the gaps between the petal parts.
Open out the bottom three-dimensionally to form the box, and it’s complete.
Try making your own cherry blossoms in your favorite colors.
3D Easy Origami ButterflyNEW!

Let’s try making an origami butterfly that signals the arrival of spring.
There’s a squash fold step, but basically you just fold along the creases and edges and you’ll be done! First, crease the paper so that triangles form on both sides by folding it diagonally.
Then fold both corners on one side up to meet the top corner.
Once folded, fold back along the creases you just made.
Flip the paper over, fold the top corner down to meet the bottom edge, and then fold it in half left to right.
Next, fold so that the crease from the earlier fold-back step lines up with the crease from the halving step.
You should now have a butterfly shape, so squash-fold the tips of the wings to round them, and you’re done.
Add antennae to finish it off.
A fun-to-play roly-poly flowerNEW!

A curious piece of origami where a flower dropped upside down springs right back up.
It’s an idea that older kindergarteners bursting with curiosity are sure to love! First, fold the origami paper in half horizontally, then fold it halfway toward the crease, and again halfway… adding lots of crease lines.
After folding the four corners toward the center, keep folding along the creases.
It may seem a bit complicated, but once you understand the steps, it’s actually easy.
Try it while playing the video in slow motion.
It’s a delightful pop-up flower you’ll want to drop again and again.
Origami four-leaf clover
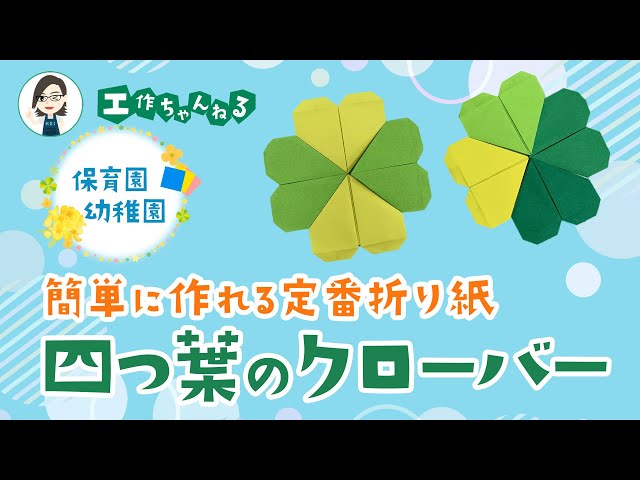
Let’s make a lucky four-leaf clover.
You’ll combine four sheets of origami to create it, but the folding itself is simple, so even children who aren’t used to origami should be able to do it.
Think of it as folding a heart-shaped origami four times.
Once it’s done, you can use it as a wall decoration or paste it onto construction paper as part of a picture.
By the way, the key is to make crisp initial creases.
If they’re misaligned, the whole piece will end up distorted, so be careful.