![[For Age 3] Let’s make it in April! A collection of craft ideas to feel spring events and nature](https://i.ytimg.com/vi_webp/yI6-iybpcnI/maxresdefault.webp)
[For Age 3] Let’s make it in April! A collection of craft ideas to feel spring events and nature


It’s April, and the children have moved up to the class for three-year-olds.
The preschool class brings a different kind of excitement than before.
At this age, they’re also getting used to handling scissors and glue during craft activities.
Here are some April craft ideas that three-year-olds can tackle with a sense of accomplishment.
There are plenty of familiar motifs for children, such as spring flowers and animals.
It’s also great to observe spring flowers and creatures outdoors alongside the craft activities.
Because the children’s creations are regarded as works, the term “seisaku” (制作) is used in the text to refer to them.
[For 3-year-olds] Let’s make it in April! A collection of craft ideas that feel like spring events and nature (1–10)
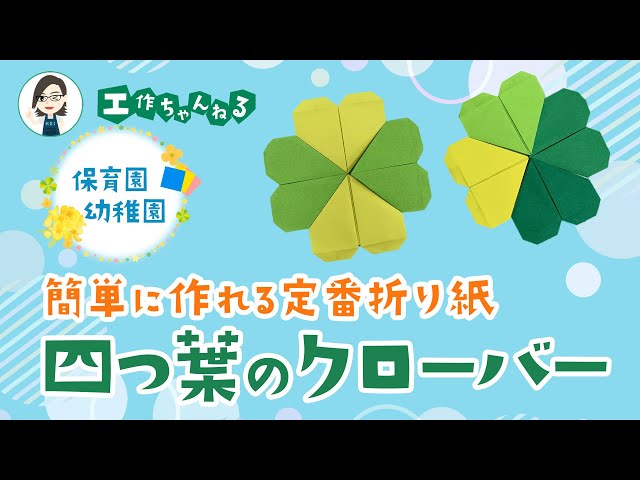
Four-leaf clover you can make with a single sheet!NEW!

There’s a saying that four-leaf clovers bring good luck, and they’re a popular springtime plant.
On warm days, you might see children in the fields enjoying a hunt for four-leaf clovers.
How about making a four-leaf clover out of origami? First, make diagonal creases, then insert your finger into the pocketed sections and open them up.
Fold it into a triangle and trim the edges into curves.
Next, fold the center into a triangle, open it up, and adjust the shape.
It’s very easy to make, so even children who aren’t confident with origami can give it a try.
It’s great as a lucky charm or as a decoration for your room.
Cute mini basketNEW!

Let’s make a mini basket for small items using construction paper.
Prepare a 15 cm × 21 cm sheet, then fold it in half to make a small rectangle.
Open it after creasing, and fold the left and right edges to meet the center crease.
Next, fold all four corners into triangles.
The key is to fold them slightly away from the center line.
Aligning with the inner edges of the triangles, fold the left and right sides to make creases, then fold the top and bottom edges you first folded outward by about 1 cm.
Once folded, open it up from there to form a box shape.
Attach a handle and decorations, and it’s complete!
Cute cherry blossom origami on the wall as wellNEW!

Here’s an idea for making a cherry blossom by combining petal parts.
Use one strip of origami paper measuring 15 cm by 1 cm to make a single petal.
First, leaving 3 cm at each end, accordion-fold the paper at 1.5 cm intervals.
Once folded, glue both ends so that the mountain-folded sections face inward.
With one petal complete, make four more and attach them together to form a cherry blossom.
Use pink origami paper and place the colored side on the inside when making it.
3D Easy Origami ButterflyNEW!

Let’s try making an origami butterfly that signals the arrival of spring.
There’s a squash fold step, but basically you just fold along the creases and edges and you’ll be done! First, crease the paper so that triangles form on both sides by folding it diagonally.
Then fold both corners on one side up to meet the top corner.
Once folded, fold back along the creases you just made.
Flip the paper over, fold the top corner down to meet the bottom edge, and then fold it in half left to right.
Next, fold so that the crease from the earlier fold-back step lines up with the crease from the halving step.
You should now have a butterfly shape, so squash-fold the tips of the wings to round them, and you’re done.
Add antennae to finish it off.
Newspaper stamp fun! How to make cherry blossoms

Once you roll up newspaper into a ball, dip it in paint and dab away! That alone creates a cherry blossom craft perfect for spring.
After stamping on cherry-colored construction paper, cut it out to resemble the blossoms on a cherry tree.
Combine it with a trunk made from brown construction paper and attach everything to the base to finish.
For the base, prepare construction paper in sky blue to suggest the sky and green to suggest a spring field.
By adding green only to the lower part of the blue paper, you can represent a cherry tree blooming on a hill.
Besides deep pink, I think using white or yellow paint will also look beautiful.
Make and play! Fun little butterflies

By attaching a straw as a handle, this is a craft idea that lets you make a butterfly you can flap and play with.
First, we’ll make the butterfly: draw a butterfly on construction paper.
An adult can draw the outline, and let the children enjoy drawing the patterns.
Once the drawing is finished, cut away the excess with scissors and fold the butterfly in half.
Then fold it again 1.5 cm from the crease, open the butterfly back up, and turn it over.
Slip a straw into the section with the creases and secure it, and you’re done!
Origami four-leaf clover
Let’s make a lucky four-leaf clover.
You’ll combine four sheets of origami to create it, but the folding itself is simple, so even children who aren’t used to origami should be able to do it.
Think of it as folding a heart-shaped origami four times.
Once it’s done, you can use it as a wall decoration or paste it onto construction paper as part of a picture.
By the way, the key is to make crisp initial creases.
If they’re misaligned, the whole piece will end up distorted, so be careful.