Types of Fun Balloon Art and How to Make Them

Balloon art is created by twisting long, stick-shaped balloons into a single piece.
Watching someone make it sparks curiosity and excitement in both kids and adults as they wonder, “What are they making?” So this time, we’ve gathered a variety of balloon art ideas.
We’ve included videos as well, so use them as a reference and try making these not only at preschools and kindergartens, but also at home.
You can give the finished pieces to children as gifts, decorate rooms for events and occasions, or even use them during play—so much fun! It does take some practice, but if you make them right in front of the kids, their eyes will surely light up and they’ll be thrilled! Definitely give it a try.
- Let's incorporate it into childcare! Introducing fun balloon play ideas
- [Childcare] Parachute (paraballoon): Classic techniques and fun activities
- [For Kids] Let’s Make Ghosts! A Collection of Craft Ideas
- Balloon’s Popular Songs Ranking [2026]
- [For University Students] A Roundup of Fun Games and Recreational Activities
- [Graduation Ceremony] Ideas for Wall and Venue Decorations Using Balloons
- [Graduation from Kindergarten] Make the venue festive! Ideas for balloon wall displays and decorations
- [Childcare] Playful craft ideas to enjoy with 5-year-olds
- Wall decoration ideas recommended for sports day at nursery schools and kindergartens
- Fun Fish Craft Ideas to Make at Daycare and Kindergarten
- [Childcare] Recommended for toddlers! Toy ideas you can make and play with
- Craft activity ideas that parents and children can enjoy together during a preschool observation day
- [Childcare] Make and play! Origami ideas
Types of Fun Balloon Art and How to Make Them (1–10)
dog

A relatively easy dog balloon is recommended even for beginners at balloon art! Inflate a long, thin balloon and tie it.
About 10 cm from the end, pinch it firmly between your thumb and index finger to flatten it a bit, then twist.
Keeping that in place, twist again about another 10 cm along and fold it back.
Twist these together with the two joints you first made and the untwisted long section to form the face.
Make the front legs and back legs the same way, spacing them thoughtfully, and move just a little air toward the tip of the tail.
Now you’ve got an adorable short-legged dog!
Kitty-chan

Let’s make Hello Kitty with balloon art, a character whose cute charm continues to captivate people of all ages! First, use white balloons to create Hello Kitty’s hands and face.
Then tie a red balloon in between for her outfit and keep twisting.
Shape the ears and feet, and attach a bow—made from another balloon—to one ear, and your Hello Kitty is complete! You’ll draw the face with a marker, so it’s a great idea to prepare just the shape and let the kids handle the final touches.
Encourage them with “Be gentle so it doesn’t pop,” and enjoy making Hello Kitty together with everyone.
Rilakkuma

Let’s try making balloon art of the hugely popular character Rilakkuma! Inflate a long brown balloon and a short white balloon, tie them together, and form the arms, legs, and belly by twisting.
Use another brown balloon to make the face and attach it to the body parts.
Then add a small brown balloon at the ear positions, and you’ll have an adorably plump Rilakkuma! The placement of the eyes greatly affects the cuteness, so draw them carefully, paying attention to how far apart they are.
Fun Balloon Art Types and How to Make Them (11–20)
Flower bracelet

A flower bracelet that’s sure to delight any child who loves cute things! Inflate a balloon, then create and twist loops while imagining the size of the petals.
Make five loops, trying to keep them the same size, then cut off the excess, tie it, and shape the flower.
Insert another balloon that’s inflated only at the tip into the center, and form the remaining part into a ring so it fits around the wrist.
You’ll have a voluminous, adorable bracelet all done!
ribbon
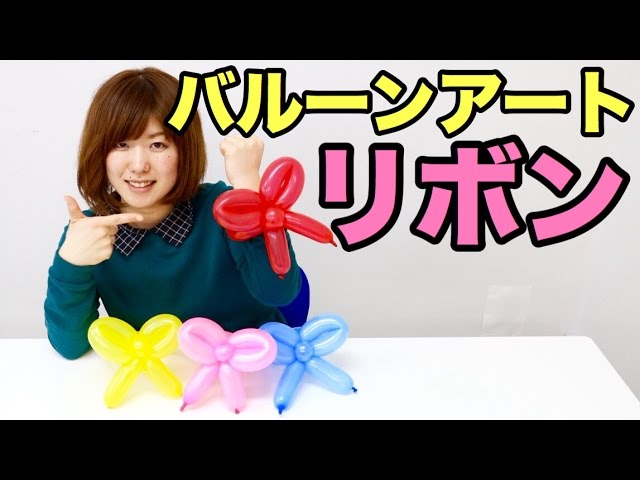
This ribbon balloon art is perfect for kids who can’t resist cute things! Inflate the balloon, tie it, and give it a single twist so it forms a slightly elongated bubble.
Loop the bubbled section and twist at the base to make one side of the ribbon.
Make the other side the same way, then create a small bubble for the center knot and wrap it around.
Finally, form a loop for the part where the hand goes through and adjust the shape, and you’ve got a ribbon that can also be worn as a bracelet! There aren’t many twist points, so it’s a great project for balloon art beginners to try.
Pond de Lion

It’s Pon de Lion, the beloved character from Mister Donut! You can make it easily with a yellow balloon and a pen.
Even if someone doesn’t know Pon de Lion, they’ll recognize it as a lion, so it’s especially recommended.
How about giving it as a gift for a birthday or other occasion?
Mr. Poop

Little kids strangely love the word “poop”! While we don’t want it to become their catchphrase, a poop character made from balloons is super cute.
Inflate a long balloon, twist it to create the bottom two layers, and cut off the tip.
Tie the cut end.
Arrange the two layers so they stack vertically, then place the cut-off piece on top and tie it on—that completes your little poop character! From there, let the kids draw faces on it however they like and enjoy making their own poop buddies.