Simple and cute summer project crafts! A collection of ideas for girls that will make you want to create


How about making your own original accessories and crafts for your summer vacation project? Easy-to-find materials can turn into adorable creations, and these crafts are especially popular among girls.
Many projects are practical—like clocks, cups, and lampshades—so you can enjoy using them after they’re finished.
By arranging the colors and designs to suit your taste, you’ll end up with wonderful pieces full of personality.
In this article, we’ll introduce craft ideas that students from lower to upper grades can enjoy, so find something that interests you and give it a try!
- [Summer Vacation Crafts] Stylish Ideas for Girls
- Simple but awesome! Craft ideas for upper-grade girls
- For summer vacation homework! Simple and amazing crafts for elementary school students that you’ll want to make after seeing them
- Elementary School Students: Simple One-Day Science Project and Craft Ideas
- [For Adults] Simple yet Impressive Crafts: A Stylish, Eye-Catching Collection
- [Middle School Students] Easy One-Day Science Projects and Crafts Ideas
- Stand out with your junior high school independent research! A collection of fun experiment and craft ideas
- Recommended for high school students! A collection of easy one-day science project ideas
- Recommended Independent Research Projects for 5th Graders [Elementary School Students]
- [I don't want to be like everyone else!] Recommended independent research topics for high school students
- [Hand Sewing] Easy crafts recommended for elementary school students. Let's handmake something cute!
- Recommended for elementary school students! Science fair topics & craft ideas
- For 6th Graders: Unique and Fun Ideas for Independent Research Projects
Simple and cute summer project crafts! A collection of ideas for girls that will make you want to create (31–40)
rolling coin bank

Let’s make a piggy bank like a Rube Goldberg machine where you can watch coins roll and tumble down, using color boards and color sponges.
Use a color board as the base and create channels for the coins to flow through when inserted.
The coins might not fall smoothly depending on the angles, so adjust as you go.
You can add cute decorations with color sponges and small bells.
It’s also recommended to attach your favorite characters as a fun touch.
Making clear, beautiful round ice

Large, round, crystal-clear ice is easy to make with a kit.
Normally, though, the ice you make at home turns cloudy.
That cloudiness comes from impurities freezing white.
When you use a round-ice kit, those impurities are pushed downward, leaving you with ice that’s extremely transparent.
Let’s put that into words—and then let’s make some cute, beautiful ice! If you place edible flowers in the ice mold and freeze it, you’ll get incredibly pretty, adorable ice like you’ve never seen.
You can also add colorful candies to make charming variations.
This is a great free research project for upper elementary school students.
Rose Gemstone Soap

Like a gemstone! These rose gem soaps are easy to make by melting and molding.
Put glycerin soap and colored soap for tinting into paper cups, then microwave to melt.
Add a few drops of aroma oil to each for fragrance and color, and drip the mixtures onto parchment paper to create petal pieces.
When they start to set, roll them up to form a rose shape, and lightly add glitter along the petal edges.
Finally, coat the rose with melted glycerin soap, and it’s done! Be very careful to avoid burns.
Glass Deco

This is a craft idea using a product called “Glass Deco.” It includes paints that let you draw stained-glass-style pictures, and once they dry, they turn into sticker-like decals.
Just stick the decals onto glass jars or mirrors to easily create your own original items! If you find it hard to draw without a guide, prepare an illustration of your favorite character, place a clear sheet over it, and trace the illustration.
The paints come in a variety of colors, so choosing them is part of the fun!
Let’s make it with beads and pipe cleaners

If your child is interested in crafts, sewing, or making accessories but isn’t quite ready to use needles or a sewing machine, we recommend projects using pipe cleaners and beads.
Use larger beads that fit onto pipe cleaners and try making a bracelet.
Gather three pipe cleaners together and thread a bead onto the middle.
Cross the left and right pipe cleaners and braid the three strands.
Thread another bead onto the middle, braid again, and repeat.
Shape it into a circle to fit the wrist, and finish by securing the ends so no wire sticks out.
Your bracelet is complete!
Simple and cute DIY projects for school research! A collection of ideas for girls you’ll want to make (41–50)
Observing ants

How about observing ants using a kit that lets you watch them build their nest? People have observed ants for a long time, but kits make it easier to see and study them.
You prepare a special gel and pour it into a case.
Then you put in ants you’ve caught and observe them every day.
As long as an adult helps with making the gel, the rest is just observation.
It’s a free research project that first graders in elementary school can do.
underwater soap bubbles
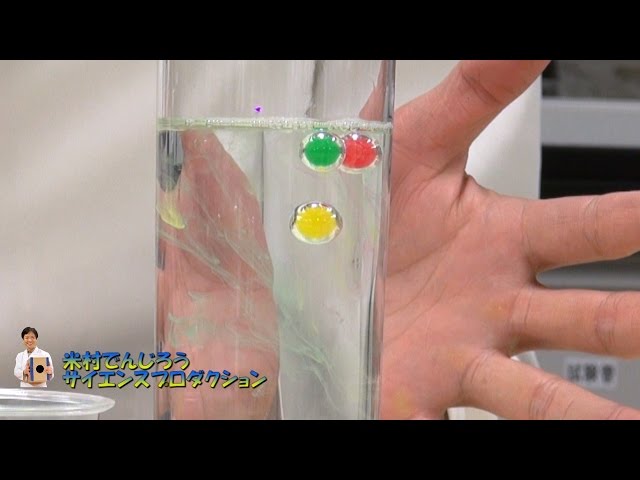
Underwater bubbles that form one after another in water.
They look very pretty and cute, and it’s an easy science project you can do right away with just water, a cup, dish soap, a straw, and paint.
Pour water into a cup, add a few drops of dish soap, and stir.
That’s basically it! Put a straw into the glass, cover the top of the straw with your finger, then release the liquid trapped in the straw into the water… and bubbles will form! If you make several soapy liquids with different colors of paint and drop them randomly into the water, you’ll get a very beautiful-looking glass.