
When you think of flowers that bloom in autumn, many people probably picture cosmos.
Under the autumn sky, cosmos sway their petals and bloom beautifully—perfect as a theme for autumn crafts.
So this time, we’re introducing craft ideas featuring cosmos.
We’ve gathered many ideas that can be enjoyed by children from infants to kindergarteners with a bit of adjustment—some use techniques that let kids enjoy the texture of materials, while others are perfect for practicing scissor and glue skills with their fingertips.
Please use these as a reference for your autumn crafting.
Since these ideas nurture children’s imagination and allow them to enjoy free expression, we refer to them as “seisaku” (craft-making) in the main text.
- [Childcare] For 5-year-olds! Autumn craft ideas
- Even 1-year-olds will be captivated! A collection of craft ideas to enjoy the art-filled autumn
- [Childcare] Autumn craft ideas
- September: Autumn crafts! Ideas you can use in childcare
- Craft ideas for 4-year-olds to try in autumn! Enjoy creative activities with seasonal motifs and events.
- [October] Craft ideas for fall you can use in childcare
- Recommended for 5-year-olds’ September crafts! A collection of ideas to enjoy autumn
- [Crafts for 3-Year-Olds] A Collection of Fun Ideas for Autumn! Let's Incorporate Seasonal Motifs
- Preschool: Autumn-Themed Craft Ideas Recommended for November
- Exciting September crafts for 4-year-olds! A special collection of fun ideas with autumn-themed motifs
- [Autumn Activities] Nature Play and Craft Ideas for Fall to Incorporate into Childcare!
- [For 3-year-olds] Perfect for September! A Collection of Craft Ideas to Enjoy Autumn Nature
- [Autumn Crafts] Easy and Fun! Mushroom Craft Ideas
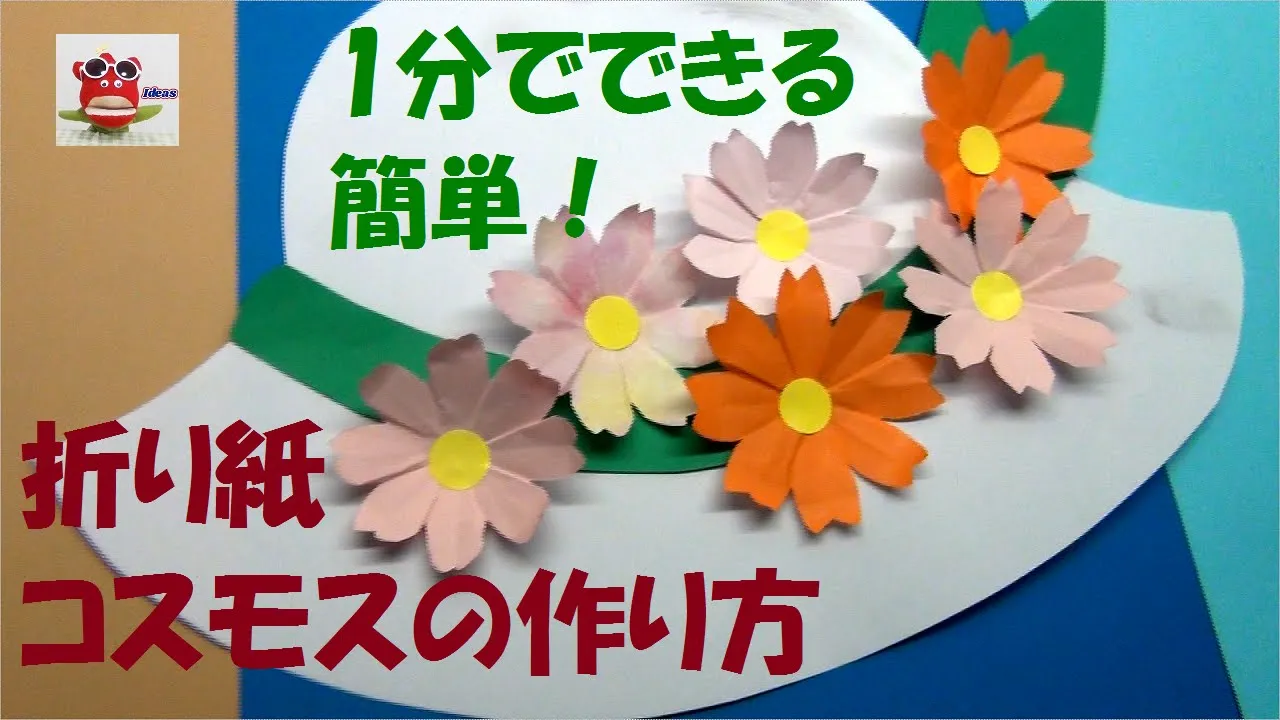
Recommended for autumn! Easy-to-make cosmos craft ideas (1–10)
Also recommended for walls! Origami cosmos

Here’s an idea for making cosmos flowers with paper cutting.
Fold a piece of origami paper into a triangle three times to create crease lines, then unfold it back to the state of being folded once.
Fold the bottom edge on the right to line up with the leftmost crease, and fold the bottom edge on the left to line up with the center crease.
Fold the remaining right section along its crease, and fold again along the next remaining crease to stack the paper.
Draw petal lines and cut them out.
When you open it, you’ll have an 8-petal flower.
Slightly overlap the spaces between the petals by folding them, and place a yellow round sticker in the center.
Finally, curve the tips of the petals to give it a three-dimensional finish.
Three-dimensional cosmos

Here’s an idea for making a cosmos flower by combining identical parts.
Fold a sheet of origami paper in half into a triangle, then fold it in half into a triangle again, and place it so the triangle points downward.
Take the top layer’s left edge and fold it to meet the right edge, then fold it back again to align with the center line.
Slightly fold the right corner of the folded section inward, open that section up, and use the creases to shape it into a petal.
With one part completed, make eight parts total and assemble them by overlapping, tucking in any excess as you go to form the cosmos.
Adding a round sticker in the center makes it easy to represent the flower’s core.
How to fold an easy cosmos flower

Let’s introduce how to fold a cosmos flower.
Prepare one sheet of origami paper, crease it, and cut it into four equal parts.
Using the creases as a guide, shape each quarter into a cosmos petal.
Once all are folded, glue the four petals together at the center.
For the stem, prepare another quarter sheet of origami paper and fold it along the center.
Finally, glue the flower and the stem together, and you’re done! The steps are simple, so give it a try.
Cosmos made with plastic bottle caps

Let’s make a three-dimensional cosmos flower using a plastic bottle cap.
Prepare a rectangular piece of origami paper cut to about the circumference of the bottle cap, and make slits to form petals.
After making the slits, wrap the paper around the bottle cap and open the petals.
Next, take some yellow-toned tissue paper and roll it into a small ball to match the size of the bottle cap.
Finally, place this tissue paper inside the bottle cap, and you’re done! Adding a slight inward curl to the petals will make it even cuter.
It’s best for the teacher to handle the preparation of the origami paper.
After that, please work carefully and pay close attention when using scissors.
Three-dimensional cosmos made with origami and paper tape

Here’s an idea for making soft, three-dimensional cosmos flowers using origami.
Fold a sheet of origami paper in half, then in half again, and once more (three folds total) to divide it into eight sections.
Unfold it, cut along the fold lines with scissors, and glue the strips together in pairs to make four long, narrow pieces.
Arrange those four pieces in a radial pattern, glue them together, flip it over, and glue the tips of the paper toward the center to form the cosmos shape.
For the center of the flower, either place a yellow circle cut from colored paper, or make a fluffy pistil using packing tape and attach it.
You can make these not only with origami paper but also with paper tape.
Cosmos with origami

Making cosmos flowers with origami is a fun idea.
Using pale pink or purple paper—colors typical of autumn flowers—can bring out a stronger seasonal feel.
It’s also nice to talk with the kids about the characteristics of cosmos and the autumn season while folding together.
Many instructions are simple and focus on the petal shape, so even young children can enjoy the activity.
Once finished, the cosmos can be displayed on a windowsill or turned into a mobile—there are lots of ways to enjoy them depending on your ideas.
I think it’s a lovely idea that’s perfect for an autumn craft.
A cosmos field with bottle-cap stamping

It’s an idea where you use a plastic bottle as a stamp to make lots of cosmos flowers—let’s all stamp together and create a cosmos field! Cosmos have many petals and can be hard to depict, but turning them into stamps makes it easy to create lots of flowers, which is the recommended point.
Attach cardboard shaped like petals to the bottom of a plastic bottle, apply paint, and stamp away.
For the pistil in the center, paint a yellow circle afterward.