

In November, as the cold gradually sets in, we get to enjoy beautiful autumn foliage and delicious seasonal flavors.
Why not try some fun crafts that capture those delightful autumn moments?
In this article, we’ll share craft ideas for November that let you feel the season.
We’ve gathered a variety of ideas, including autumn foods made with different materials and projects using natural items like acorns.
They’re all activities children can enjoy!
As November gets colder, let’s make the most of autumn indoors!
Because the items children make are treated as works, we refer to them as “seisaku” (productions) in the text.
- [November] Enjoy with 3-year-olds! Craft activity ideas recommended for autumn
- [Childcare] For 5-year-olds! Autumn craft ideas
- [Childcare] For 2-year-olds! November craft activity ideas
- [For 4-Year-Olds] Recommended in November! Autumn-Themed Craft Activities
- Even 1-year-olds will be captivated! A collection of craft ideas to enjoy the art-filled autumn
- [Childcare] November wall decorations and autumn craft ideas
- Fun November craft ideas for 1-year-olds!
- Craft Activity Ideas for 5-Year-Olds: November Edition
- [October] Craft ideas for fall you can use in childcare
- September: Autumn crafts! Ideas you can use in childcare
- Ideas you can use for autumn wall decorations
- Autumn craft ideas that will captivate 2-year-olds! Have fun making them and enjoy the fall to the fullest
- [Childcare] Autumn craft ideas
[Childcare] 10 Autumn-Themed Craft Ideas Recommended for November (1–10)
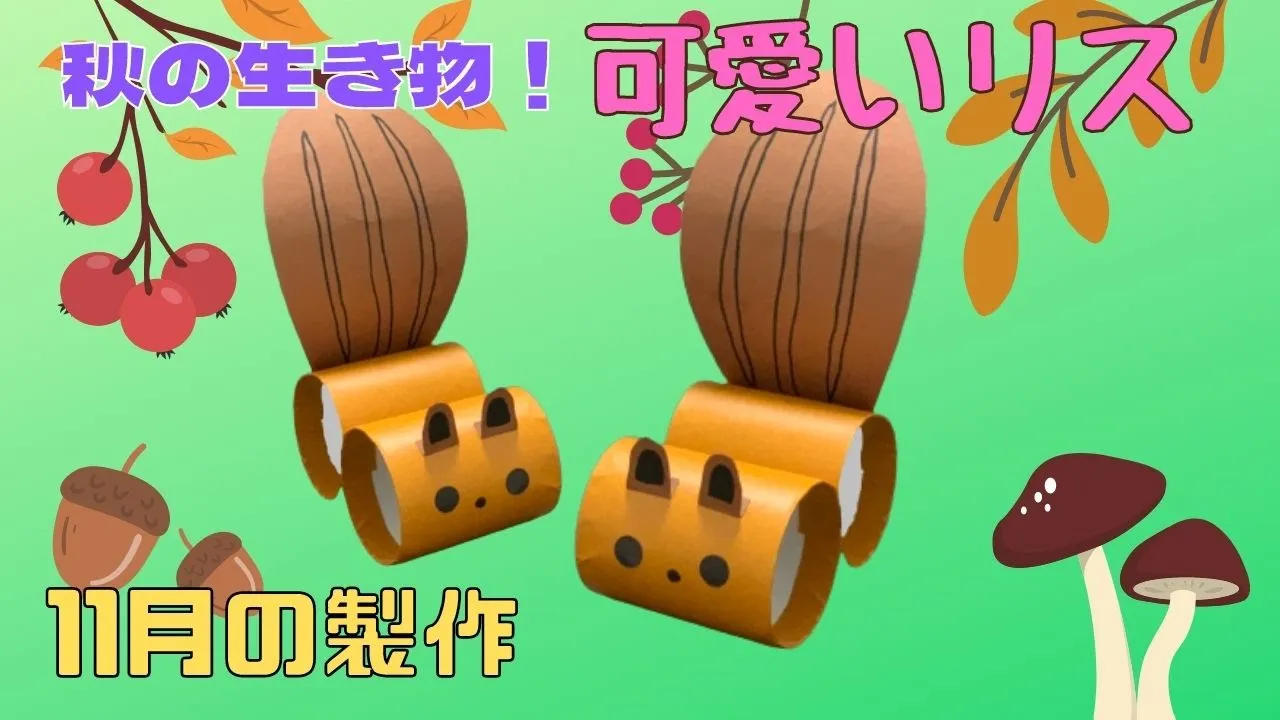
Squirrel made from a toilet paper roll core

When you think of animals that represent autumn, squirrels come to mind, don’t they? They look so adorable stuffing their cheeks with acorns.
Let’s make a squirrel using a toilet paper roll.
It’s very easy: cut a toilet paper roll into two, decorate each half with origami paper, stick them together, and draw the face.
Since you won’t need scissors except for splitting the roll in two, even small children can enjoy making it.
It’s fun to make, cute to display, and soothing to look at—highly recommended!
Bubbly little mushroom

Let’s use the bubble wrap lying around at home to make autumn-themed mushroom decorations! Draw the shapes you want on construction paper or cardstock and cut them out.
Then cut the bubble wrap to match those shapes and glue it on top.
After that, use permanent markers to color the bubble wrap.
You’ll create decorations that feel fresh thanks to bubble wrap’s unique texture.
Coloring the bubble wrap is also a sensory experience you don’t usually get, so kids are sure to enjoy it.
It’s a great craft that puts bubble wrap—often thrown away or hard to repurpose—to good use!
Six types of autumn origami

These are cute origami pieces with autumn motifs—such as chestnuts, mushrooms, acorns, and Pacific saury—that even small children can enjoy making.
For example, to make a chestnut, fold it into a triangle and unfold once.
Then fold the top down toward the center, fold down the top-right and top-left corners to gather the shape, flip it over, fold again, and adjust the shape to finish—super simple.
Add eye stickers to the acorn for instant cuteness.
Kids’ favorites like ghosts and hats—familiar from autumn field trips—are great to try, too!
Colorful dragonfly glasses

Let’s make colorful dragonfly glasses that spark kids’ curiosity.
First, wrap silver tape around a pair of wooden chopsticks.
Next, decorate construction paper cut into the shapes of glasses and wings with stickers.
If any stickers stick out, trim the excess for a neat finish.
Finally, attach and secure the parts to the chopsticks, and stick colored cellophane onto the lenses to complete the project.
It’s an item that will make you want to head out for a walk.
Peek through the dragonfly glasses with the kids and enjoy the autumn scenery to the fullest.
Autumn leaves of ginkgo stamps

Why not make stamps shaped like ginkgo leaves using sponges and try using them for your art project? If you stamp a lot, you’ll end up with a colorful autumn ginkgo tree! First, cut the sponges into ginkgo leaf shapes and prepare several of them.
We often imagine ginkgo leaves as yellow, but how about stamping with a variety of colors—deeper hues from autumn foliage, green, or even brown for dried leaves? It might be nice to stamp together on a large sheet of paper to create a big piece and use it as a wall decoration.
A sweet potato wrapped in newspaper

This is a sweet potato papercraft with a realistic bumpy texture.
Crumple sheets of newspaper into balls and layer them until you reach the size you like.
If you want to recreate a baked sweet potato split in half, flatten the cut surface, crumple yellow origami once to add wrinkles, then attach it to the flat area.
Tear purple origami into roughly sized pieces and stick them on to form the skin, and once the whole piece is covered with origami, it’s done.
Using moisture-rich adhesives like wood glue or liquid glue softens the paper, making it easier to replicate the texture of a real sweet potato!
stylish tree
Perfect for the art-filled days of autumn! Here’s a stylish, artistic tree-making idea.
It’s a creative activity that draws out children’s free imagination, so why not try it at your nursery or kindergarten? The teacher cuts construction paper into leaf shapes, and the children freely color them with crayons or paint.
Next, tear craft paper (or similar) into branch and trunk shapes and glue them on.
Finish by arranging the colored leaves you made earlier.
If you have time, you can add a stamping activity using various recycled materials—kids will love it.