[Summer Vacation Crafts] Not just make-and-done! A collection of practical ideas you can use every day


We often hear things like, “I don’t know what to make for my summer break project,” or “I want to create something practical!” But don’t worry.
With simple, everyday materials, you can make wonderful projects that are useful in daily life.
Here, we introduce crafts that grow more endearing the more you use them: a sturdy pen holder made from a milk carton, a cute felt humidifier, a metal door plate made from an aluminum sheet, and more.
They’re all simple to make, yet durable enough to use long after they’re finished.
This summer break, try your hand at practical projects the whole family will love!
- For summer vacation homework! Simple and amazing crafts for elementary school students that you’ll want to make after seeing them
- [Middle School Students] Easy One-Day Science Projects and Crafts Ideas
- For upper-grade boys! Simple yet awesome craft project [Don’t call it lazy]
- Recommended for elementary school students! Science fair topics & craft ideas
- [For Adults] Simple yet Impressive Crafts: A Stylish, Eye-Catching Collection
- Kids get hooked on crafts with toilet paper rolls! Idea collection for elementary school students
- A collection of summer vacation craft ideas made with 100-yen shop materials
- [For Upper Elementary Students] Simple but Awesome! A Collection of Summer Vacation Craft Ideas
- [Summer Vacation Crafts] Stylish Ideas for Girls
- DIY science projects that elementary school boys will love: ideas you can make with everyday materials
- Recommended performance ideas for elementary school (middle grades) cultural festivals and learning presentations
- Make it with everyday materials! A collection of fun summer vacation craft ideas
- [Milk Carton Crafts] Fun ideas for elementary school kids. Perfect for summer vacation homework!
[Summer Vacation Crafts] Not just for making and forgetting! A collection of practical ideas you can use every day (71–80)
accessory case

Here are some ideas for making a small accessory case that lets you showcase your individuality.
The process has three main steps.
First, remove the plastic from the opening.
If you push as you apply force, it will come off cleanly.
Next, make slits at the key points and shape it into a small container.
Finally, add decorations as you like to finish.
Try making your own unique case by pasting origami paper or adding stickers.
Since you decide the design yourself, you’ll likely feel even more attached to it.
withdrawal; drawer

How about making some drawers—an idea that’s super practical? First, prepare some empty tissue boxes.
The number of shelves (tiers) will be half the number of boxes you have, so gather as many as you like.
Then combine them so that one box forms the side panel and the other becomes the drawer part.
After that, stack them and attach handles to finish.
You can find handles at 100-yen shops.
You can decorate them if you like, but it’s also recommended to keep the original box designs and turn them into drawers as-is.
lint roller

It’s not only fun to make, but it could also get kids to help with chores—the idea is a DIY lint roller.
You know that cleaning tool you roll over carpets? Keep that in mind.
First, prepare a cardboard tube from a roll of plastic wrap and cut it to about half its length.
Next, make several slits at both ends.
Finally, loop rubber bands around the tube so they bite into the slits, and you’re done.
As you roll it, the rubber bands will snag and pick up dirt.
[Summer Vacation Crafts] Not just for making and forgetting! A collection of practical ideas you can use every day (81–90)
cardboard picture frame

Let’s try making a lovely frame to display photos, certificates, and commemorative items from marathons or volunteer activities—using cardboard.
Imagine a square frame measuring 30 cm on each side.
First, secure the space to hold the photo or certificate, then create beautiful embellishments around it.
Ideas are endless: a whirlwind-style frame with circular motifs, a mosaic look combining triangles and quadrilaterals, or a design like torn-paper art using colorful pieces of cardboard.
It’s also worth noting that simply combining gold and silver paint can make cardboard look metallic.
Show off your sense of style to the fullest!
Beaded ball hair tie

Let’s try making a hair tie embellished with beaded balls.
Since it’s an accessory based on a hair tie, it’s easy to incorporate into everyday fashion and a great way to add a personal touch.
The steps are very simple: string the beads together with fishing line (nylon thread), then attach the beaded strand to the hair tie, and you’re done.
Think about the colors and combinations of the beads to create a cute accessory.
You can also expand your design options by varying the bead sizes and the color of the hair tie itself.
paper lampshade

Let’s make your own lampshade that perfectly suits your room’s interior and enjoy its soft light.
By being particular about the materials and colors you use, you can create a cute, personalized lampshade.
Brush glue onto an inflated balloon, then apply shoji paper or colored paper over it.
Once you’ve covered the whole surface and it has dried, pop the balloon and remove it from the inside to finish.
As you layer the paper, keep in mind how the light will change color when it passes through the shade.
If you overlap too much, it will block the light, so aim for just the right balance as you work.
perpetual calendar
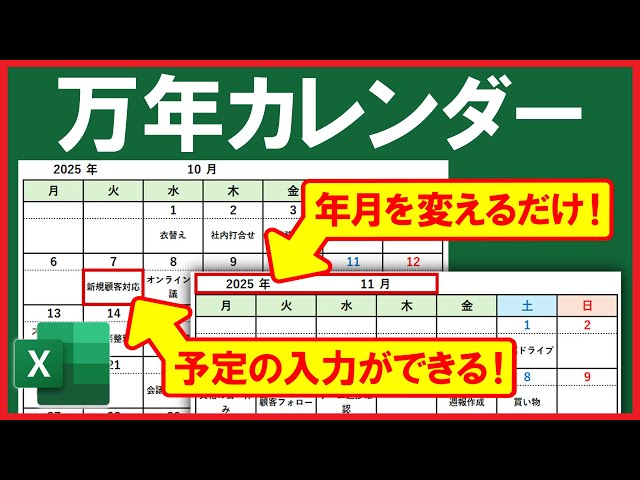
Let’s make an economical, innovative perpetual calendar so you won’t need to buy a new calendar every year! Use five cube-shaped wooden blocks from a 100-yen shop.
Prepare paint in your favorite color, number and alphabet stickers, and glue.
Paint the blocks in your chosen color, and once they’re dry, add numbers for the date and letters for the day of the week.
Since sticker adhesive alone can be weak, apply glue before placing the stickers.
Instead of stickers, you can also use stencils or write directly on the blocks.
It would make a great gift, too.