[Preschool] Recommended for 3-year-olds! Easy-to-make fall origami craft ideas

Autumn brings many foods at their peak, and there are fun events like moon-viewing and Halloween.
Children in daycare and kindergarten are also eagerly looking forward to the fall festivities.
So this time, we’re introducing origami ideas with an autumn theme that are perfect for 3-year-olds! Many of them are easy to make with simple steps, and we feature a variety of types—like foods and animals—so children can broaden their interests as they fold.
Find your favorite origami and enjoy the feeling of autumn indoors!
- A collection of fall origami ideas recommended for 2-year-olds! Make them easily and enjoy autumn!
- Easy! Let's make an acorn with origami. How to fold an acorn for 3-year-olds.
- [Autumn] Easy Origami Ideas for November
- [November] Enjoy with 3-year-olds! Craft activity ideas recommended for autumn
- [Childcare] Simple fall origami ideas
- [Childcare] Perfect for 3-year-olds! October craft ideas
- [For Preschoolers] Let’s Make It Together with the Kids! Origami Ideas for February
- Recommended for Halloween! How to make an easy origami ghost with a 3-year-old
- Preschool: Autumn-Themed Craft Ideas Recommended for November
- [October] Craft ideas for fall you can use in childcare
- Easy origami acorn folding method
- Simple Origami Ideas to Enjoy in Autumn (For 4-Year-Olds)
- [Childcare] Recommended for 3-year-olds! Origami ideas with a winter theme
[Childcare] Recommended for 3-year-olds! Easy-to-make autumn origami craft ideas (21–30)
Autumn origami acorn

Let’s make an acorn with a hat using two sheets of origami paper.
Use a 15 × 7.5 cm sheet for the acorn and a 7.5 cm square for the hat.
First, we’ll make the acorn.
Fold the paper in half to make a square, then fold the top, bottom, and left corners toward the center—done.
Next, we’ll make the hat.
Fold the paper into a triangle twice to create creases.
Fold the bottom corner up to the center, then fold up along the crease to form a triangle.
Turn the paper over and fold the top corner down so it sticks out slightly below the base of the triangle.
Tuck both corners inward, then place it over the acorn you just made.
Autumn Origami Dragonfly

Seeing dragonflies flying makes you feel autumn, doesn’t it? Here’s an idea for making a dragonfly using two sheets of origami paper.
For both sheets, first do a cushion fold once, then flip the paper over and fold the top and bottom corners to the center.
Rotate the paper 90 degrees, flip it over, and squash the top and bottom pocket-like sections into a boat shape.
From here the steps differ, since this idea makes the wings and body separately.
For the wings, once you have the boat, fold the top and bottom to meet the center line, then fold the four left and right corners outward from the slit to create triangular creases.
Use those creases to make inside reverse folds, and the wings are done.
For the body, while pulling the right corner of the boat inward, pull the corner on the back straight out to the side.
Fold the opposite corner inward, then fold the top and bottom edges to meet the center line.
The right corner becomes the dragonfly’s tail, so align the orientation and insert it into the wings.
After inserting, slim the tail a bit more, add eyes, and you’re finished.
Autumn Origami! How to Fold a Mushroom

Prepare two sheets of origami paper, round stickers, and glue to make a cute, original mushroom.
We’ll create it in two parts: the cap and the stem.
For the cap, fold the paper into a triangle, then fold the corners to shape it like a mushroom cap.
For the stem, make a triangular crease, then fold the left and right corners toward the center twice.
Tuck the tip into the crease, adjust the shape, and round it out to complete the stem.
Glue the cap and stem together, add the round stickers, and enjoy making your own original mushroom!
A self-standing pine cone!

A three-dimensional pine cone that’s perfect for autumn decorations can be made by gluing together several parts.
Prepare four pieces cut from a single sheet of origami paper divided into quarters.
Fold each piece into a triangle, then fold both sides up at positions set slightly away from the center line.
Open it up and fold the triangular tip to create a part.
Make four identical parts, then glue them together to form the shape of a pine cone.
The key is to glue them while checking the balance and width.
Give this three-dimensional, autumn-inspired pine cone a try!
Two types of Mushichan only for infants and toddlers
Here are two fun bagworm craft ideas using twisted tissue paper and paper tape loops.
First, cut a square piece of tissue paper and round off one side with scissors.
Gently twist the side you didn’t cut, and glue it onto a base for the bagworm made from construction paper.
Prepare tissue paper in various colors to make a colorful “mino” (the bag).
Attach a face made from construction paper to finish.
For the paper tape version, cut the tape to a suitable length, glue one end to the base, then overlap the other end to form a loop and secure it.
Cover the whole body in rows, and finish it the same way by adding the face.
Make it with handprints! Wobbly bagworm
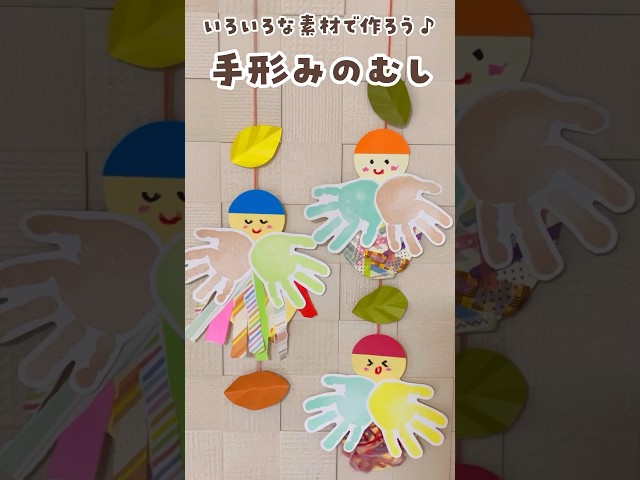
Here’s a craft idea for making bagworms using children’s handprints and footprints! First, create the bagworm’s body out of colored construction paper.
Next, take origami paper in your favorite colors and tear it into long, thin strips.
Paste the strips onto the body with glue, and use the child’s handprints to make a cute outfit.
Draw the face, attach a piece of yarn to hang it, and you’re done! You can also decorate with yarn instead of or in addition to origami paper.
Making lots in different colors and displaying them looks super cute, so it’s highly recommended.
Be sure to have fun tearing and pasting together with the kids!
Autumn Origami Wreath

Here’s an idea for a wreath you can make entirely from origami—from the base to all the parts.
You’ll be making three parts: the base, a squirrel, and a tree.
Since you’ll need several of each, try spreading the work over a few days.
For the base, fold four pieces the way you would when making a traditional “trick boat” (damashibune), creating parts where two boats overlap, then join the four pieces into a circle.
For the squirrel, first fold the left and right edges to meet at the center, then the top and bottom in the same way.
Next, fold up both corners of the top edge to make the ears, and cut along the crease at the lower right to form the tail.
For the tree, fold it four times so it approaches a triangular shape, and it’s done.
Take this chance to try creating a lovely autumn-themed piece!