[Childcare] Recommended for 3-year-olds! Craft activity ideas


Around the age of three, children develop a sense of self, their imaginative world expands, their vocabulary increases, and their fine motor skills improve—there are so many signs of growth.
We hope they continue to grow significantly as they receive plenty of stimulation in their daily lives.
In this article, we’ll introduce craft activity ideas recommended for three-year-olds.
We’ve gathered fun ideas that will spark the curiosity of three-year-olds: perfect for wall displays, toys they can make and play with, projects that use unique techniques, and activities that can be used for pretend play!
There are also ideas ideal for practicing with scissors and glue, so choose activities that match the children’s developmental stage and give them a try!
- Let’s make it with 3-year-olds! Fun handmade toy ideas
- [For 3-year-olds] Winter craft activities and bulletin board decoration ideas for use in childcare
- [Childcare] Perfect for 3-year-olds! October craft ideas
- [For 3-year-olds] Perfect for September! A Collection of Craft Ideas to Enjoy Autumn Nature
- [November] Enjoy with 3-year-olds! Craft activity ideas recommended for autumn
- [Crafts for 3-Year-Olds] A Collection of Fun Ideas for Autumn! Let's Incorporate Seasonal Motifs
- [Nursery/Kindergarten] Crafts you can play with after making them
- [Childcare] Recommended for toddlers! Toy ideas you can make and play with
- Toddler-approved fun! DIY toy ideas for 2-year-olds
- Craft activity ideas for 4-year-olds
- [For 3-year-olds] A roundup of craft ideas to enjoy in summer! Introducing various motifs and techniques
- Irresistible for 3-year-olds! A collection of fun Halloween craft ideas to make
- [Childcare] Fun craft ideas and craft activities perfect for summer
[Childcare] Recommended for 3-year-olds! Craft play ideas (91–100)
Collage Ice Cream
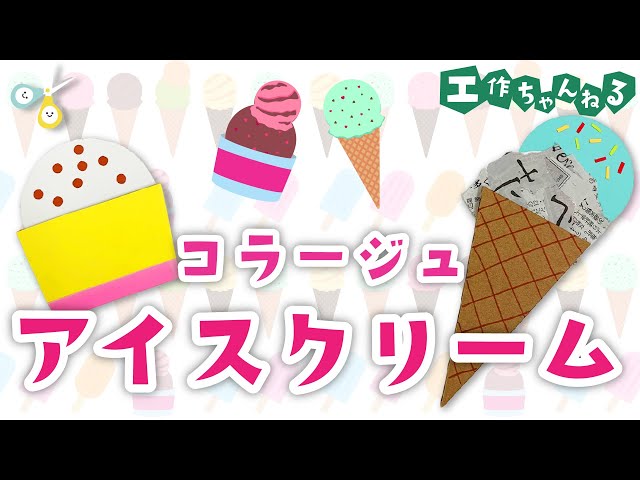
Here are some ice cream craft ideas that also let you enjoy making collages.
Cut the cup or cone bases out of cardboard, then decorate them by drawing patterns with pens or using colored paper.
For the ice cream scoops, basically cut circles out of construction paper, and have fun adding various toppings with small pieces of colored paper or stickers.
It’s also cute to make “collage ice cream” by gluing torn newspaper or flyers onto the round paper scoops.
Once your ice cream is done, attach it to the base to finish.
Colorful Juice

Kids will be thrilled if they can make juice that looks just like the real thing! In this craft, you can create delicious-looking juice using colored film and sponge stamps.
Dab paint onto construction paper with a sponge to add color.
Once the paint dries, cut the paper into the shape of a cup, glue colored film over the top, and make a straw out of origami paper to finish.
Add decorations as you like.
Sponge stamping can be enjoyed from around 0 years old, so please have a teacher supervise while the children have fun!
[Ages 3 and up] Orihime and Hikoboshi made with accordion folding
For children aged 3 and up, let’s have them try a craft using accordion-folded origami.
Prepare origami paper in their favorite colors and fold it back and forth with mountain and valley folds to create an accordion.
Fold the accordion in half at the center to make the kimonos for Orihime and Hikoboshi.
It’s also recommended to prepare two sheets of origami and combine them.
Finally, add faces for Orihime and Hikoboshi made from other origami or construction paper to complete the craft.
Depending on the age group, it may go more smoothly if the teacher prepares the facial features in advance.
Sparkling sun catcher
@info_habataki Hello! This is the Habataki Group. Today we’re introducing an easy-to-make Sparkling Sun Catcher. — Materials — • Candy lid • Liquid glue • Beads • Water-based markers • String — It’s simple to make! Hold it up to the sun to enjoy the sparkle, or use it as a decoration.Chiba CityChild Development SupportAfter-school day serviceNursery teacher / Childcare workerwork#StayAtHomeSquad
♬ Take me (feat. reina) – voquote Remix – Snowk & voquote
Let’s make a sparkling sun catcher with a candy lid and liquid glue! Here are some ideas to get you started.
A sun catcher is a decorative item that reflects light to create beautiful patterns.
They’re often made of glass or crystal, but this time we’ll try using liquid glue! What you’ll need: a candy lid, liquid glue, decorative materials like beads and glitter, an awl, and some string.
You can enjoy decorating with your favorite pieces, so it’s sure to spark kids’ creativity.
Papercut of a dandelion
Let’s make it with scissors! I’ll introduce an idea for a dandelion paper-cut craft.
Here’s what you’ll need: yellow origami paper, glue or double-sided tape, scissors, and a compass.
Using the yellow origami paper, cut out dandelions in three sizes—large, medium, and small.
By layering the three sizes, the petals will have a three-dimensional look and the flower will turn out beautifully.
You can make it even nicer by cutting green origami paper to create the stem and leaves and combining them with the flower.
Give it a try!
Chick and Four-Leaf Clover
Let each child’s individuality shine! Here are some ideas featuring chicks and four-leaf clovers.
Clover motifs are beloved as symbols that bring good luck and make wishes come true.
Let’s express the hopes of moving up to a new grade through a craft activity.
You will need construction paper, crayons, white drawing paper, paint, and glue or double-sided tape.
Use hand painting with paint to make four-leaf clovers, and draw chicks and ladybugs with crayons.
Each piece will turn out as a unique, special creation!
Grapes in bubble art
This is a grape craft made with bubble art.
Bubble art is a technique that uses bubbles created from a soap solution.
Mix detergent, water, and paint to make a colored soap solution, then blow through a straw to create bubbles.
Place the bubbles onto drawing paper to make patterns.
Once the bubbles dry, cut them out into grape shapes, and attach them to a grape backing sheet to finish.
Instead of a straw, you can also use a cut plastic bottle covered with cloth or netting as a substitute.