Let's make it with origami! Ideas for simple 3D creations

Origami tends to be associated with flat designs, but you can actually make lots of three-dimensional pieces too.
In this article, we’ll introduce ideas for 3D origami projects.
From simple shapes like hearts, stars, and dice to small containers and toys you can play with, we’ve gathered a variety of ideas.
If you want to try making 3D origami or are looking for something a bit more challenging than flat designs, feel free to use this as a reference.
All of these ideas involve relatively simple steps, so give them a try without hesitation!
- [For Adults] Simple yet Impressive Crafts: A Stylish, Eye-Catching Collection
- Simple origami that can be folded from a single sheet
- Kids will love it! Easy origami ideas—great as gifts too!
- Cool origami that boys will love and want to fold
- Origami ideas boys will want to make!
- [Origami] She’ll love it if you fold these! Simple ideas for girls
- [For Kids] Let's Fold! Today's Origami Idea Collection
- Popular characters that are easy to make with origami. A collection of creations you can enjoy with children.
- 3D craft ideas made with drawing paper and colored construction paper
- Easy flower craft ideas you can make with a single sheet of origami paper
- Children’s Origami: Easy Single-Sheet Flower Ideas
- Simple yet amazing crafts: craft ideas that elementary school students will want to make
- Kids’ Origami: Cute and Easy Ideas to Make for a Birthday
Let's make it with origami! Simple 3D project ideas (61–70)
Apple
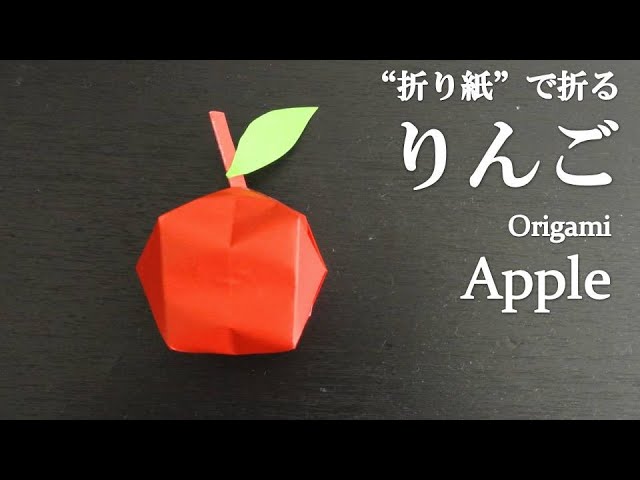
Why not try making a 3D apple out of origami? It’s a perfect new challenge for those who are tired of flat designs.
With just a single sheet of paper, you can realistically capture the apple’s roundness and the green of its leaf.
The steps are simple, so it seems like something you can enjoy with your child.
Folding and folding, watching the shape come to life is exciting.
The finished apple could make a seasonal decoration or even a small container.
How about making apples together with family or friends? It will surely become a lovely memory.
ball

Here’s an idea for making a ball out of paper.
First, prepare six strips of paper, each 1 cm by 20 cm.
Connect one of the strips into a loop.
Next, layer the remaining five strips one by one to form a star shape.
If you overlap them so that the center forms a pentagon, you’ll get a neat star.
Once layered, temporarily clip the ends of the strips upright, then pass the loop you made earlier through them.
At this point, only thread the strips that were on the bottom during the layering.
Swap the top and bottom positions of the overlapped strips, connect strips of the same color, and you’re done!
[Origami] 3D Wind Chime
Make it with origami! Here are some ideas for three-dimensional wind chimes.
These days, you can easily find stylish patterned origami and even see-through designs at 100-yen shops.
Once you find a pattern you like, why not try making a wind chime out of origami? Even with the same folding method, the look and feel can change completely depending on the pattern and material—that’s part of the fun.
Add a bell and some string, and you can almost hear a refreshing chime as it sways in the breeze.
Give it a try!
chocolate

Line up little square chocolates made from origami inside a matching origami box, and you get an adorable piece that looks just like a gift.
Fill it not only with brown chocolates but also with pink, white, and yellow ones to make it visually vibrant and double the fun of making.
Each piece uses a simple folding method, so as you create them little by little, you can enjoy it with a collector’s mindset—that’s part of the charm.
It’s fun to display and to play with, and if you work on it together as a parent and child, it’ll feel like running your very own chocolate shop.
You can’t eat them, but these origami sweets are a delight to look at.
three-legged sanpo (a traditional Japanese three-legged offering tray)

A three-legged sanpō used for festivals and events becomes a three-dimensional and elegant piece when made with origami.
Fold the paper in half, crease firmly, then open it.
Fold the paper toward the center and tuck it inward to shape it.
Open it from the inside so it forms a rectangle, and make the base sturdy.
By tucking the paper inward to create triangular parts, the legs take shape.
Finally, fold it down while adjusting the form, and your three-legged sanpō is complete.
The latter steps include many fine processes, but try folding along with teachers or friends.
It’s also recommended to place it in front of Hina dolls or use it to hold small offerings.