Origami Ideas for 4-Year-Olds: Halloween Edition

We’ve gathered origami folding instructions with Halloween motifs that 4-year-olds can enjoy.
Most of the finished pieces are flat, so you can decorate walls with them or use them as motifs for wreaths and hanging decorations.
Three-dimensional pumpkins and the like are cute when displayed on a table, too.
While talking about the origins of Halloween and the meanings of its motifs, enjoy making origami together and let the children soak up the Halloween spirit!
Wishing the children a fun-filled Halloween.
- Simple Origami Ideas to Enjoy in Autumn (For 4-Year-Olds)
- Fun Halloween Origami for 3-Year-Olds
- [Childcare] [Origami for 4-year-olds] Introducing origami for 4-year-old children!
- Let's Make and Display! Origami Perfect for Halloween
- At daycare and kindergarten! A collection of Halloween decoration ideas
- Toddler-Approved Halloween Crafts: Ideas That Captivate 2-Year-Olds
- [For 4-Year-Olds] Fun to Make! A Collection of Halloween Craft Ideas
- [Halloween] Pumpkin Origami Ideas for 3-Year-Olds
- Halloween origami that captivates 2-year-olds! A fun collection of ideas to make together with your child
- Halloween Fun with 3-Year-Olds! Easy Origami Bat Ideas You Can Make
- October origami for preschoolers: a collection of seasonal ideas
- [Age 4] Easy origami ideas perfect for summer! A collection of cool, refreshing motifs
- Recommended for Halloween! How to make an easy origami ghost with a 3-year-old
[For 4-year-olds] Halloween Origami Ideas (11–20)
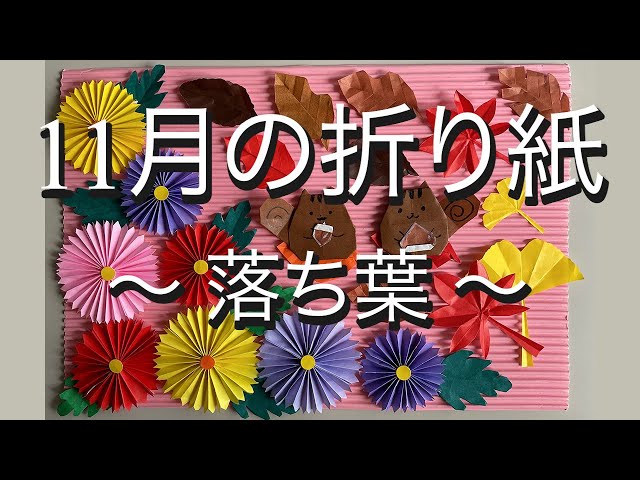
Paper flowers in Halloween colors

These are origami paper flowers made with scissors and glue.
The method is simple, but the geometric patterns are very beautiful.
First, accordion-fold the paper, cut the ends into a rounded shape to make two pieces, and then glue them together at the end—such an easy process, yet it creates decorations this lovely.
The basic form uses a single type of origami paper, but you can also change the color of the flower’s center by layering different sizes of paper.
Be careful: using paper that’s too large can make it difficult to achieve a clean shape.
Make lots of them to create a flower-field effect and set the mood!
magic wand

Let’s try making a magical wand that a witch—one of the classic Halloween motifs—might carry.
A magic wand is the kind of item that makes you want to wave it around as soon as you hold it, instantly lifting your spirits.
It’s very easy to make, and it’s an idea that lets each person show their individuality.
The square-folded tip of the wand is a bit tricky, but a star-shaped fold gives a nice feel too.
You can stick on your favorite stickers or draw pictures on it.
You can also decorate the wand part itself by wrapping tape around it in your favorite colors.
3D pumpkin

As an ambitious origami project, let’s make a 3D pumpkin using six sheets of origami paper! Using the paper balloon folding method, create six identical pieces.
There are a few somewhat intricate steps, but as you repeat the same folds, you’ll get the hang of it.
Once you’ve made six paper balloons, use double-sided tape to attach them together, pressing the insides to shape them into a pumpkin.
Finish by making the pumpkin’s vine from a small piece of green origami paper and attaching it.
Recommended for Halloween! Message Card

Speaking of autumn, it’s the season when mushrooms are delicious.
So let’s make a mushroom out of origami.
First, fold up the bottom edge of the origami paper.
Make sure the folded section and the remaining white section are the same width.
Turn the paper over and fold the left and right edges in to meet at the center.
Open the pockets on both sides and squash them into triangles, then fold the corners on both sides of each triangle inward.
To finish, fold the corners of the stem and the lower part of the cap to round them off.
It would also look cute if you draw a face on it.
Witch hat for Halloween

Here’s an idea for making a chestnut in just seven folds.
First, to create the creases, fold the origami paper in half into a square twice.
Once folded, open it with the colored side facing up.
Fold the bottom edge up to meet the center crease, then flip the paper over and fold both top corners in toward the center.
Finally, fold both bottom corners toward the center to finish.
Turn the origami to the front, and if you draw small black dots on the white part with a pen, it will look even more like a chestnut—highly recommended.
If you want a rounder shape, lightly fold the corners to the back.
Origami Halloween pumpkin
Here’s an origami idea for fallen leaves that also helps kids practice using scissors.
Place the colored side up and fold the paper into a triangle.
Next, make accordion folds from the left edge in 1 cm widths.
Once the accordion folds are done, unfold back to the triangle and fold up the base diagonally so that the left side becomes thicker.
Fold the top corners outward into small triangles, then slowly open the paper.
Tuck the triangular corner tips to the back to shape it like a leaf.
Open the white section on the left edge, make a slit on the opposite side, and form the leaf stem.
After that, add small cuts or folds as you like to give it the look of a fallen leaf.
Origami Ideas for Halloween (Ages 4) (21–30)
Perfect for Halloween! Black Cat Origami
https://www.tiktok.com/@hoiku.labo/video/7280820202445524226After folding the paper into a square using the zabuton fold, lift two of the corners gathered at the center to make the cat’s ears.
Fold the corners sticking out from the base of the ears inward, then tuck in the remaining corners to shape the face.
Flip the paper over, and your cute cat is complete! Draw the face and whiskers to finish it off.
The vibe changes depending on the color of the paper, so try making it in your favorite color.
If you pop a witch’s hat on it, it might feel even more Halloween-y!