

Make your reading time even more enjoyable with handmade bookmarks!

When you have a favorite bookmark, reading becomes even more enjoyable, doesn’t it? How about making your own special, one-of-a-kind bookmark by hand? This time, we’re introducing ideas for bookmarks and book markers using a variety of materials like origami paper, fabric, leather, and ribbon.
With thoughtful choices of materials and color combinations, you can create pieces that are truly captivating.
Take your time crafting, and you’ll end up with something wonderful.
Let’s make the time spent with your favorite book even more special.
Make reading time even more enjoyable with handmade bookmarks! (1–10)
Indian embroidered ribbon bookmark
https://www.tiktok.com/@coco_cessory/video/7473283690748005648We’d like to introduce a bookmark made with Indian embroidered ribbon that feels both vibrant and charmingly simple.
Cut the Indian embroidered ribbon to your preferred bookmark length, then thread soft wire along both sides of the ribbon.
Next, sew around the edges of the ribbon with thread.
Using a pale-colored thread will change the overall impression of the bookmark.
Hand-stitching adds a warm, handmade feel.
Add beads as accents, attach a flat ribbon or similar embellishment, and you’re done.
Give it a try!

Leather magnetic bookmark

Introducing a smart leather magnetic bookmark with a sophisticated, grown-up vibe.
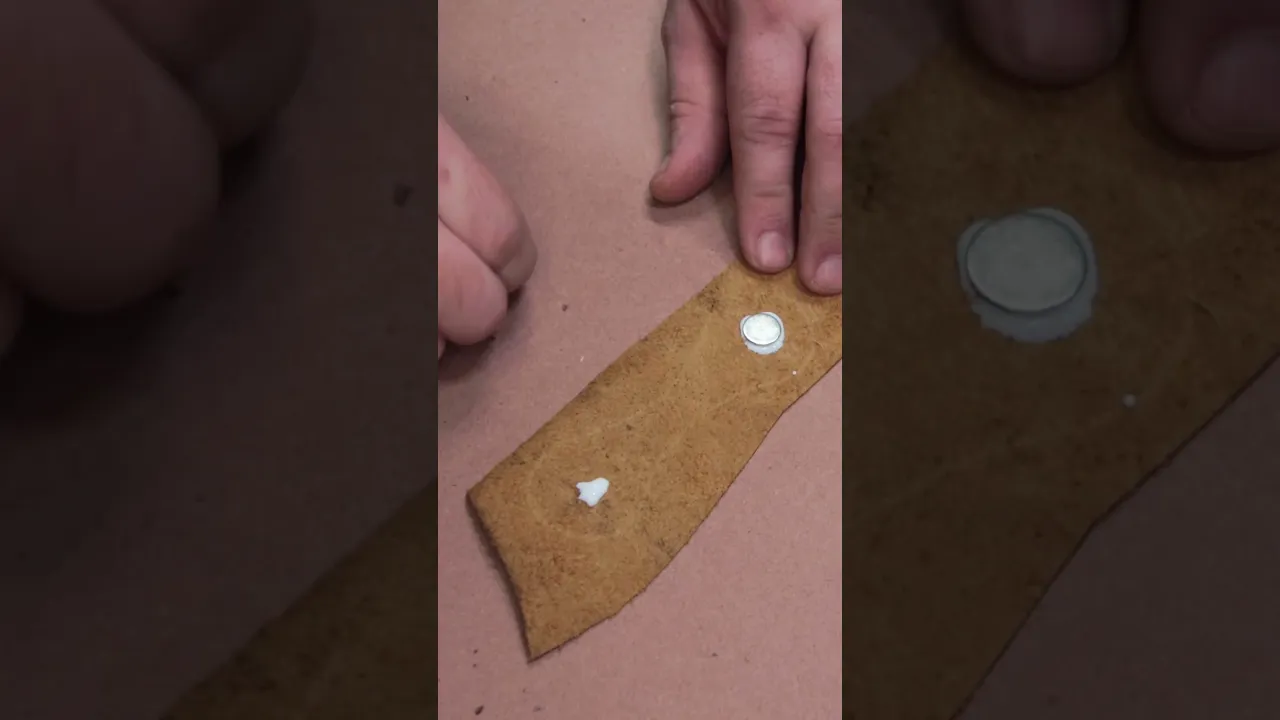
While imagining how it will clip onto a book page, attach two magnets to the leather.
Glue the leather together so that the magnets are sandwiched inside.
Then stitch the leather with thread.
Once the glue has dried, fold it in half, sand the edges all around, and you’re done.
It grips firmly, so you won’t have to worry about the bookmark slipping out.
Give this practical and stylish leather magnetic bookmark a try!
fabric bookmark

Let’s make a book-friendly fabric bookmark by sewing together fabric scraps.
Stitch the scraps together, sew a ribbon at the top, and shape it into a bookmark.
Turn the fabric right side out through the opening and neaten the overall shape.
Topstitch around the edges, trim any loose threads, press with an iron to remove wrinkles, and you’re done.
Try making a cute bookmark by piecing together leftover fabrics you’ve used.
The more you use it, the more you’ll grow attached to this fabric bookmark—give it a try!
Origami and Sleek Ribbon Bookmark

Here’s how to make an original bookmark with origami and a neat ribbon.
Prepare origami paper and a ribbon to get started.
Fold the origami paper in half, then open it up and make creases horizontally and vertically as well.
As you add creases to divide it into thirds, shape it into a bookmark.
For the ribbon, tie a simple knot first, then thread it through the bookmark hole—this is the key to getting a clean, tidy knot.
Finish by applying fray-preventer to the ribbon’s cut ends.
Using patterned origami paper is recommended.
Ribbon bookmark
https://www.tiktok.com/@mery.jp/video/7458583040806161682Here’s an introduction to a bookmark with a visible ribbon that peeks out from your book.
It’s a ribbon bookmark recommended for those who love cute things.
Cut a piece of construction paper into a long, narrow strip and fold it in half.
Leaving the folded end as the tip where the ribbon will be attached, glue the strip together.
Trim the corners at the ribbon end, attach the ribbon, and you’re done.
When making the ribbon, the key is to cut it a bit long.
Wrap the ribbon around your fingers to form it.
Many bookmarks only peek out slightly as a marker, but having the ribbon visible makes it even cuter.

Landscape painting bookmark
https://www.tiktok.com/@gutaraobake/video/7506829386536979719Introducing bookmark landscape paintings that make you feel warm and cozy just by looking at them.
First, wrap a ribbon to prepare the base of the bookmark.
Use masking tape to frame the area in the shape and size of the landscape you want to paint on the bookmark.
Within the taped area, use a cotton swab to apply paint and create the landscape.
The key is to add color with light, gentle strokes of the swab.
Bright colors are recommended.
Once the paint is dry, slowly remove the masking tape and it’s done.
Try making your own original bookmark!
[Origami] Triangle Bookmark
![[Origami] Triangle Bookmark](https://i.ytimg.com/vi/PZF7b0RXJCM/sddefault.jpg)
Here’s a simple triangular bookmark you can make with just one sheet of origami paper.
Prepare a sheet of your favorite origami paper.
Fold the paper into a square twice.
Tuck the corners of the folded paper inside, and your triangular bookmark is complete.
You can tuck in just one side, or tuck everything in to form a neat triangle—both are recommended.
It’s a simple, highly functional bookmark that makes it easy to spot the page you’re reading, so give it a try.
It could also be fun to make them together with friends or family!