[Childcare] Sports day costume ideas: easy-to-make outfits


Dance costumes are a must for nursery and kindergarten sports days! When kids wear cute outfits, they get excited and dance with energy.
The theme of the dance also comes across clearly to parents.
Here, we’ll introduce a variety of costume ideas.
Making costumes for the whole class can be tough, but it’s easy if you use colored plastic bags or nonwoven fabric.
With some fun customization, you can create even more appealing outfits.
Make wonderful costumes that get the children excited, and enjoy the sports day!
- Easy! Costume ideas made with colored plastic bags
- [Wrist Accessories / Costumes] Handmade Outfit Ideas for Sports Day
- For the daycare’s sports day! Fun and unique event ideas
- Children's costumes that make you want to imitate at a recital
- Handmade costume ideas recommended for sports day
- Cute and eye-catching! Ideas for making wrist decorations for sports day
- [For Sports Day and Halloween] Handmade Ninja Costume and Item Ideas
- Recommended for nursery and kindergarten sports days! Dance songs that will get kids excited
- A toddler sports day that gets everyone excited! A collection of fun parent-child game ideas
- Perfect for sports day! Handmade armbands, bracelets, and wrist accessories
- Wall decoration ideas recommended for sports day at nursery schools and kindergartens
- [Childcare] Ideas for props for a school play. Easy ways to make them.
- [Daycare/Preschool] Let’s Make Handmade Hinamatsuri Costumes! An Idea Collection You’ll Want to Copy
[Childcare] Sports day costume ideas: Easy-to-make outfits (21–30)
Cute cat ears you can make with 100-yen shop items
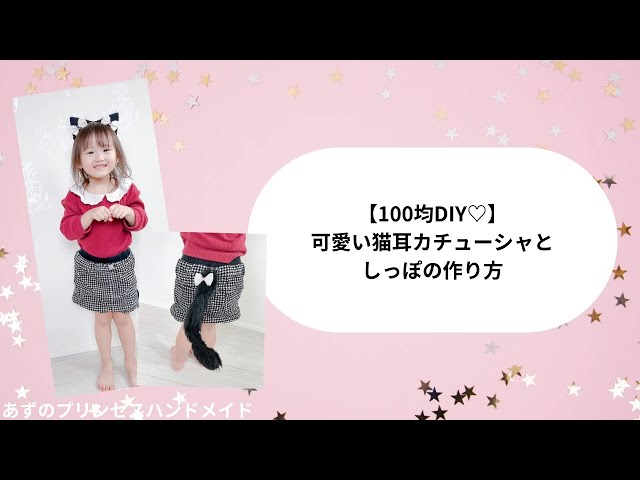
It’s great when you can get all the materials at a 100-yen shop—it makes it easy and fun to give it a try.
This is an idea I’d recommend even to those taking on handmade crafts for the first time! You’ll need items like sponge sheets, a template, scissors, black fabric, a hot glue gun, frilled ribbon, a headband, a lighter, and ribbon embellishments.
Since you won’t be using a sewing machine or needles, it’s easy to start.
Making a matching tail to wear with the headband would be adorable, too! You can enjoy customizing it as well.
Become your favorite kitty!

Design your own cat ears and create a one-of-a-kind, special pair just for you! When you think of cat ears, many people might picture black or white ones.
But it’s also wonderful to make a headband packed with kids’ free ideas and favorite designs! You’ll need a headband, fabric, glue, ribbon, cardboard, scissors, glitter paper, and more.
It seems people often choose materials to match certain characters, but using a variety of materials like this can really bring out your individuality!
Cat-ear headband made with yarn
https://www.tiktok.com/@mery.jp/video/7289366774162803975These are soft, fluffy headbands with a pleasant feel—perfect for Halloween costumes or for kids who love cats.
You’ll need a headband, wire, yarn, glue, ribbon, pearl stickers, and small bells.
Apply glue to both ends of the headband and wrap the yarn around it.
Shape the wire into ears, attach them to the headband, and secure them by wrapping yarn around while gluing in place.
Finally, decorate with ribbons, bells, and pearl stickers, and you’re done!
Cat ears made with faux fur

It would be delightful to wear a headband with a fluffy, real-cat-like feel, wouldn’t it? This time, let’s make some cute cat ears using a pattern and faux fur fabric.
What you’ll need: a pattern, faux fur fabric, lining fabric, duct tape, pins, and a sewing machine.
Store-bought ones are nice too, but the warmth and flexibility of handmade items are really appealing.
Choosing fabrics with your child and spending time making them will become a cherished memory as well.
These will be a hit at recitals or any event where you can dress up!
How to fold cat ears

With just black and yellow origami paper, glue, and scissors, you can make realistic cat ears! The key is to cut the origami to the size you need before you start.
Apply glue and lift the paper to give the ears a three-dimensional finish, and you’ll have adorable cat ears.
It’s also nice to clip them to your hair with hairpins.
When attaching the black and yellow origami together, using double-sided tape or similar may help prevent the papers from peeling apart.
Easy cat ears with construction paper!

All you need to do is attach paper cat ears to a simple headband you can buy at a 100-yen shop, and you’re done! The only materials are a basic headband, two colors of construction paper, and glue.
You can just cut the paper into triangles and stick them on, but it might look a bit flimsy.
For sturdier, more realistic cat ears, it’s best to fold the paper to add thickness and dimension.
Changing the color inside the ears makes them look even more lifelike, so try layering two sheets of construction paper to create cat ears with a carefully crafted finish.
[Childcare] Sports day costume ideas: easy-to-make outfits
Matching T-shirts
@nexus_official5 It turned a beautiful blue 😊 The kids are excited, saying, “I can’t wait to wear it.” 🫧#memorytree nursery schoolNursery teacher / Childcare worker#T-shirt dyeing
♬ Utopia – imase