[Childcare] Recommended for 3-year-olds! Origami ideas with a winter theme


In childcare settings for three-year-olds who are beginning to learn finger play and how to use toys, origami is often used.
Some of you may be looking for origami instructions that match the winter season, which brings various events like Christmas and playing in the snow.
In this article, we’ve picked simple, low-step origami ideas with a winter theme.
It’s also a great idea to display the pieces made together with friends at the nursery school.
Prepare colorful origami paper and try winter origami that lets children’s creativity flourish.
- [For 3-year-olds] Easy snowman origami (how to make)
- [For 3-year-olds] Winter craft activities and bulletin board decoration ideas for use in childcare
- [Childcare] Simple winter-themed origami craft ideas
- [For Preschoolers] Let’s Make It Together with the Kids! Origami Ideas for February
- [For Preschoolers] Fold with Fun! January Origami Ideas for Little Ones
- Ideas for Easy Winter Origami Crafts That Even 2-Year-Olds Will Love
- [Preschool] Recommended for 3-year-olds! Easy-to-make fall origami craft ideas
- Origami Fun in Winter for One-Year-Olds! Simple ideas for tearing and sticking, too
- [For 3-year-olds] December Christmas Crafts! A Collection of Fun Handmade Ideas
- [Age 3] Let’s Make It at Nursery or Kindergarten! A Collection of Christmas Craft Ideas
- [Childcare] For 4-year-olds! Easy winter origami ideas
- For older kindergarteners: Let’s make it! A collection of recommended origami ideas for February
- [Childcare] Winter Projects You’ll Want to Try! Recommended Craft Ideas
[Childcare] Recommended for 3-year-olds! Origami ideas with a winter theme (51–60)
Christmas Candle

We’ll show you a simple way to fold a candle from a single sheet of origami paper that 3-year-olds can enjoy making.
First, turn the paper over and fold it into a triangle.
Fold the bottom corner up to the center crease.
The top corner will become the candle’s flame, so fold the bottom edge up until the flame is the size you like.
Flip it over, then fold both sides along the edges so the triangle sits in the center.
Fold the whole piece in half to make a crease, then fold both side edges to meet that crease—and your candle is complete! Try making them in different colors; they look adorable as decorations on wreaths and more.
Christmas bell

Here’s how to fold a simple Christmas bell.
First, fold the origami paper in half to make a rectangle, then open it.
Fold the top two corners in along the center crease and flip it over.
Fold the bottom up by about 1 centimeter, flip it over again, then fold the top down along the center line.
Fold the left and right sides slightly diagonally toward the center, fold down the two top corners as well, and you’re done! The steps are simple, but it turns out super cute—give it a try!
Year-end big cleaning set

Year-end means a big clean-up! It’s also a great time for kids to tidy their own rooms or the daycare room.
In this idea, you’ll make a dustpan and broom out of origami.
For the broom, roll a sheet of origami paper to make the handle, then wrap a strip of origami paper with fine snips cut into it around the end to form the bristles.
For the dustpan, first make a square box, fold one side inward to create the part that holds the trash, then attach a rolled paper handle to finish.
This idea uses small origami paper, but if you’re making it with three-year-olds, please use standard-size origami paper.
magic mallet
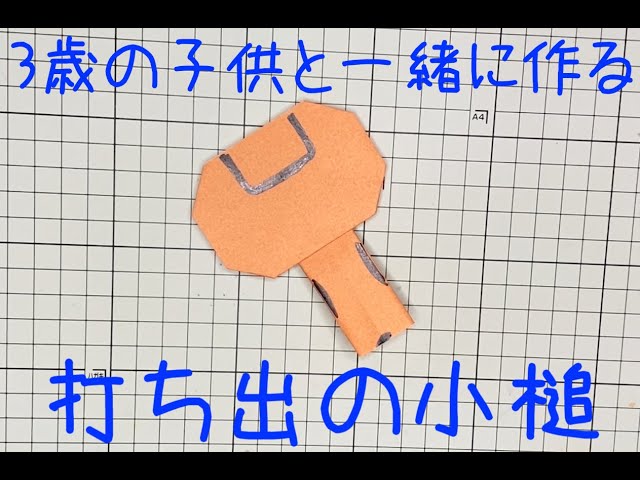
The lucky mallet, said to grant wishes when shaken, is also popular as a New Year’s decoration.
This time, let’s make a lucky mallet out of origami.
Fold the origami paper in half twice to make crease lines, then unfold it back to the original shape and fold the top and bottom edges to meet the center line.
Rotate the paper 90 degrees and fold up the bottom edge.
Fold it so that the folded-up section and the remaining section are about the same size.
Turn the paper over, then fold the remaining top section down to meet the horizontal center line.
Open and squash the left and right sides of the folded-down section into triangles to form the mallet’s handle.
Finally, fold the corners of the remaining top section inward to round out the mallet’s head, and you’re done!
Camellia

Here’s an idea for making a camellia—the flower that starts blooming in winter—out of origami.
Fold the paper into a triangle twice to create creases, then unfold it.
Fold the left edge so it lines up with the crease that extends from the top-right corner.
Next, fold the bottom edge along the other crease.
Make a crease where the layers of paper overlap, then unfold.
Repeat this process to form the shape of the flower.
It might be a bit tricky at first to remember where to place the creases, but since it’s the same folding pattern over and over, give it a try!