[Childcare] [Origami for 4-year-olds] Introducing origami for 4-year-old children!


Origami for 4-year-olds is full of fun discoveries!
Here, we’ve gathered origami ideas recommended for 4-year-olds.
Using colorful paper and folding freely helps expand children’s imagination.
Working with their hands and creating together with friends also deepens communication.
Origami is a play activity that nurtures concentration and patience, and the sense of achievement when they succeed is exceptional!
In the moment they think “Let’s fold!” and start moving their hands, they can also feel the joy of creating a one-of-a-kind piece.
Be sure to incorporate it into your childcare activities.
- [Childcare] For 4-year-olds! Easy winter origami ideas
- Simple Origami Ideas to Enjoy in Autumn (For 4-Year-Olds)
- [For 4-year-olds] Let's fold! A collection of simple rabbit origami ideas
- [For 3-year-olds] Let’s make strawberries with origami! A collection of easy strawberry folding ideas
- [For 5-year-olds] Let’s make origami! A collection of fun folding ideas
- Origami Ideas for 4-Year-Olds: Halloween Edition
- [For Preschoolers] Let’s Make It Together with the Kids! Origami Ideas for February
- [Origami] Easy spring-themed origami ideas to enjoy with 4-year-olds
- [For 4–5 year olds] A collection of recommended origami ideas for March—featuring seasonal events and natural motifs
- Origami Butterfly Ideas That Are Easy for 3-Year-Olds
- [For 4-5-year-olds] Folding is fun! A collection of January origami ideas to enjoy with preschoolers
- [For 3-year-olds] Easy-to-make origami rabbit ideas collection
- [For 3-year-olds] A fun collection of easy origami fish to make!
[Childcare] [Origami for 4-Year-Olds] Introducing Origami Activities for 4-Year-Olds! (41–50)
Perfect for summer! A penguin folded with two sheets

Here’s a penguin you can make from two sheets of origami paper, featuring an adorable plump shape.
Prepare one large sheet, one smaller sheet, scissors, and glue.
First, use the smaller sheet to make the penguin’s face.
After creasing along the diagonal, fold the left and right sides in along the vertical line.
Open it up once, then fold the corners along the crease lines.
When the overall shape is folded, round the corners to finish.
Use colored pens to draw the facial expression.
For the body, fold the large sheet into a triangle, then fold the base of the body along the center crease.
When making the wings, snip slits with scissors and fold along the crease lines.
The key is to leave a wide area for the belly.
Finally, glue the face and body together to complete your penguin.
[Childcare] [Origami for 4-Year-Olds] Introducing Origami for 4-Year-Olds! (51–60)
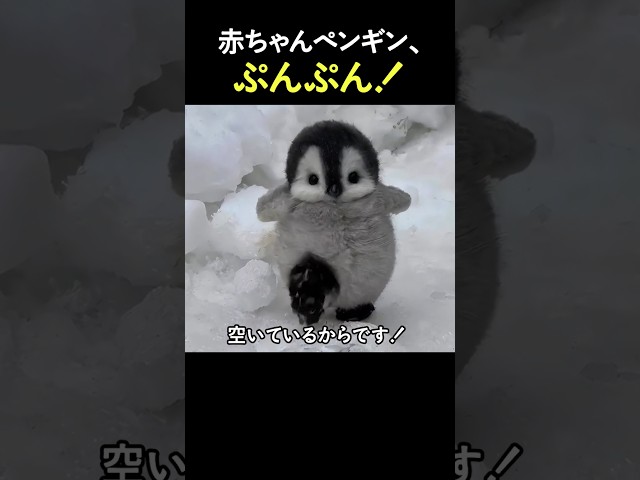
A cute penguin you can make with a single sheet of origami paper

Here’s a cute penguin you can make with just one sheet of origami paper—perfect for three-year-olds.
Prepare one sheet of origami paper and fold it into a triangle to make a crease.
Fold the corners along the center line; you’ll be flipping the paper over to fold on both the front and back.
Next, fold the left and right sides toward the central vertical line to form the base of the penguin’s wings.
To give the wings movement and a three-dimensional look, make sure to crease firmly.
After checking that both sides are balanced, fold the tip to round out the overall shape of the penguin, and you’re done.
It might also be fun to make them in different colors and give each penguin a name.
Cute and easy penguin
Let me introduce an origami penguin with an adorable round shape.
After making a triangular crease, fold so that both ends become parallel.
Turn the paper over, fold the corners halfway toward the center, then fold them in half once more.
Fold both ends diagonally to form the penguin’s wings and body.
Adjust the shape, draw the penguin’s facial expression, and it’s complete.
By drawing varied expressions, you can create many different penguins.
Give it a try and have fun making them!
A flapping pigeon

Focus on movement! Here’s an idea for a flapping pigeon that moves.
Many children are drawn to moving toys, right? While origami often brings to mind flat creations, it turns out you can make pieces that move and flap, too! This time, let’s make a cute, flapping pigeon.
All you need is one sheet of origami paper and a pen.
Pigeons are familiar birds for children, aren’t they? If your child enjoys spotting pigeons while out on walks or trips, give this a try!
A rabbit hopping and bouncing

Make it with a single sheet of origami! Let me introduce an idea for a bunny that hops up and down.
All you need is origami paper in your favorite color, plus pens or colored pencils.
It’s an activity that lets kids have fun while using their imagination to see how the finished bunny moves.
It’s exciting to use your favorite color of origami paper to make a hopping bunny! Some steps are a bit tricky, so it’s best to work together with a teacher or guardian.
By drawing the face and patterns with pens or colored pencils, you can create your very own unique hopping bunny!
A butterfly you can make with a single sheet of origami paper

Once you’re finished, try hanging it on the wall! Here’s a simple idea for making a butterfly with just one sheet of origami paper.
Origami butterflies have a warm, gentle look that brightens up any room when you display them.
This time, we’ll make a butterfly using a single sheet of origami.
Throughout the steps, it’s important to crease carefully and firmly, so keep that in mind as you craft—especially when working with kids.
Another key tip is to fold in the corners to create that rounded wing shape!
How to fold a rocket

I’ll show you how to fold a cute, pop-style rocket.
First, fold the origami paper in half to make a rectangle and crease it, then open it and fold only one side toward the crease.
Fold it in half again and open it once more.
Turn the paper over so the section you just folded is on top, then fold the corners on both sides toward the center crease.
Place it with the pointed end facing up, and fold both sides toward the center line again.
Fold back a small portion to form the fins, and your rocket is complete! Try drawing windows and patterns to finish it into a lovely piece.