For Seniors: Come, Spring! Recommended March Craft Ideas for Daycare Services


In this article, we introduce March craft ideas recommended for seniors!
When it comes to March events, there are many with a cute image, like Hinamatsuri (Girls’ Day) and White Day.
Using lots of soft colors like pink and white in your crafts can put you in a gentle mood.
It’s the season when spring flowers begin to bloom, so let’s create a bright, festive atmosphere through crafting!
There are plenty of ideas you can use in senior day services and other elder care facilities, so please use them as a reference when making crafts together.
- [For Seniors] Crafts to Make in March! Recommended Project Ideas
- For Seniors: Recommended Wall Decoration Ideas for March
- [Day Service] Spring Take-Home Crafts: Ideas to Warmly Brighten Your Room
- [For Seniors] March Origami: Ideas to Brighten Your Room with Seasonal Flowers and Events
- [For Seniors] Spring Wall Decorations: A Collection of Ideas to Brighten Up Your Room
- [Day Service] Excited for Hinamatsuri! Craft ideas to brighten up your room
- [For Seniors] Brighten Up Hinamatsuri: Wall Decoration Ideas
- [For Seniors] Have Fun Making Things Based on Today’s Mood! Today’s Recommended Craft
- [For Seniors] Color Your Care Facility’s Spring: Wall Decoration Ideas
- [For Seniors] Hinamatsuri Recreation: Fun Ideas for Games, Crafts, and Snack Making
- For seniors: Heartwarming and cozy. Recommended handmade Hina dolls
- [For seniors] Enjoy spring: April craft ideas
- [For Seniors] Making a March Calendar: Introducing Spring-Themed Motifs and Arrangements
[For Seniors] Come, Spring! Recommended March Craft Ideas for Day Services (1–10)
Cherry blossom wall decoration

When we think of spring, we think of cherry blossoms.
Let’s make a cherry blossom wall decoration so seniors can feel the arrival of spring.
Following the video, fold pink origami paper a few times, cut in two places, and unfold to reveal a cherry blossom shape.
Make smaller blossoms the same way with slightly smaller origami paper and layer them together.
Using different shades of pink—pale and deep—will look cute.
Create 3D leaves from green or light-green origami and attach them to the backing along with the blossoms.
For the centers of the cherry blossoms, use a craft punch or draw them with a pen.
Adding a few scattered petals will make it even more festive.
Why not make a cherry blossom wall decoration before the blossoms open and enjoy an early hanami indoors?
Dandelion wall decoration

Many people played by making dandelion flower crowns when they were children.
Here’s a craft project that uses familiar dandelions as a motif, perfect for older adults as well.
Although this piece looks three-dimensional and very realistic, it’s actually quite easy to make.
Prepare Tant paper or colored construction paper, and wooden stir sticks.
Use green paper to make the leaves, then draw in the stems with a white colored pencil.
Fold a long strip of yellow paper in half and make fine cuts with scissors.
If any older participants are uncomfortable using scissors, staff should assist them as they go.
Roll the yellow strip up, then gently flare it outward bit by bit to form the dandelion bloom.
Arrange the stir sticks in a lattice, attach the flowers and leaves, and you’ve got a lovely wall decoration.
Clover and a Vase

These cute creations are perfect for the colorful spring season.
Prepare origami in your favorite colors and make a four-leaf clover and a vase.
The four-leaf clover is made from a single sheet of origami paper.
If you make several in different sizes and colors, they’ll give a bright, festive impression.
The leaves have a three-dimensional finish, so they look striking.
For the clover’s stem, roll a strip of origami paper thinly, flatten it, and attach it.
Place the clovers in an origami vase shaped with a bit of volume, and display them at home.
If you like, using puffy stickers to create little insects and sticking them on is also recommended.
[For Seniors] Come, Spring! Recommended March Craft Ideas for Day Services (11–20)
Two types of hanging decorations with plum blossoms
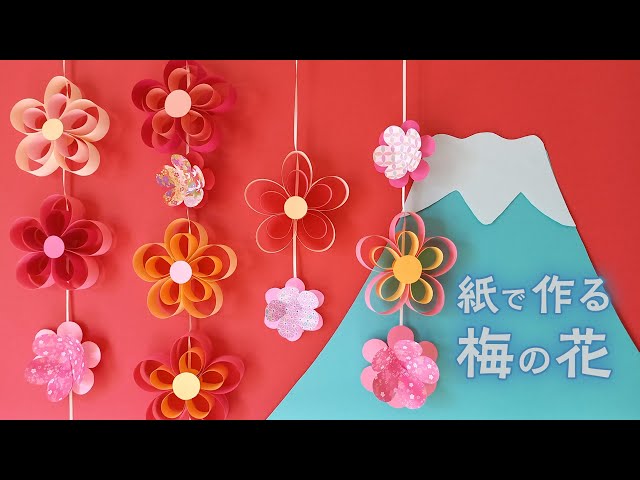
How about a plum-blossom decoration that’s very simple yet instantly adds a festive touch just by displaying it? Here are two types of hanging ornaments you can make with colored construction paper.
Prepare five strips each of 2 cm × 15 cm and 2 cm × 10 cm paper.
Stack two strips, align the ends, staple them, and round them into a petal shape.
Make five of these in the same way and glue them together.
Finish by attaching a circular piece of paper in the center.
For the second type, cut two sheets of origami into circles, shape each into petals, then cut one to create a three-dimensional effect and glue them together.
Once both types of plum blossoms are finished, use string or ribbon to make them into hanging ornaments.
They sway beautifully as elegant plum-blossom decorations.
Art box

Depending on the region, by March you may start getting more warm sunlight streaming indoors.
Let me introduce an art box that makes use of that indoor sunlight.
Cut an empty milk carton into strips about 2 centimeters wide and turn them inside out.
On one side, attach tissue paper to fit the size.
Glue both ends of a thin, strip-shaped piece of origami paper, shape it as you like, and place it inside the milk carton ring.
Feel free to add lots of origami—this is a step where older adults’ individuality can really shine.
When you’ve finished filling it, cover it with tissue paper to make a lid, and you’re done.
If you place it where the sunlight comes in, like by a window, the contents will look beautifully translucent.
Give it a try!
Hina dolls

Yakult containers are small and very well suited for making doll-shaped crafts.
Making Hina dolls with them turns out very cute and gives a sense of the season, so I recommend it.
First, apply glue to the lower part of the container and wind chunky yarn around and around.
It’s fun to mix two colors.
Make the imperial prince’s crown and the princess’s hair and crown out of felt, and fit them into the narrow part at the top of the container.
Make the scepter and fan from felt as well and attach them with glue.
And with that, your slightly artistic Hina dolls are complete.
Watercolor Dandelion

When you hear “watercolor,” you might picture something difficult or a lot of preparation.
But using watercolor brush pens makes it easy to give it a try.
Here, we’ll show you a simple way to paint a dandelion, so even if you’re not confident in drawing, you can enjoy it.
With a yellow brush pen, draw several short lines.
Switch to green, then under the yellow lines, draw an oval and a stem to suggest a plump calyx.
Sketch in some rough veins, then add the leaves.
It helps to imagine arrowheads or hearts for the leaf tips.
Even small mistakes can give your illustration character.
Use a lovely watercolor to brighten up your March calendar!