![[For Seniors] Crafts to Make in March! Recommended Project Ideas](https://i.ytimg.com/vi_webp/V1odtuc4D-w/maxresdefault.webp)
[For Seniors] Crafts to Make in March! Recommended Project Ideas


March is full of delightful motifs like peach and cherry blossoms, as well as fun events such as Hinamatsuri (Girls’ Day).
In this article, we’ll introduce craft ideas recommended for seniors to enjoy in March! By mainly using soft colors like pink, white, and pale green for origami and construction paper, you can create bright, cheerful pieces—making both the crafting process and the finished display exciting.
When making origami crafts, adding patterned paper can change the atmosphere and give your work a unique touch! Feel free to use these ideas as references in care facilities such as day service centers.
[For Seniors] Crafts You’ll Want to Make in March! Recommended Project Ideas (1–10)
Peach Blossom Wreath

A peach blossom wreath is an origami piece where arranging the flowers into a ring makes the overall cohesion clearly visible.
The work centers on two parts: making the flowers and assembling them by placing them onto the base.
The wreath’s impression changes greatly depending on where you start and how you gauge the spacing.
A notable feature is that you can create variation not only by arranging them evenly but also by intentionally varying the density.
While a single finished piece has a strong presence on its own, combining different sizes expands your options for spatial presentation.
It’s an origami idea that lets you enjoy the process of shaping while considering the placement.
Two types of hanging decorations with plum blossoms
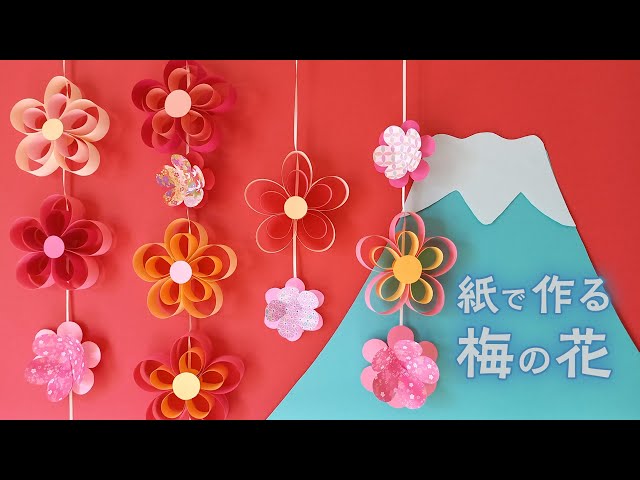
How about a plum-blossom decoration that’s very simple yet instantly adds a festive touch just by displaying it? Here are two types of hanging ornaments you can make with colored construction paper.
Prepare five strips each of 2 cm × 15 cm and 2 cm × 10 cm paper.
Stack two strips, align the ends, staple them, and round them into a petal shape.
Make five of these in the same way and glue them together.
Finish by attaching a circular piece of paper in the center.
For the second type, cut two sheets of origami into circles, shape each into petals, then cut one to create a three-dimensional effect and glue them together.
Once both types of plum blossoms are finished, use string or ribbon to make them into hanging ornaments.
They sway beautifully as elegant plum-blossom decorations.
Cherry blossom flower wall decoration

When spring comes, the cherry blossoms bloom and it’s the perfect season to enjoy hanami.
There are many varieties of cherry blossoms, such as those with lots of petals or ones with vividly red-colored petals.
Let’s use cherry blossoms as our theme and make a wall decoration.
We’ll create sakura using folded or cut origami.
You can also layer two origami cherry blossom flowers.
It’s a craft that can really showcase the individuality of older adults.
Origami sakura don’t have to be glued onto a backing; you can use them for handmade calendars or resize them to make wreaths.
Please feel free to use this as a craft idea for March.
A hanging ornament of yo-yo quilt made from fabric scraps

Let’s make a hanging decoration with a calm, soothing feel using fabric with traditional Japanese patterns.
You can make this with fabric scraps, so prepare plenty of your favorite prints.
After making a paper pattern and cutting the fabric, fold it in half with the right sides together and sew the edges.
Once you have a loop, lightly fold in each end to crease them.
Fold it in half and sew all the way around with large stitches, then pull the thread to form a round shape.
Gently shape it, then thread a cord through along with small fabric balls stuffed with cotton.
Make five of these sets to complete a vibrant yo-yo quilt hanging decoration.
Easy Hina decorations with 100-yen shop materials

You can make cute Hina decorations using familiar items.
For example, a round box that holds cheese.
If you remove the bottom part, you’ll get a ring.
You can use that to make a Hina display.
Attach pink masking tape to the ring and make holes with an awl.
Thread yarn alone, or yarn with beads, through the ring using a yarn darning needle.
Make the dolls with round stickers, and you’re done.
Using transparent origami paper also looks cute.
How about making them while chatting with seniors about memories of Hina Matsuri?
Hinamatsuri wreath

Pom-poms for crafts, which are also sold at 100-yen shops.
Let’s make a hanging decoration using a wreath made from these pom-poms.
Use a needle and thread to connect the pom-poms into a ring.
If you press a yellow pom-pom into the center, you can create plum or peach blossoms.
You can also make three-colored dango by skewering pink, white, and green pom-poms on a toothpick, so be sure to hang them together.
Using a variety of colorful pom-poms will make it even cuter.
Older adults can enjoy making these while chatting about Hinamatsuri, which will surely liven up the conversation.
Pompon Strawberry

Here’s an idea for making pom-pom strawberries out of yarn.
Wrap red yarn around your fingers about 50 times, then tie it tightly in the center to bundle it.
Cut through the looped sides with scissors, and trim the excess yarn to shape it into a round ball.
Next, embed white yarn all over to look like strawberry seeds.
Apply glue to the white yarn, push it deep into the ball, and trim any excess.
Finally, attach a calyx cut from felt, and you’re done!