

May: Craft Ideas That Excite 4-Year-Olds!


May is the time when the new school year settles down a bit and the weather is perfect for enjoyable outdoor activities.
Four-year-olds are surely excited about the new season, too.
May also includes Children’s Day and Mother’s Day, making it a great time to deepen learning about traditional events.
In this article, we’ll introduce May craft ideas you’ll want to enjoy with four-year-olds.
Four-year-olds are increasingly energetic.
Let’s incorporate ideas that not only involve making crafts, but also add twists to the process and allow children to play with what they create.
Because items made by children are treated as works of art, we use the term “制作 (seisaku),” meaning “creation/work,” rather than “製作,” in the text.
[May] 10 Craft Ideas for 4-Year-Olds That Spark Excitement (1–10)
Sparkly Helmet

Let’s make it with newspaper! Here are some ideas for a sparkly samurai helmet (kabuto).
May is known for Children’s Day, right? Many preschools and homes display kabuto helmets and carp streamers (koinobori).
This time, we’re sharing kabuto ideas that you can not only display but also wear, so take this opportunity to give it a try! What you’ll need: origami paper, round stickers, square stickers, mirror tape, construction paper cut into circles, scissors, glue, crayons, and double-sided tape.
With shiny tape, stickers, and origami, kids are sure to get excited!
koinobori rocket

Carp streamers burst out with energy and excitement! Here’s an idea for a Koinobori Rocket.
When you think of Children’s Day, many people picture koinobori, right? This time, let’s make a toy with a carp streamer motif that you can build and play with! You will need two paper cups, two rubber bands, decorative materials like stickers and colored paper, scissors, a craft knife, and clear tape.
The decoration is very flexible, so it’s sure to spark kids’ creativity!
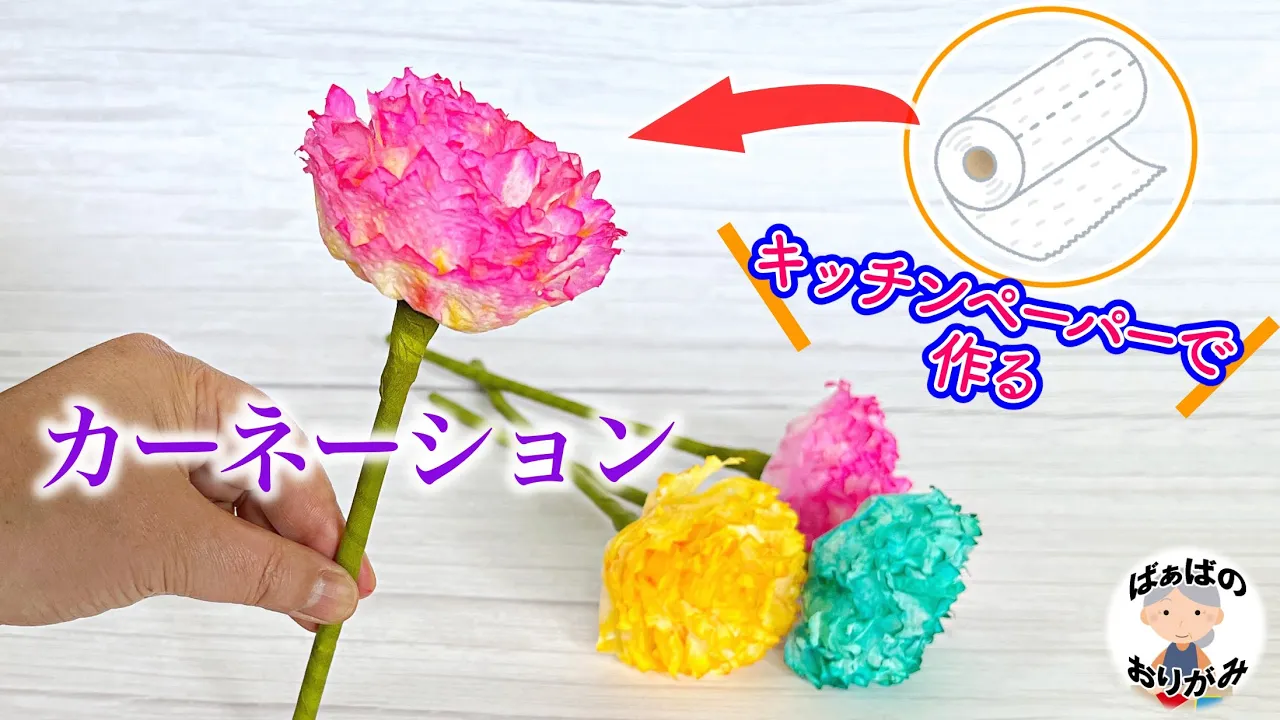
Carnations made with paper towels

Let’s use paper towels you have at home to create vibrant carnations.
In this idea, a two-ply paper towel is separated into single layers and then cut into quarters, but feel free to adjust the volume as you like.
Once you’ve prepared the paper towels, stack them and accordion-fold them, then tie the center with a rubber band to hold it in place.
Next, color the edges on both ends with a water-based marker, separate the layers one by one to shape the flower, and add vertical lines to the petals.
Finally, mist with water to let the ink bleed, and once it’s dry, attach a straw as the stem—and you’re done!

stained glass-style photo hanger

Express beautiful stained glass using a clear file and aluminum foil! You can slip photos or letters into the back, so it’s a great idea for a gift.
First, draw a stained-glass outline on thick paper, then sandwich it with a clear file of the same size and trace the lines with a permanent marker to transfer the design.
Once transferred, color it in from the back with a permanent marker.
Glue crumpled aluminum foil (to create wrinkles) onto the front of the thick paper, and attach colored construction paper of your choice to the back.
Sandwich this in the clear file and secure it to finish.
Punch a hole at the top, thread a ribbon through, and make it ready to hang on the wall.
Make it with paper plates! Handmade carnation

A paper plate turns into a beautiful carnation! Here’s a fun idea that changes as you go.
Cut out the inside of the paper plate so only the rim remains, then color the rim in pink or red.
Next, make small slits all around the edge, and on one spot cut all the way through.
Apply double-sided tape all the way around the inside of the rim, and starting from the spot you cut through, wrap it around a stem made from a disposable chopstick.
Once it’s fully wrapped, open up the slit portions and shape them into a flower.
You can make the stem by wrapping green origami paper around the chopstick.
Carnation Pop-up Card

It’s a lovely idea where a carnation blossoms when you open the card.
It’s perfect for a Mother’s Day message card.
After cutting construction paper into a circle, fold it in half three times to make creases.
Once you’ve made the creases, open it up, then use the creases to fold it in half just once.
In this state, round off the corners along both sides at the folded edge.
Repeat this process while changing which creases you use, transforming the circle into a flower shape.
Once you have the petals, trim the edges into a jagged pattern to make it look like a carnation.
Of the eight petals you’ve made, adhere the two on the left and right to a card folded in half, and the flower will bloom when it’s opened.
Also great as a wall decoration! Carnations made of paper

This is a carnation made using red construction paper cut into half-circles.
It’s an idea that can be displayed flat, so it’s great for wall decorations, too.
First, cut the construction paper into a circle, then cut it in half.
Make four of these, then accordion-fold each one from the edge so it forms a fan shape.
Next, snip along the edge with scissors to create petals.
Finish all four in the same shape, stack them, and slide them left and right to form the carnation.
Attach a stem and leaves made from green construction paper to complete it.