Easy origami! A cute collection of heart-folding ideas

How about folding a heart out of origami? A handmade heart conveys warmth and is perfect for adding to a small message card or decorating a wall.
Since origami uses your fingertips, one of its charms is that you can enjoy it while staying focused.
This time, we’ll introduce mainly simple folding methods.
They’re easy for kids and also for adults who haven’t done origami in a while, so chat with those around you and have fun together—kids and adults alike!
Easy Origami! Cute Heart Folding Ideas (1–10)
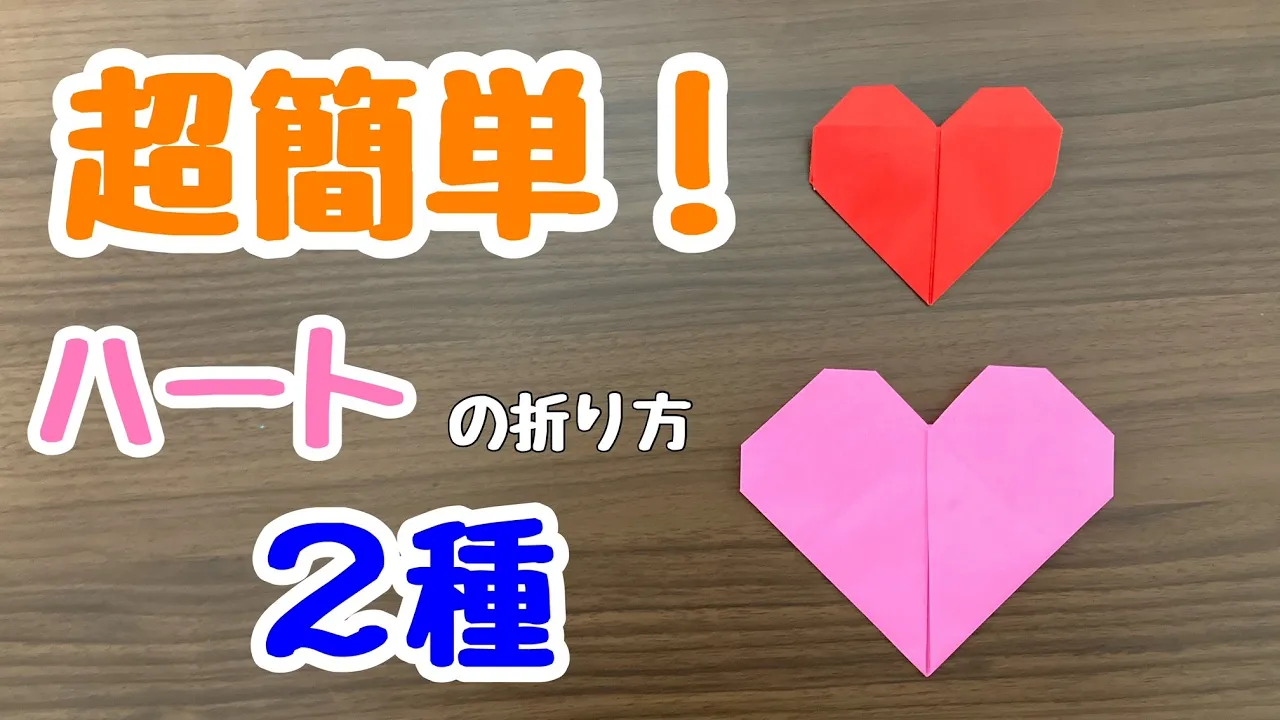
Easy! How to fold a heart

It’s simple yet very cute, and depending on how you arrange it, it’s perfect as a gift, decoration, or a little accent on a card.
Even beginners can fold it easily, so you can enjoy it right away.
Here, we’ve put together clear steps for making a quick and cute heart.
First, turn the origami over, place a corner facing you, and fold it into a triangle twice.
After folding a corner up to the center line, turn it upside down and fold the other corner up so it aligns with the edge.
Fold both corners up to meet the center line.
Finally, fold the four corners to shape a heart, and you’ll have an adorable result!
For kids! Cute heart origami

Place the origami paper face up with an edge closest to you.
Fold it in half into a square twice to make crease lines, then fold the front edge up to the center twice to make creases.
Fold the front edge up to meet the front crease line, then rotate the paper and do the same on the opposite side.
Flip it over and fold both edges to the center line.
Flip it over so the longer side is closest to you, fold the front edge to the center to make a crease, then pull the center area and collapse it.
On the opposite edge, align with the topmost line to make a crease.
Fold along the bottommost crease to make another crease, then open both corners and flatten them.
Flip it over, apply glue on the triangular parts, refold, and shape it into a heart to finish!
Cute heart letter

You’ll need two sheets of origami paper because the letter and the heart are made separately.
First, place the paper face up with one edge toward you.
Fold it in half into a square twice to make creases, then fold the front edge up to the center line twice.
Next, fold both corners up into triangles.
Fold the left and right edges inward to align with the triangles.
Fold the top corner down to meet the center—your letter is done.
For the heart, fold the origami paper into a square twice to make creases.
Fold the front edge up to the center, then fold both left and right edges to the center.
Fold both pre-folded edges up to the center.
Fold the front edge up to the top edge, then keep folding so the heart appears on the back—done! Slip the heart into the letter.
How to fold a puffy heart

This is a heart origami that you finish by blowing air into it.
First, fold the origami paper in half.
Once you’ve made the crease, open it up, rotate the paper so the crease runs vertically, fold up the bottom edge about 5 mm, then fold the paper in half, matching the top edge to the bottom.
Next, fold both top corners down to meet the bottom edge to form triangles.
Fold those corners back so they align with the outer edges, crease well, then unfold.
Now fold both corners so their tips meet the starting points of the inner creases.
Fold the top edge corners, which were first folded inward, outward, and tuck them into the gaps of the corners you just folded.
Finally, fold the corners to round the overall shape and you’re done.
Blow air into it to shape it, and the heart is complete.
A heart within a heart!

Here’s an introduction to an origami model where a heart sits inside another heart—and it looks super cute.
To make it, first place the origami paper face up with one edge toward you.
Fold it in half, then fold both edges down to meet the edge.
Open it up, and fold the two ends upward so that triangular crease lines are formed.
Fold the front edge twice, aligning it only with the inner creases.
Open it, flip it over, and squash-fold along all the crease lines.
Turn layers as if you’re opening the inside and make firm creases.
Finally, shape it into a heart so a small heart appears in the center—and you’re done!
Origami heart container

It’s perfect for holding small items or wrapping gifts.
First, place the white side of the origami paper facing up and fold it into a triangle twice.
Fold the top and bottom corners to the center twice and open them.
Do the same for the other two corners that don’t have creases yet to make crease lines.
Fold the left and right corners to the center line to create creases.
Let’s keep folding to form a box shape.
On just one side, mark a heart shape with a pen or similar tool, and fold along it so it holds its shape—that’s it! By adjusting the heart-shaped lid or the body, you can create your own cute, original container.
Simply changing the colors or patterns can completely change the vibe, making the crafting process even more fun.
Heart paper balloon

You’ll want to make lots of them! Here’s how to fold a cute heart paper balloon.
First, fold the edge toward you, flip the paper over, and slightly fold up the edge closest to you.
Fold that lifted edge up to meet the top edge.
With the side that forms a loop at the top, fold the two bottom corners up to the center.
Then fold those raised corners down toward both side edges to crease, and fold the corners down along those crease lines.
Fold the corners down further, open the pockets, and tuck the corners inside.
Next, slightly fold the four corners with a heart shape in mind.
Finally, blow air into it to inflate, and your heart paper balloon is complete!