Crafts parents and kids can enjoy together. Recommended craft ideas to keep children entertained.


Here are some recommended craft ideas that parents and kids can enjoy together!
When you hear “crafts,” you might think of summer vacation homework.
But crafts are also perfect for everyday play and passing the time at home!
With common household items like plastic bottles, milk cartons, cardboard, and clay, you can make all kinds of fun creations.
You can have a blast making them with your child, play with what you’ve made, or even exchange your creations as gifts with each other…
You’re sure to share lots of fun moments!
These ideas will captivate both adults and kids, so be sure to enjoy them together as a family!
- For summer vacation homework! Simple and amazing crafts for elementary school students that you’ll want to make after seeing them
- Simple yet amazing crafts: craft ideas that elementary school students will want to make
- Craft ideas using plastic bottle caps [for boys]
- Paper cup crafts that elementary school kids will love! A collection of fun project ideas
- Fun crafts using straws
- [For Kids] Today’s Handmade Craft Ideas
- Adults will be hooked! A collection of craft ideas using toilet paper rolls
- [Indoor Activities] A Collection of Craft Ideas Recommended for Elementary School Students
- [For toddlers] Simple but amazing craft ideas — including toys they can play with
- DIY science projects that elementary school boys will love: ideas you can make with everyday materials
- Toys you can make from cardboard crafts! Authentic ideas you can build and play with
- Made of paper! A fun collection of DIY toy ideas you can play with
- [For Kids] DIY Snowman Craft Ideas!
Crafts that parents and children can enjoy together. Recommended craft ideas to keep kids busy (341–350)
Making a bead coaster
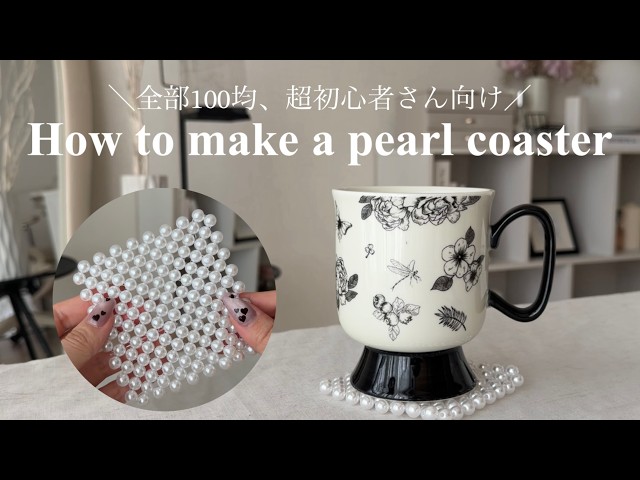
Making beaded coasters is a perfect craft for spending time at home during summer vacation.
It’s also great for summer homework or independent projects! The method is simple: arrange your favorite beads in an aluminum dish so they don’t overlap, then just bake them in the oven at 250°C.
Plastic beads from a 100-yen shop work fine.
The heat melts the beads so they fuse together, creating a clear, sparkly coaster.
Since there will be a melted plastic smell while baking, make sure to ventilate the area well.
The amount of beads and the placement of colors can create many different looks, so your kids are sure to be excited!
Bottle Cap Shooter

Throwing weapons used in ninja or cops-and-robbers play—like rubber shuriken and toy guns—really capture kids’ imaginations.
At the shooting stalls you see at summer festival booths, just getting to hold a rifle you don’t normally handle is exciting, too.
So here’s a project: a “Bottle Cap Shooter” made mostly out of cardboard.
It uses plastic bottle caps as bullets, and I think you’ll be able to play with it a lot even after you finish making it.
If you can, try making different colors with your friends and then all play together afterward.
As a craft, it’s a bit advanced—best for upper-grade students.
If you enjoy detailed handwork or are confident in your crafting skills, give it a try!
Doll dress made from a sewing pattern

This is a craft project for making a dress for girls who love playing with dolls.
To keep the doll from getting dirty, wrap its body with bandages and draw one vertical line down the center and one horizontal line at the waist.
These will serve as guides when making the pattern.
Use kitchen paper for the pattern, and create it in two parts—top and bottom—while holding it against the doll.
Draw lines in order around the neck, shoulders, and waist, then cut along them.
Once the pattern is ready, cut the fabric according to the pattern and simply sew the pieces together.
When cutting the fabric, make it slightly larger than the pattern.
Give it a try and make your very own original dress!
Memory Photo Frame

Let’s make a summery photo frame using seashells and other beachy items! You’ll need a photo frame in any size you like, glue, materials like seashells and sea sand, and nail polish if you want to add some color.
Apply a generous, even layer of glue to the frame.
First, attach sand to the base.
Then, glue on seashells and other decorations wherever you like.
Adding color with nail polish makes it extra cute.
Once it’s finished, display a photo of your summer memories!
Origami Christmas leaf

How about making a classic Christmas decoration—a wreath—by hand with origami? It’s perfect for parent–child crafting during winter at home or for making items for events! This method folds poinsettia flower parts from origami and then assembles them at the end.
A key tip is to make firm creases before you start folding.
Some steps involve fine folds, so if it’s tricky, please support your child while you work together.
Adding gold beads to the center of the flowers or sticking on yellow round stickers will help create an even more festive Christmas vibe.
You can also have fun by mixing solid colors and patterns—give it a try!
tear-off calendar

Let’s make a simple, cheerful tear-off calendar out of construction paper! You’ll need 43 sheets of your favorite colored construction paper, a hole punch, a round ring like the kind on keychains, and pens or colored pencils.
First, write the numbers 1–12 on 12 of the sheets.
Next, write the numbers 1–31 on the remaining 31 sheets.
These will be the calendar numbers, so decorate them however you like with pens or colored pencils.
When you’re done, punch a single hole at the top of every sheet and thread them onto the ring—that’s it! Finally, attach it to a backing sheet or a corkboard, and you’re all set!
A chair made from milk cartons

This is a craft project to make a child’s chair out of milk cartons.
You’ll need twenty-four 1-liter milk cartons, two pieces of cardboard, scissors, and packing tape.
First, cut open all the milk cartons and tape them into triangular prisms.
After making all 24 into triangular prisms, tape them together into a hexagon to form the base of the chair.
Once the base is complete, cut two hexagons from the cardboard to match the size, and attach them to the seat surface and the bottom of the base to finish.
Try adding construction paper or drawing on it to make a chair that’s uniquely yours!